State Of Decay 2 Guide: How To Survive Xbox One’s Current Zombie Apocalypse
So you decided to take the plunge into the State of Decay 2 deep end of the pool. Good for you: the game is fun but definitely challenging and unintuitive in some aspects. Still, we suspect that this game will be played for a very long time due to its three large states, its breadth of things to do to survive and maintain your community with, and the fact that the juggling act of keeping yourself and your pals alive while not being overwhelmed is fun and hectic in itself.
To help you out, here are some top tips based on our experiences and many others who started the Ultimate Edition of the game; regular version comes out 22 May.
Disclaimer: this guide will be updated periodically.
Basic Tips
Get The Closest Outposts With Food & Medicine
You are always going to be out of something, be it Materials, Medicine, or Fuel. But the two big things you should try to keep stocked up are Food and Medicine. Most survivors you pick up get pissed off and depressed if either one of these resources is in the red.
So when you get your base up and running, find two outposts that supply those once per day.
Watch Your Stamina
Whether you’re specialized in melee combat or running, one thing is for certain: you will get fatigued and you will have a decreasing stamina bar. So find some coffee to raise it up temporarily and prolong your human tiredness.
Pack Only What You Need
Your typical survival kit should be the following:
- an 8-slot backpack that is as light as possible.
- a health or stamina-replenishing kit.
- a melee weapon.
- a gun with some bullets.
There are other essentials like gas cans or molotovs (for the Plague Heart bits), but the four key things above are a bigger priority. Most items and consumables can be scavenged in State of Decay 2’s many locales. Keep in mind that some survivors get encumbered easily if they carry too much. This means that whatever stamina-using abilities they have will drain their stamina meter faster.
Be Like Jim Krakowski’s Character From “A Quiet Place”
Noise attracts zombies, so sneak into places and do things quietly if possible. If you see a lone zombie shambling away from you, quietly kill it. Bum-rushing it means you risk attracting potentially bigger threats to your direction.
You get visual information about how much noise you’re making on your minimap in the bottom left corner of your HUD. When you’re making noise, a white circle will ripple outward from your location — when you’re walking, it’ll be a small circle; when you’re blowing something up (or failing a quick search), it’ll be a big one.
There’s No Shame In Retreating
If you’re getting swarmed by plague zombies when dealing with a Plague Heart, there’s really no other option except to run like hell. If your weapons are jammed or broken, your knife isn’t going to do much against 10 or more zombies running at you. Just run and cut your losses. And don’t worry too much about your survivor buddy; he or she is going to run just as fast as you.
Radio, Radio, Radio
When you’re stuck and there’s no resource in sight, always use your radio. Spending your influence to radio in on resource spots or backup is a small price to pay, but you’ll survive longer and you’ll make your base situation a little more tolerable.
Help Your Neighbours, But Only If You Can
Balancing your Community needs along with your neighbours is a constant struggle. It benefits you to help everyone you’re able to — but it’s important to emphasize the “able to” part.
If you’re out of food, the neighbour who needs help with supplies-searching is going to have to wait. If your base resources count is in a good place, seeking out neighbours to help is a good way to earn some Influence, find potential recruits, and even gain bonus radio commands like a plague cure supply drop.
Take Your Time. Sort Of
There are 10 Plague Hearts out there for you to kill in a state. They get harder to destroy as you keep destroying them, so take your time in stocking up your molotovs and weapons so that you can deal with the game.
The reason why we say “sort of” is because the game only stops time when you shut it off. When you pause, you’re still vulnerable to a random zombie, and your community might suffer if it’s on the verge of breaking down.
Full Skills List
Cardio
Improved by sprinting and climbing. Level 7 Benefits: +21 Max Stamina. Can be upgraded to:
- Marathon
Reduced Stamina costs for sprinting. Fatigue accrues more slowly.
Level 0 benefits
+21 Max Stamina
33% Sprint Stamina Cost
-5% Fatigue Severity - Backpacking
Major increase to carrying capacity
Level 0 benefits
+26 Max Stamina
+15 Max Carrying Capacity - Acrobatics
Dodging and climbing are quicker and cost less Stamina.
Level 0 benefits
+21 Max Stamina
-15% Climbing Stamina Cost
Flying Strike when facing an enemy - Powerhouse
Reduced Stamina costs for melee, grappling, and finishers.
Level 0 benefits
+21 Max Stamina
-25% Grapple Stamina Cost
-4% Melee Stamina Cost
Drop Kick when facing an enemy
Throw grabbed zombies much harder
Wits
Improved by searching containers and exploring the map. Level 7 Benefits: +35% Search Speed. Can be upgraded to:
- Stealth
Quiet Interactions, and reduced visibility to enemies.
Level 0 benefits
+35% Search speed
-7% Enemy Sight Range
Sprint while crouched.
Silently open locked doors while crouched. - Resourcefulness
Increased carrying capacity; more effective Health and Stamina items.
Level 0 benefits
+35% Search Speed
+1 Inventory Slot
+1 Max consumable Stack - Discipline
Increased Stamina, light encumbrance limit, and weapon durability.
Level 0 benefits
+35% Search Speed
+15 Light Carrying Capacity
+25% Melee Weapon Durability
+3% Stamina - Scouting
Increased scouting range and enemy detection
Level 0 benefits
+35% Search Speed
+15m enemy detection Range
+10% Container Visibility Range
Fighting
Improved by fighting hand-to-hand. Level 7 Benefit: +28 Max Health. Can be upgraded to:
- Endurance
Improve by fighting with melee weapons.
Increased Health. Trauma is accrued more slowly.
Level 0 benefits
+28 Max Health
-25% injury severity
Slam Attack - Close Combat
Improve by fighting with melee weapons.
Improved fighting and reduced stamina use with an empty melee slot.
Level 0 benefits
+28 Max Health
-25% Melee Stamina Cost (Close Combat)
Enhanced Close Combat moves
Shove Attack - Striking
Improve by fighting with blunt weapons
Improved combat moves and increased knockdown for blunt weapons.
Level 0 benefits
+28 Max Health
Shove enemies to the ground
+15% Blunt knockdown - Sword Play
Improve by fighting with bladed weapons
Improved combat moves and increased lethality for bladed weapons.
Level 0 benefits
+28 Max Health
+15% Blade Lethality
Leg Sweep to cripple enemies
Shooting
Improved by shooting enemies. Level 7 Benefit: -25% Firearm Sway, -25% Firearm Recoil. Can be upgraded to:
- Weapons Handling
Clear jammed firearms and improve durability.
Level 0 benefits:
-25% Firearm Sway
-25% Firearm Recoil
Clear jammed firearms in the field - Sharpshooting
Improved steadiness, bullet penetration and limb damage.
Level 0 benefits:
-50% Firearm Sway
-25% Firearm Recoil - Assault
Significantly reduced recoil, and you gain a close-range kick attack.
Level 0 benefits:
-50% Firearm Recoil
-25% Firearm Sway
Kick enemies while aiming - Gunslinging
Reduced reload times, and you become a crack shot with small arms.
-25% Firearm Sway
-25% Firearm Recoil
Snap to targets while aiming
List Of Bases
Cascade Hills Map
Justineau House (Starter Base)
- 8 Small Slots ( 3 Empty)
- 1 Bedroom / 1 Master Bedroom / 1 Storage / 1 Kitchen / 1 Radio
- 2 Parking Spots
Corner Office
- 1 Empty Large Slot
- 9 Small Slots (5 Empty)
- 1 Kitchen / 1 Storage / 1 Radio
- 2 Parking Spots
Church on the Hill
- 1 Empty Large Slot
- 8 Small Slots (5 Empty)
- 1 Storage / 1 Radio / 1 Guard Tower
- 4 Parking Spots
Container Fort
- 2 Empty Large Slots
- 8 Small Slots (6 Empty)
- 1 Radio / 1 Storage
- 3 Parking Slots
Loch and Keogh Self Storage
- 1 Empty Large Slot
- 10 Small Slots ( 6 Em´pty)
- 1 Still / 1 Radio / 1 Guard Tower / 1 Storage
- 3 Parking Spots
Mohr and Mohr Distributing
- 2 Empty Large Slots
- 10 Small Slots (5 Empty)
- 1 Generator / 1 Storage / 1 Radio / 1 Workshop / 1 Huge Fuel Storage
- 4 Parking Spots
Bridge Fort
- 1 Sheltered Bed
- 3 Parking
- 1 Western Watchpost
- 1 Eastern Watchpost
- 1 Large Sloot
- 1 Small Indoor Slot
- 2 Small Outdoor Slots
Drucker County Map
Vogel House (Starter Base)
- 8 Small Slots (3 Empty)
- 1 Kitchen / 1 Master Bedroom / 1 Bedroom / 1 Radio / 1 Storage
- 2 Parking Spots
- 2 Outposts
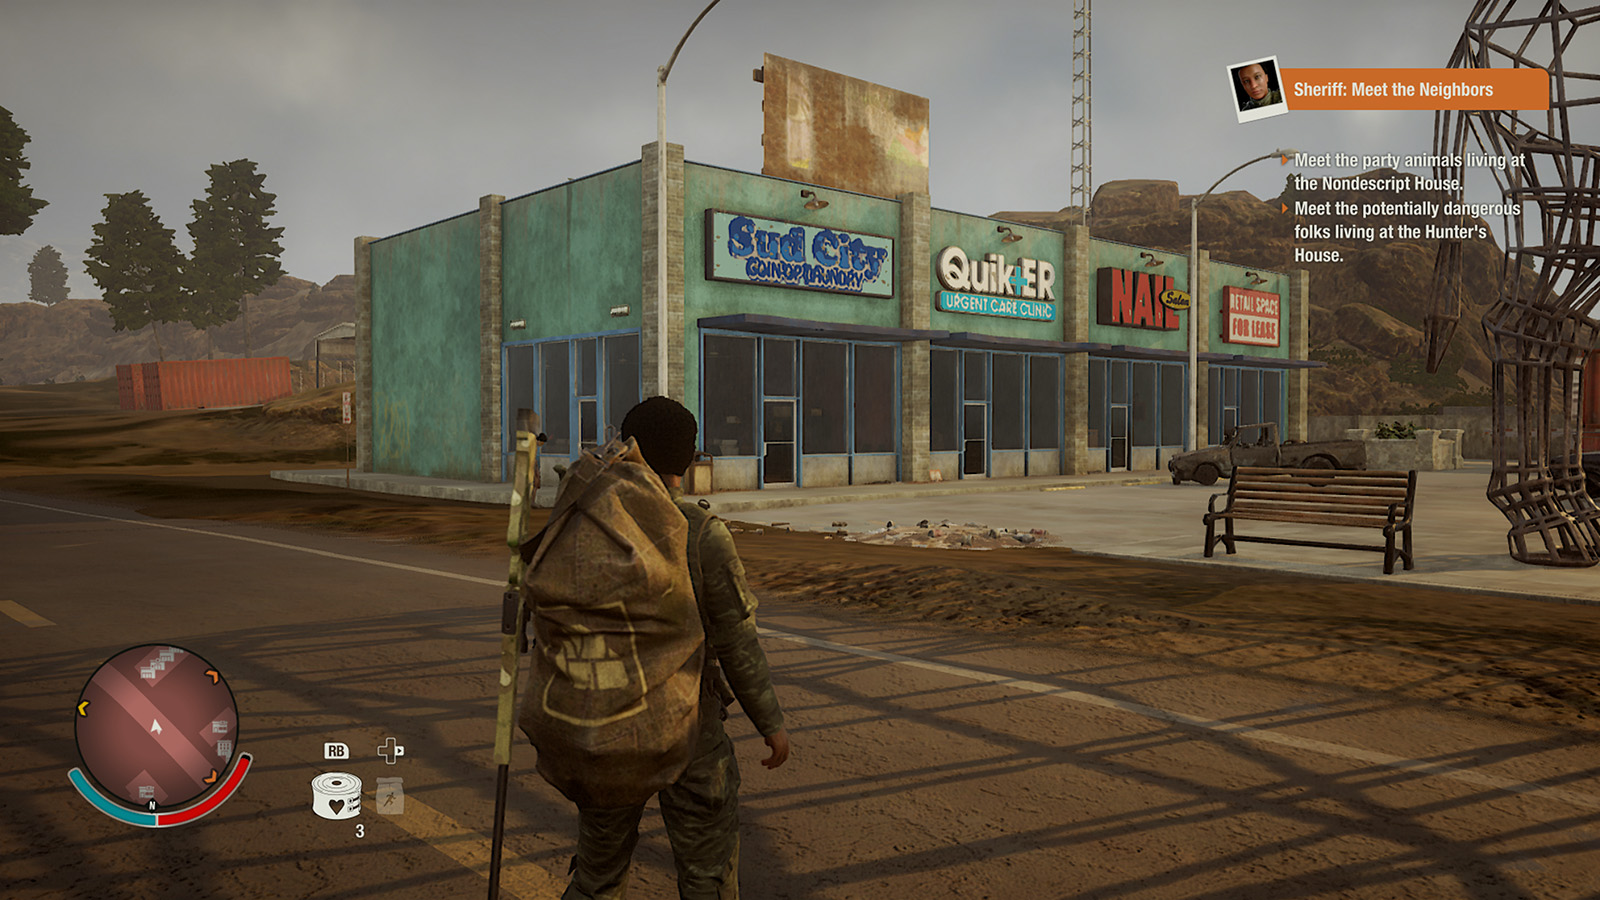
Barricaded Strip Mall (Personal Favorite)
- 3 Empty Large Slots
- 10 Small Slots ( 4 Empty)
- 1 Storage / 1 Radio / 1 Kitchen / 1 Gym / 1 Toilet / 1 Urgent Care Infirmary
- 3 Parking Spots
Drive-In Theater
- COMING SOON
Wheelhouse Truck Stop
- 2 Large Slots (1 Empty)
- 8 Small Slots (4 Empty)
- 1 Machine Shop / 1 Storage / 1 Kitchen / 1 Radio / 1 Huge Fuel Storage
- 4 Parking Spots
Mike´s Concrete
- 3 Large Slots (2 Empty)
- 7 Small Slots (3 Empty)
- 2 Sheltered Beds / 1 Machine Shop / 1 Huge Fuel Storage / 1 Backup Generator
- 4 Parking Spots
Meagher Valley Map
Clarington House (Starter Base)
- 8 Small Slots ( 3 Empty)
- 1 Bedroom / 1 Master Bedroom / 1 Storage / 1 Kitchen / 1 Radio
- 2 Parking Spots
Mazzara Farm
- 2 Empty Large Slots
- 8 Small Slots (3 Empty)
- 1 Storage / 1 Rain Collector / 1 Master Bedroom / 1 Radio / 1 Country Kitchen
- 2 Parking Spots
Church of the Condenscension
- 1 Empty Large Slot
- 6 Small Slots (3 Empty)
- 1 Storage / 1 Radio / 1 Guard Tower
- 3 Parking Spots
Rural Police Station
- 2 Empty Large Slots
- 7 Small Slots (3 Empty)
- 1 Radio / 1 Storage / 1 Armory / 1 Prison Cell Bedroom / 1 Guard Tower
- 4 Parking Spots
Squelones Brewing Company
- 2 Empty Large Slots
- 11 Small Slots (6 Empty)
- 1 Radio / 1 Storage / 2 Stills / 1 Rain Collector / 1 Bar
- 3 Parking Spots
Whitney Field
- 3 Empty Large Slots
- 10 Small Slots (5 Empty)
- 1 Radio / 1 Storage / 1 Guard Tower / 1 Loudspeaker ?
- 4 Parking Slots
Camp Kalenga
- 2 Empty Large Slots
- 9 Small Slots (4 Empty)
- 1 Bedroom / 1 Radio / 1 Storage / 1 Kitchen / 1 Rain Collector
How To Deal With Certain Zombie Types
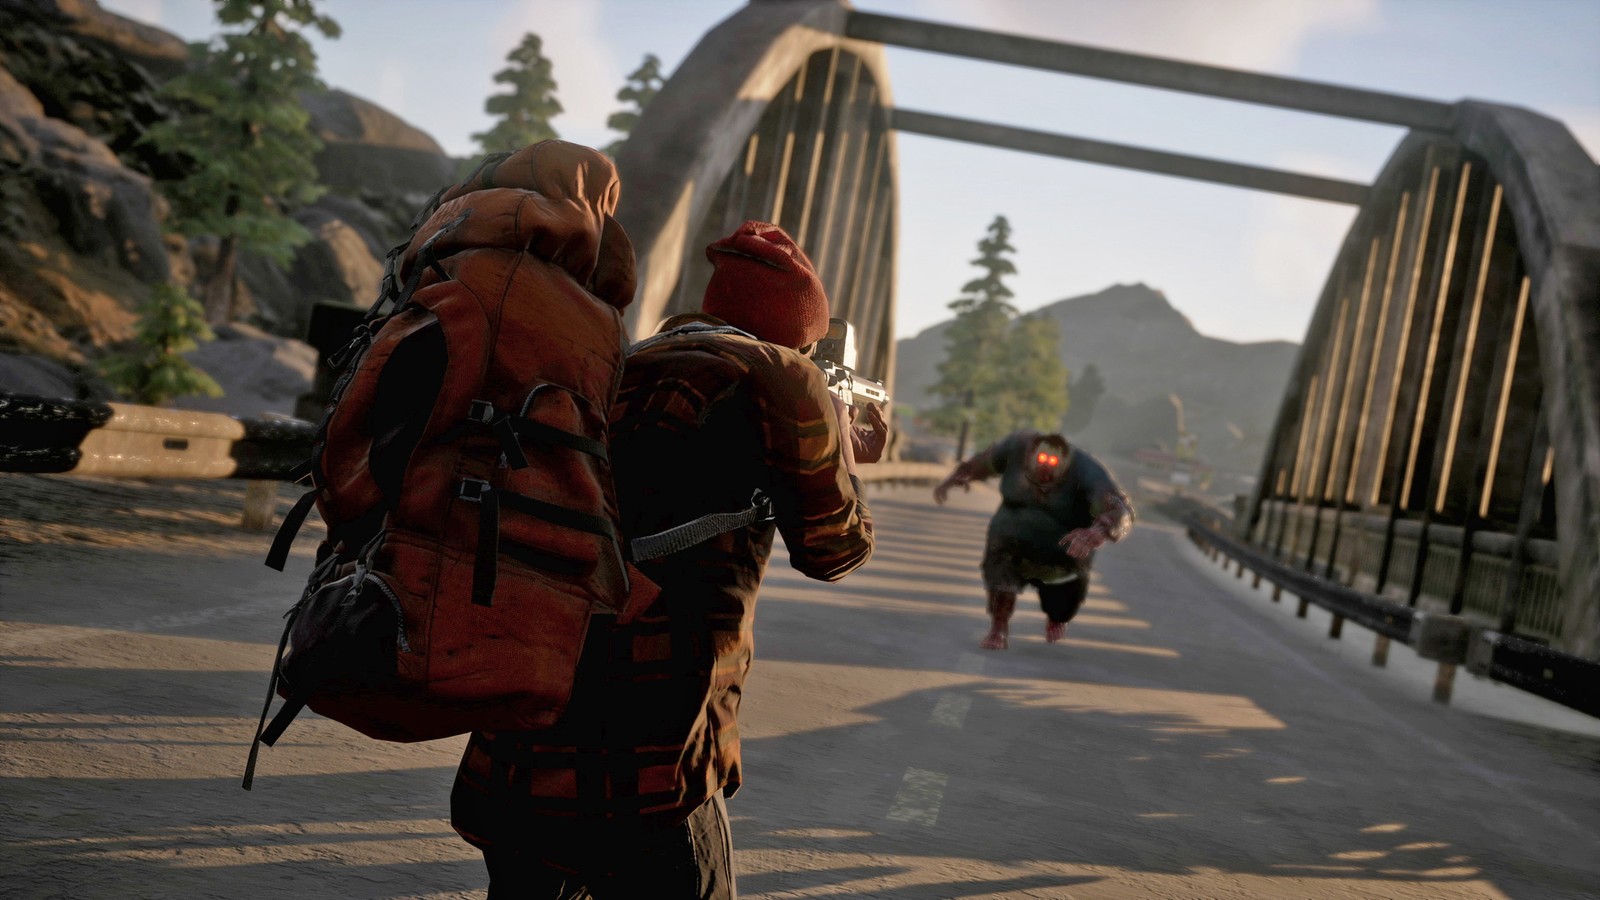
Ferals
These zombies run on all fours and can hit you hard and fast. Here’s how you can take them down (via xfuzzzygames): when you’re in a car and see a feral killing them is easy. Get close enough to it that it notices you, and drive slowly away from it.
It will chase you and attempt to jump on your car. When it jumps, switch to reverse and gun it. (or if you were driving away in reverse, gun it forward.) It will either outright kill it or sometimes knock it down for an easy kill.
If you have no car, roll when he tries to pounce on you as it’s charging after you. He’ll miss and fall on his face, giving you time to come up and do the finisher. Just forward and he’ll miss and then quickly do the finisher.
If he’s near you and not running, just do the drop kick and knock him on his ass. Then perform the finisher.
Juggernauts
Juggernauts are perhaps the easiest enemies to spot since they’re huge. These giant ghouls tower over everything else and you can typically hear them coming thanks to their loud footsteps.
However, their awareness isn’t terribly high and it’s pretty easy to sneak past one if they’re alone. Engage Juggernauts only when you absolutely have to. You will waste a ton of ammo fighting them, especially if this monster has other zombies around him – which he almost always does.
If you do need to kill a Juggernaut, we suggest using shotguns, high-powered sniper rifles, and explosives. Pistols and melee weapons don’t do a ton of damage.
It’s important to keep your distance from the Juggernaut. It has a very powerful grab attack that you want to avoid at all costs. Keep an arm’s length away from him and if possible try to always stay behind him. This is only really possible with a second player or NPC who can draw the behemoth’s aggro.
For solo players, try to use explosives such as grenade’s, pipebombs, or C4. These do a ton of damage to this monster, especially if you can trigger the bomb right when they walk over it. Once the explosives go off, begin pumping shotgun rounds into his head. Make sure to backpedal if the Juggernaut is still walking. This big guy is quite fast for his size, especially if he initiates a charge attack.
No matter what, always try to fight a Juggernaut outside in an open area. Fighting one indoors is suicide unless you have a height advantage on him.
Once it’s down and keeled over, you can pull off a finisher with the standard LT + X kill.


Leave a Comment