Genshin Impact Enkanomiya & Tokoyo Guide: How To Explore Beyond The Deep
This guide is still under development…
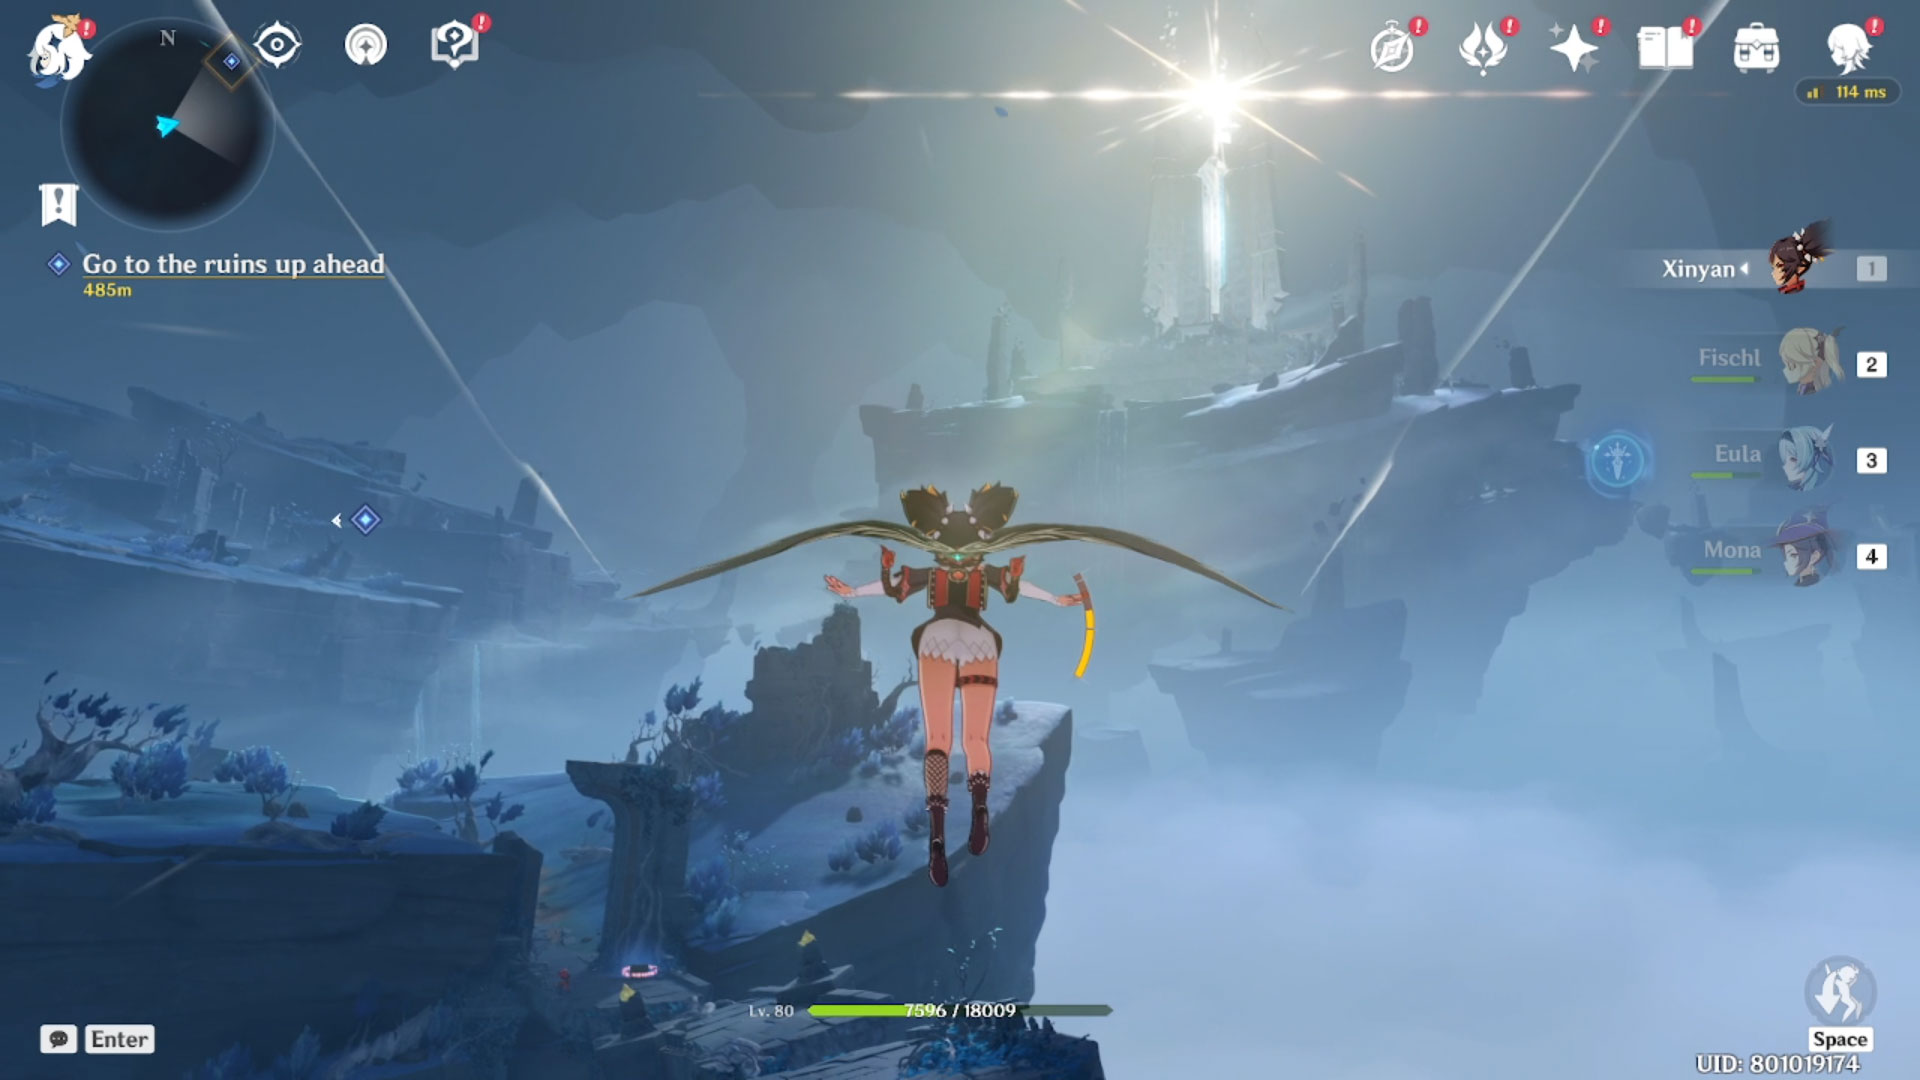
Genshin Impact’s 2.4 update boasts a ton of new content apart from new Hangouts. Players will get to explore a whole new region called Enkanomiya which houses the ancient ruins of Tokoyo.
This area’s pretty big and is filled with many discoverables. Here’s a guide to get you started.
How To Unlock The Enkanomiya Region
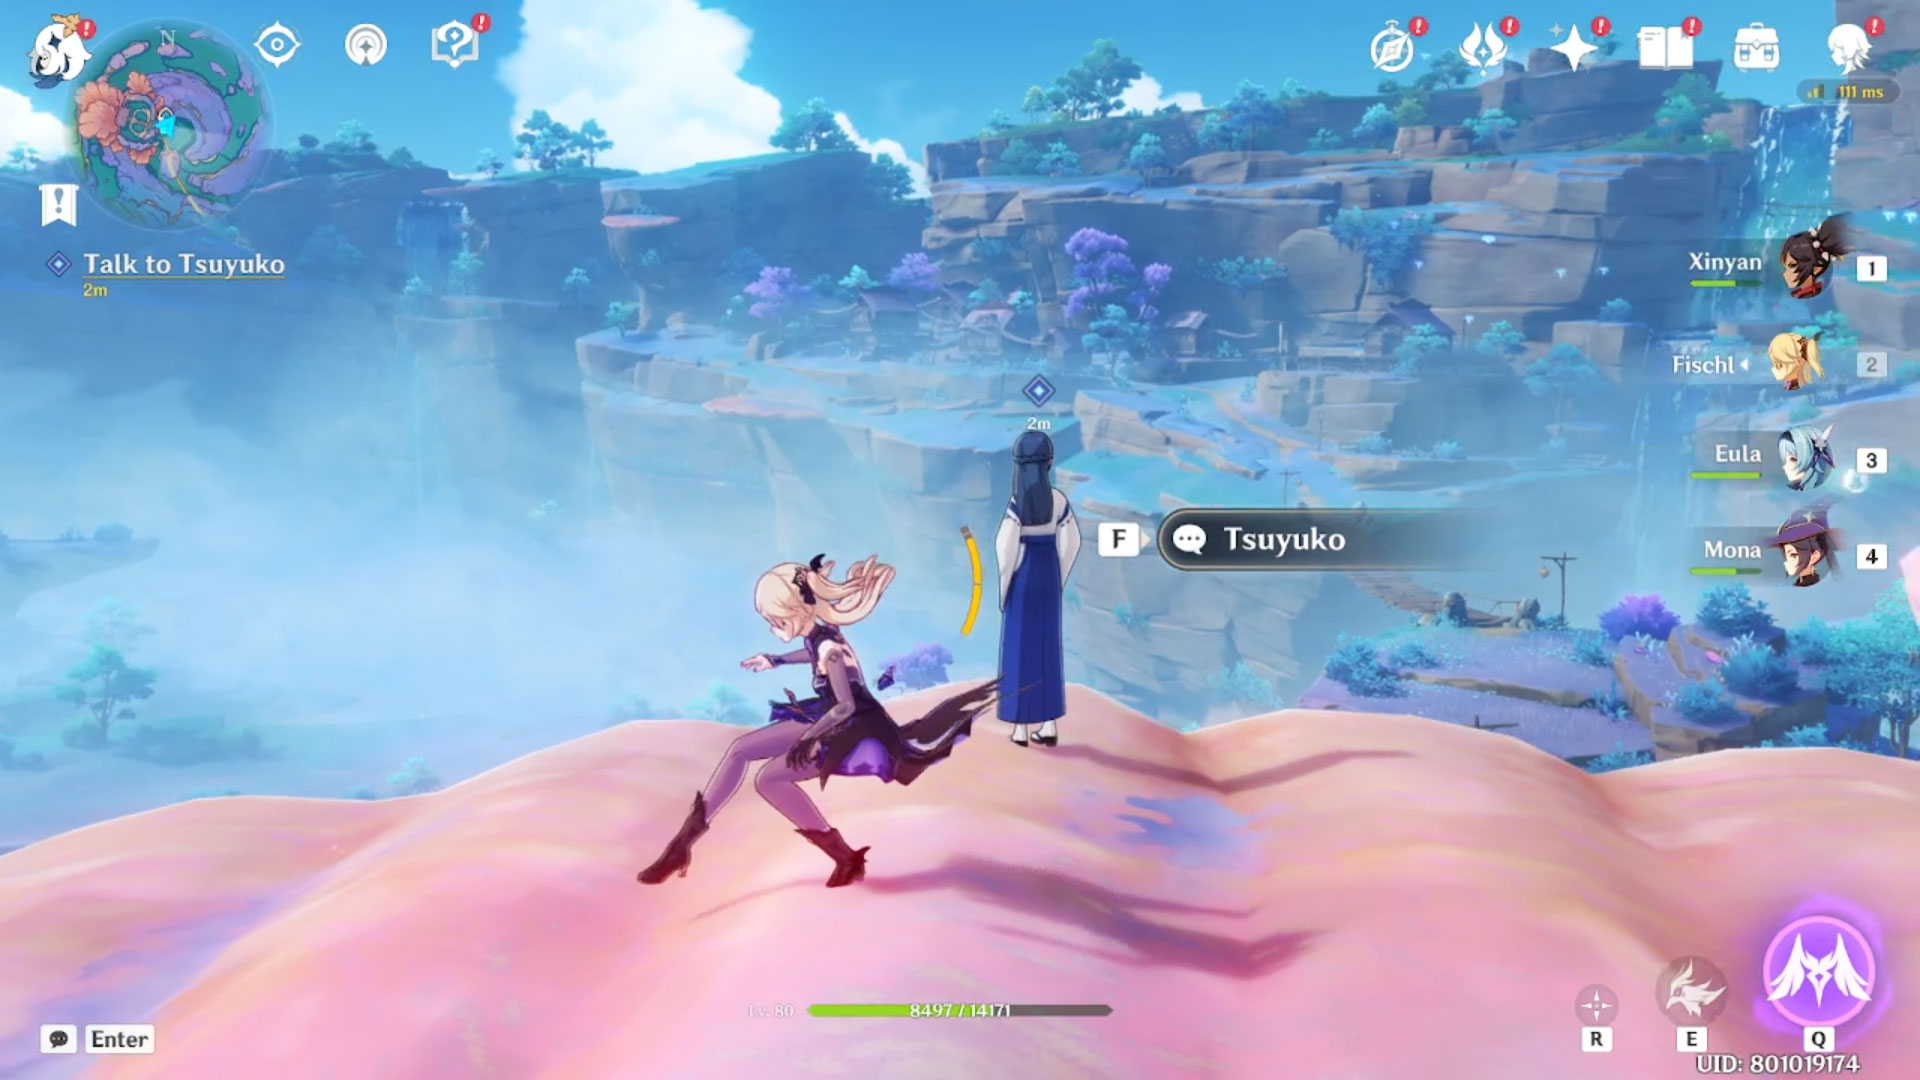
You will need to complete the Moon-bathed Deep world quest line to acquire the Key of the Moon-Bathed Deep. After talking to Shrine Maiden Tsuyoko at the Mounn Shrine (west of the Sangonomiya Shrine; there’s a teleporter nearby), you will be given the task to find Spirit Pearls from 4 different locations on Watatsumi Island: the Eye of Watatsumi, the Fang of Watatsumi, the Fin of Watatsumi, and the Tail of Watatsumi.
Eye of Watatsumi
This is at the West part of Watatsumi Island. When you’re here, read the inscription that’s next to the shrine housing the Spirit Pearl. To unlock the shrine, you need to search for three purple orbs within the vicinity. Use your Elemental Sight (hold middle mouse button) to search for the trails leading to the orbs.
Then, use an elemental attack/skill that reacts to Electro on the purple orbs to discharge them; use Amber’s charged shot as an example. You’ll fight a few specters after triggering each orb. Once all three are triggered, go back to the shrine and collect the Spirit Pearl.
Fang of Watatsumi
This one’s northwest of Watasumi Island. Same deal; read the inscription to get your instructions. Head to the nearby Ley Line Monolith and protect it from hilichurls and bad guys until time runs out. If it’s destroyed, you have to start over.
There are a bunch of giant crystals and a Thunder Bough nearby; use the Electrograna buff and link the crystals to cause an AoE shockwave and buff up your energy recharge rate to make the defense mission easier. Once that’s done, collect your Spirit Pearl.
Fin of Watatsumi
This one’s at the east of Watatsumi Island, on a small island close to one of the fast travel points. Read the inscription: you need to align the fish statues on both pedestals so that they’re facing the centre. Once a pedestal has the fishes aligned and it’s all lit up, head to the coral statue and activate it. Do this for the next pedestal; once both of them are lit up, you can take the Spirit Pearl from the shrine.
Tail of Watatsumi
At the south of Watatsumi Island. After reading the inscription, head to the Thunder Bough down the hill and activate it. You then need to run and go near all five stone cairns along the pathway upward to the shrine. Once all five are lit up, you’ll fight a bunch of Fatui troops. After that, you can collect the Spirit Pearl.
Once you have all four, head back to Tsuyoko at the Sangonomiya Shrine. She’ll reveal a location in the eastern part of the region. Fast travel there and glide along the cliff overlooking the waterfalls. You should see a small cavern’s opening that’s blocked by a barrier. Interact with this barrier and place all four Spirit Pearls to open it.
Inside, you’ll see a large chamber with a clam pedestal in the middle. There are also four Fish Statue puzzles here just like at the Fin of Watatsumi section, only there are four pedestals. After completing each pedestal, Hydro Mimics will spawn; yes, these are the same enemies in the Oceanid fight and are just as annoying. After completing the fourth pedestal, expect more Hydro Mimic waves, so steel yourself.
After all four puzzles are done, you’ll watch a short cinematic where water erupts from the corners. Talk to Tsuyoko and she’ll give you the Key of the Moon-Bathed Deep. How do we use the key? That’s on the next questline.
Still Water Flows Quest
Head to the fast travel point at Sangonomiya Shrine and talk to Tsuyoko. You’ll have to find a couple of sigils and altars.
The sigils are located at the Fin of Watatsumi and Heart of Watatsumi (the underground pathway with the four fish pedestals). Just backtrack to those places as they’re marked on your map. Once that’s done, take the sigils to the two altars that will be marked on your map. Both are located in the central area of the Sangonomiya Shrine. Once you’ve unlocked both altars, head to Tsuyoko to complete the quest and open a giant-ass whirlpool that leads you to the underground area of Enkanomiya.
Entrance To Tokoyo
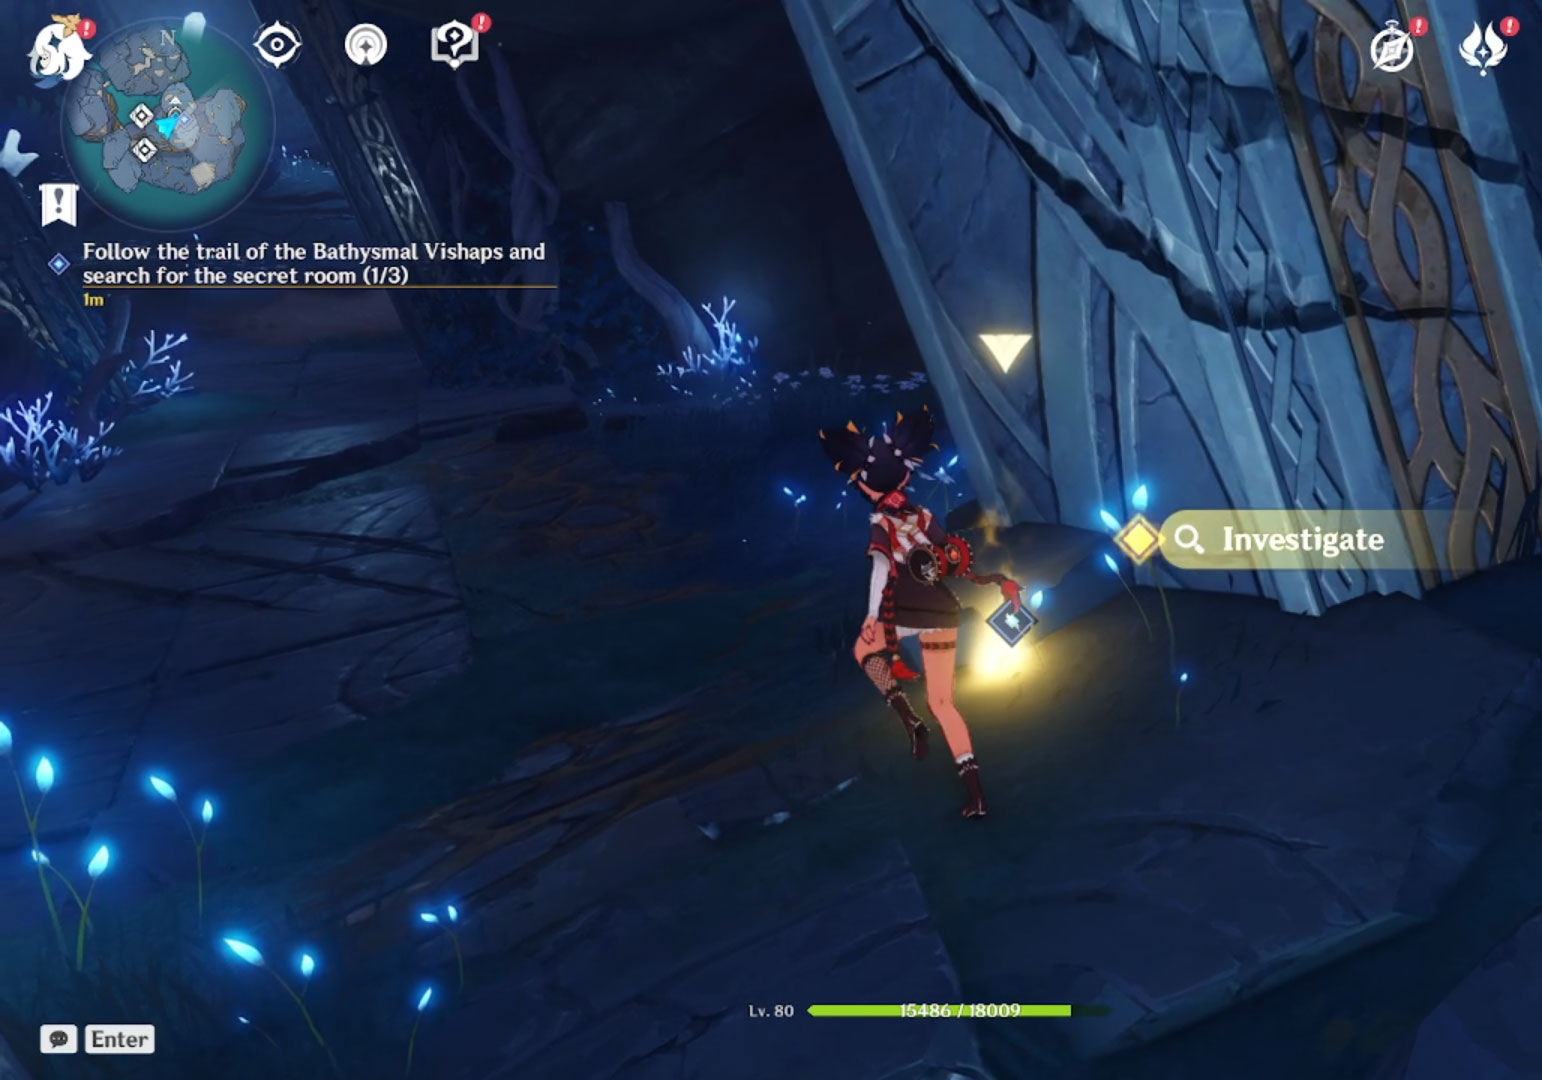
After jumping down the whirlpool, you’ll see several mobs such as Bathysmal Vishaps and new variants of Specters. Fight them if you want to get a hang of their attack patterns. Keep following the linear path and climb upwards; you’ll get to the Entrance to Tokoyo.

Here, you need to find and activate five clues and then activate the pedestal at the centre. They’re all highlighted on the minimap; just explore and kill whatever’s in your way, then activate the clues. Then, head back to the centre ruin, activate the switch to open the hidden passage. At the end of the hidden passage, open the door using the Key of Moon-Bathed Deep, then head onward to reach the really beautiful underground ruins of Tokoyo.
We don’t know about you, but we’re getting Xenoblade vibes out here. Anyway, follow the marker to your questline. Feel free to deviate from the path since that’s what Genshin Impact is all about, activating fast travel points and beating up mobs to unlock nearby treasure chests for loot.
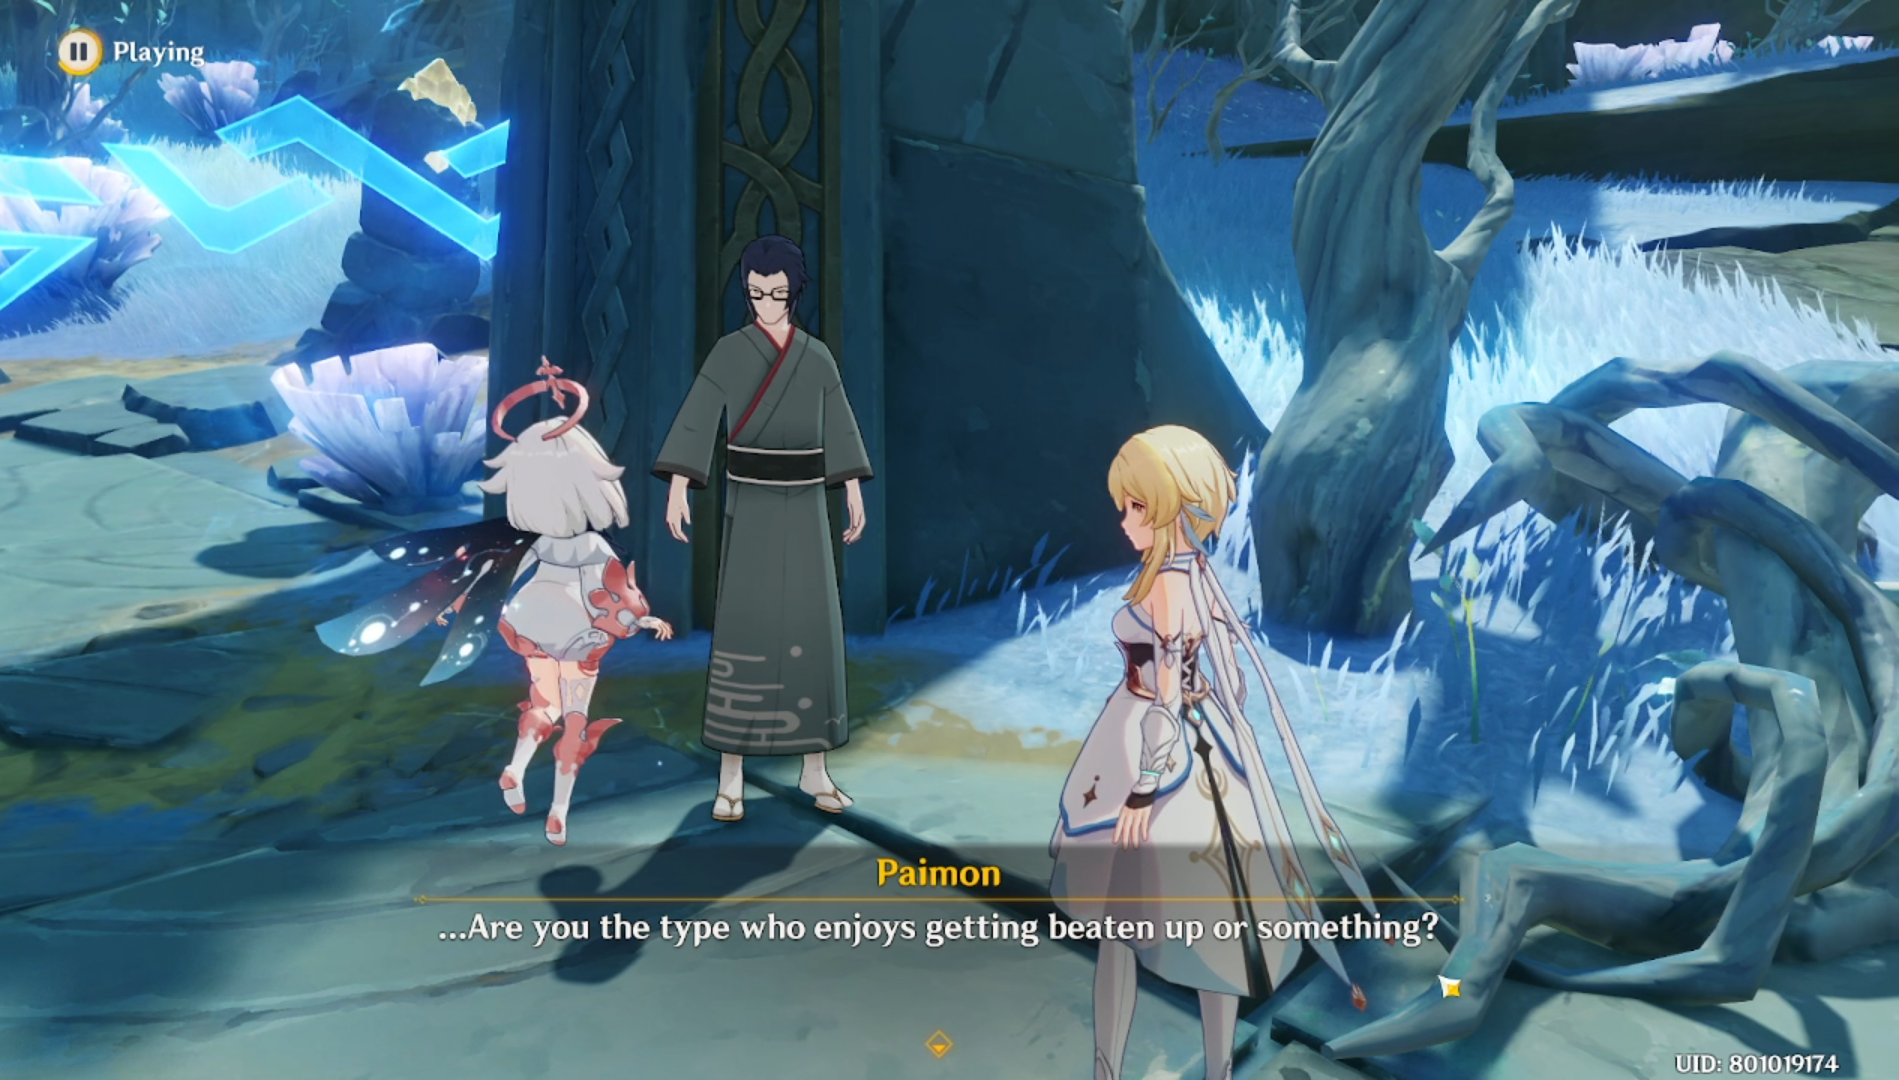
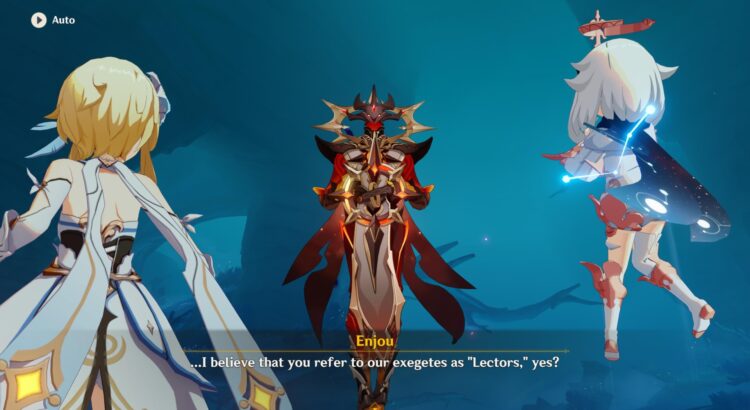
You’ll eventually reach an old temple with a Triangular Mechanism. Damage them up-close to activate it. Inside the temple, you’ll meet a researcher named Enjou. Interact with the mural behind Enjou to reveal the Enkanomiya world map; woo hoo!
After that, follow the marker as usual until you reach the opposite side of the landmass. You will find another ancient temple and a fast travel point. Damage the two Triangular Mechanisms nearby. This will cause the walls to move, allowing you to open the chest with the Golden Bridle meant for Enjou.
Return to Enjou when you’re done and head to the gargantuan shrine in the middle of Enkanomiya. Eventually, you’ll arrive at the Dainichi Mikoshi shrine, which brings us to…
Whitenight & Evernight Mechanics
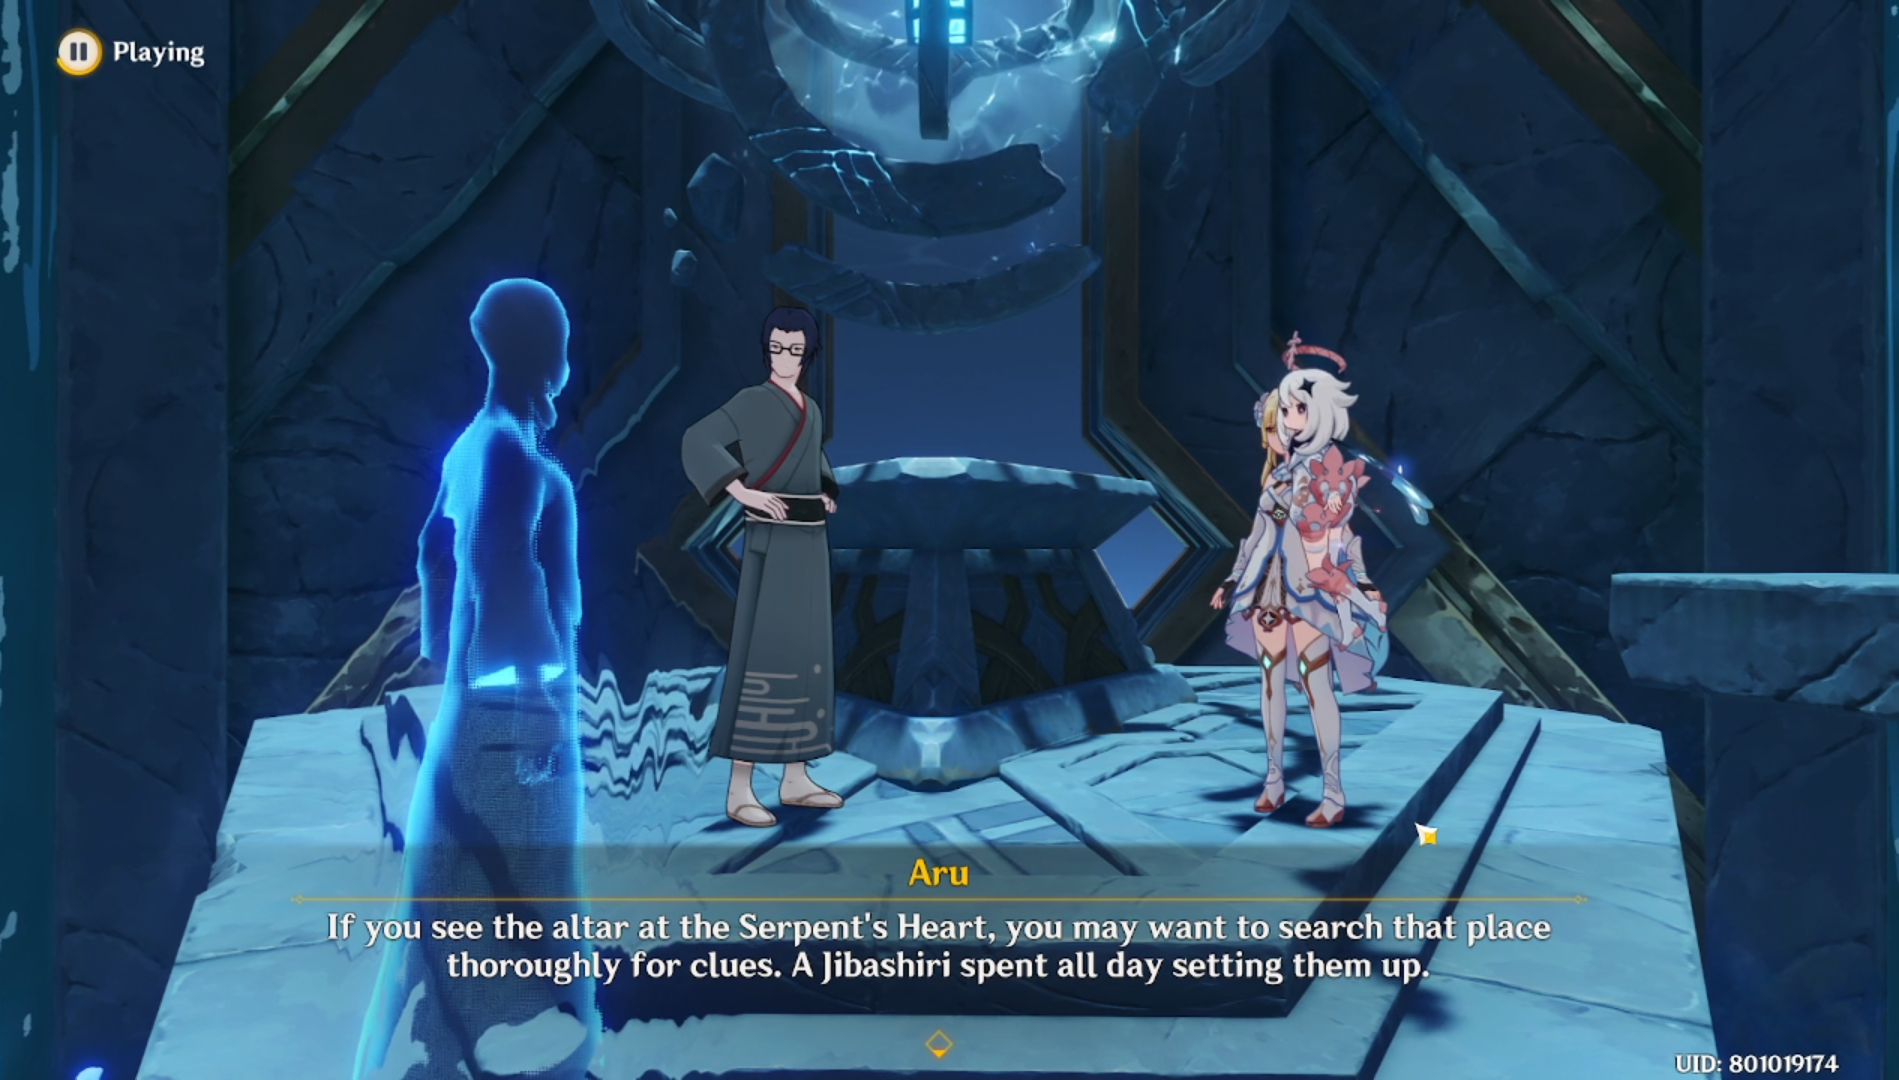
Interact with the device at the Dainichi Mikoshi area; you’ll come across an entity named Aru. He’ll tell you about the Whitenight and Evernight machines which turns night into day instantaneously for puzzles and location-revealing purposes in Tokoyo.
Certain Triangular Mechanisms, such as the one that you saw in front of the library where Enjou was, can be activated upon dealing damage. However, there are some that looked destroyed. If there’s a switch nearby, you can change to Evernight to reveal a fully constructed Triangular Mechanism. These objects can then be used to move or rotate walls.
Daises of Day and Night are also switches that are part of puzzles. Depending on the cycle, the cube could be active, letting you do activate it normally.
Got all that? Now let’s head to:
Evernight Temple
You will need to get three special fragments for Aru to continue the main quest. First stop: the Evernight Temple fragment.
The Evernight Temple area is at the eastern edge of Enkanomiya. Glide from Dainichi Mikoshi to reach the opposite landmass. You should see a narrow gap through the temple ruins; head through it and look at the glowing spots. You need to interact with these spots.
Once that’s done, you’ll head to a fight. After that, interact with the Dais of Day and Night to proceed; there should be an Evernight device nearby to make the Dais work. This will open up a small room with a Triangular Mechanism. Turn on the Whitenight to use the mechanism that will move the wall. Use the nearby wall switches to open the gate.
This will open the corridor behind; head up the staircase to reach the room with a chest. Kill the rifthounds to access the chest and get the Evernight Temple fragment.
Serpent’s Heart
The Serpent’s Heart area is at the southern edge of Enkanomiya. Make your way to the large temple ruins in this landmass.
Go to the central spot and Paimon will tell you that there’s something odd here. If this hasn’t been done, change the day cycle to Evernight; there’s a device nearby that allows you to switch it. Upon interacting with the middle portion, several symbols will start glowing.
You have to approach the spectral doorways nearby in a particular order; the order of each doorway with each of their symbols are denoted on the pips at the bottom: here’s the order:
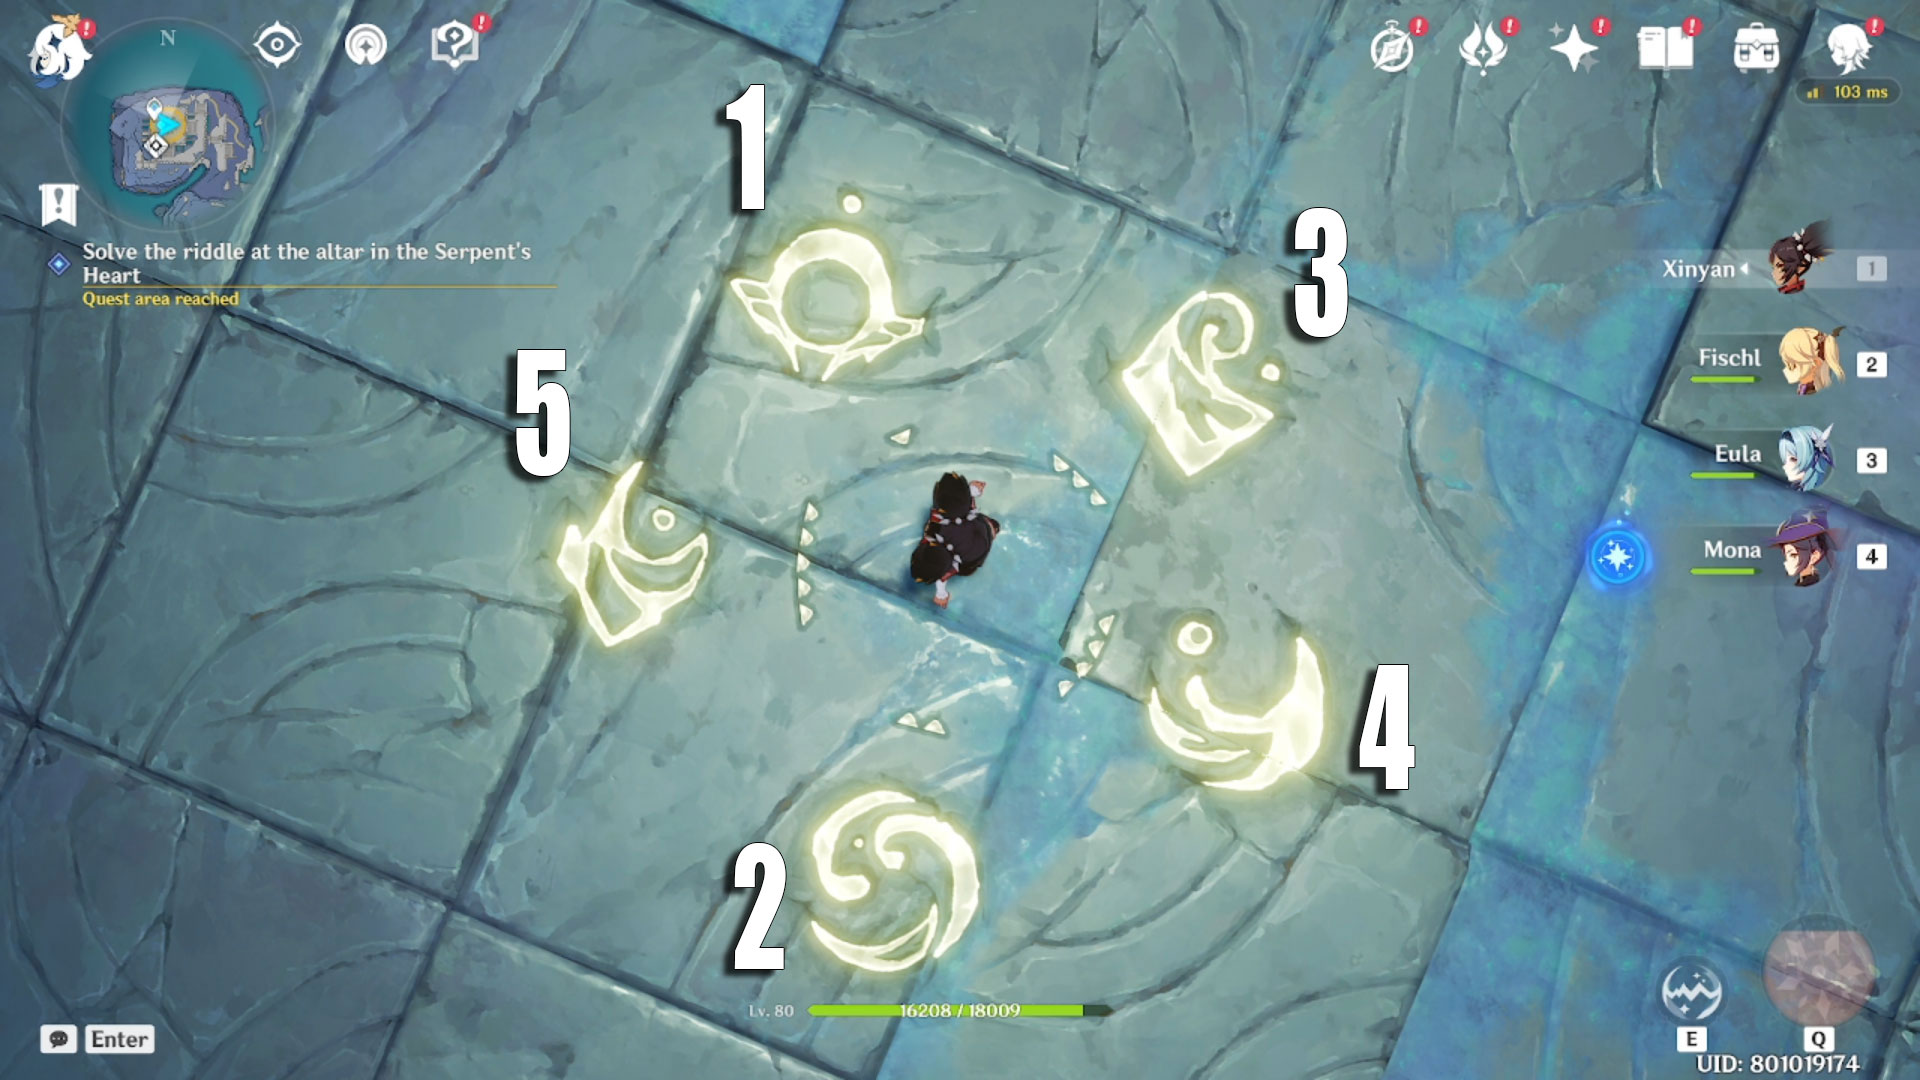
If you enter each doorway in the correct order, you’ll get the Serpent’s Heart.
The Narrows
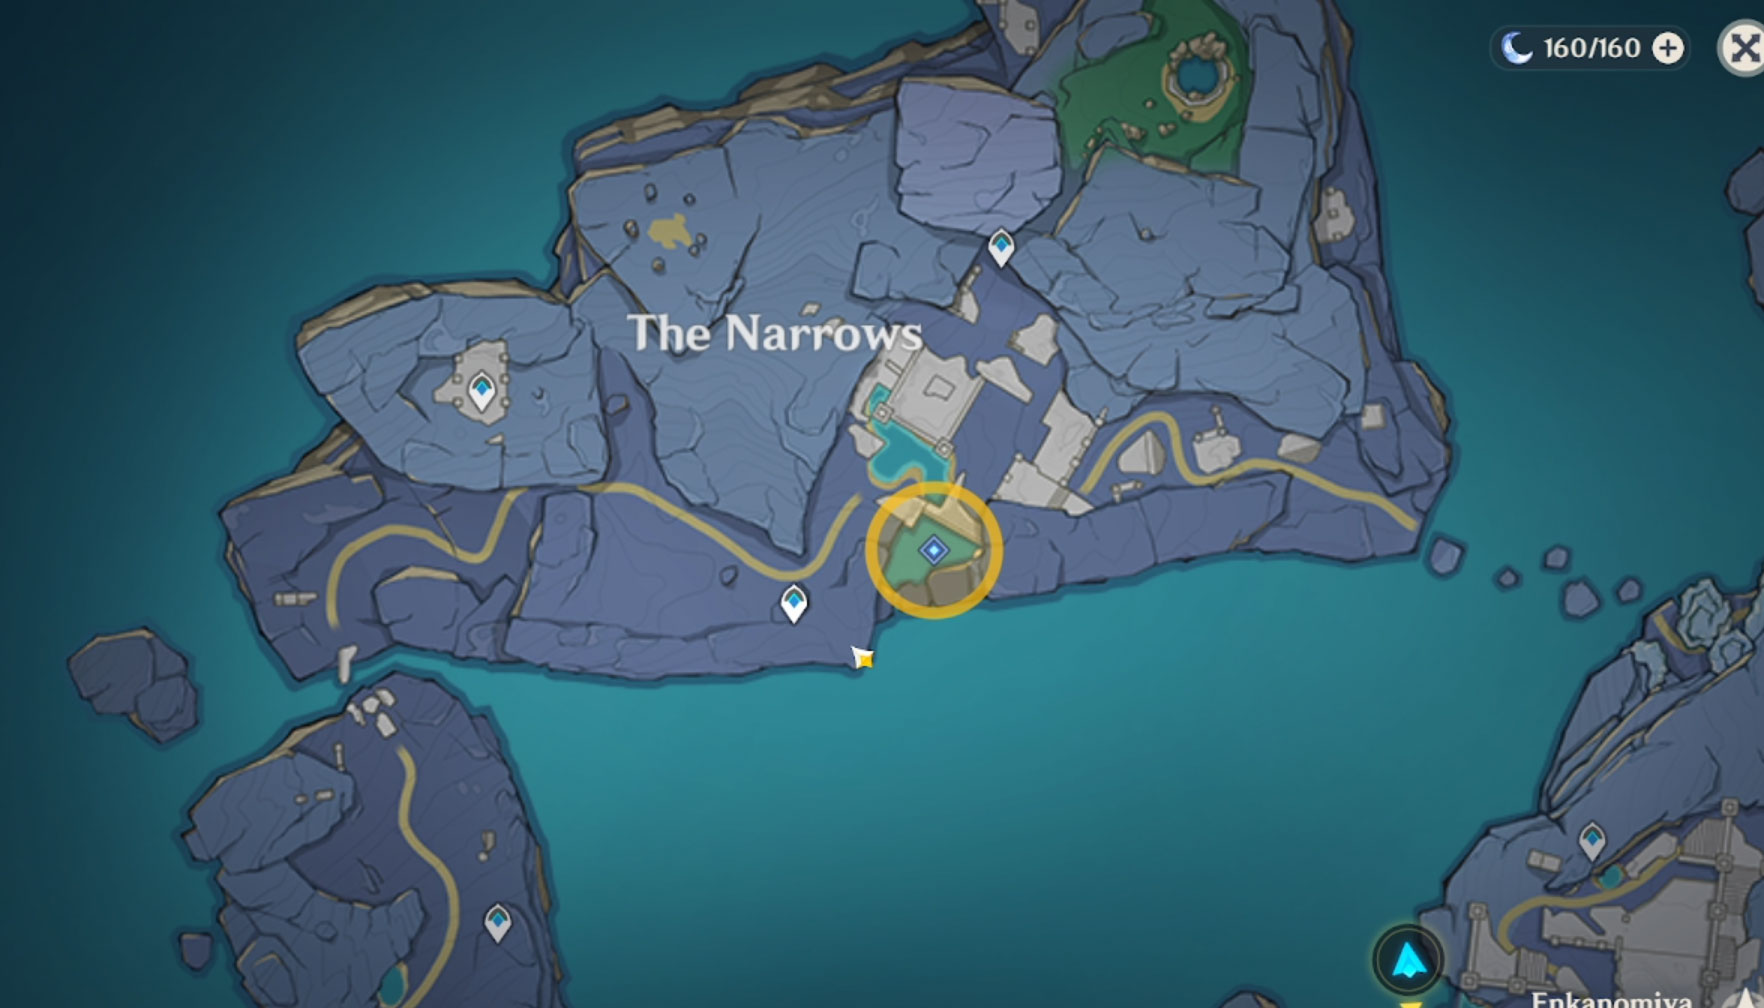
Track the quest and make your way to the marked location. Once you’re there, you should see a Whitenight/Evernight device and a Triangular Mechanism.
Make sure the day cycle is in Evernight so you can hit the Triangular Mechanism and raise the gate. Inside the narrow corridor, you can pick up 20,000 Mora, and you’ll also find a Seelie. It will float upward, so just climb and follow it.
On the second floor, you’ll find a Place of Essence Worship. Interact with the glowing decaying plant. You should find another device and Triangular Mechanism. The chest with The Narrows Fragment is right next to the latter.
Enkonomiya Conclusion
After getting all three fragments, head back to Aru. He will then activate an elevator that you can ride all the way down below the shrine. You’ll then face off against three Bathysmal Vishaps. After that, Enjou reveals his true form: an Abyss Lector Fathomless Flames elite boss.
Abyss Lector Fathomless Flames Guide
The Fathomless Flames relies on projectiles and ground explosions to overwhelm you. Here are its abilities:
- Flame Orb – Shoots several large fireballs at your character.
- Flame Burst – Causes fires to erupt from the ground. Getting hit will apply the Brand of Abyssal Flames debuff. It explodes after a while, causing tremendous damage to the entire party.
When its life drops to 25%, the Fathomless Flames will summon a couple of Cryo and Pyro Abyss Mages. It’ll also buff itself with a Pyro shield; use Hydro attacks to break this. Once this fight is done, you’ll get the Bloodcoral Branch. Give it to Tsuyoko in Sangonomiya Shrine. Congrats: you’ve finished the Enkanomiya main quest arc!
…to be updated


Leave a Comment