Borderlands 3 Guardian Takedown Guide & Legendary Loot List
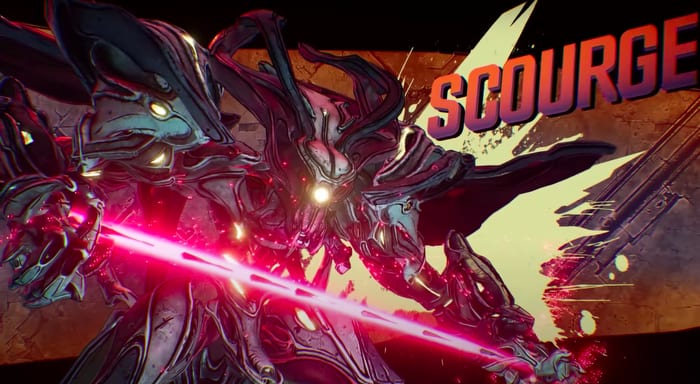
Borderlands 3’s latest update lets you participate in a raid event called the Takedown At The Guardian Breach; we’ll just call it Guardian Takedown since that’s easier on the tongue.
We’ll break down the raid for you, then head to the loot guide.
1. Once you start the Takedown, you and your party need to stand on the two crystals to open the door in front of you. You will be working with crystals a lot on this Takedown.
2. You’ll reach an area where you need to use boost pads to get to different giant platforms and “islands”. Some of these areas will have slow-spinning debris that can block your flight path when you use the pads, so pay attention when jumping.
3. Once you’re done jumping, you will reach the Bellowed Chorus. Kill all enemies here. One enemy you need to watch out for are these Diodems. They have glowing energy balls on their heads; shoot them there before they get too close and explode in your face.
You will be fighting a load of these guys. Get used to it.
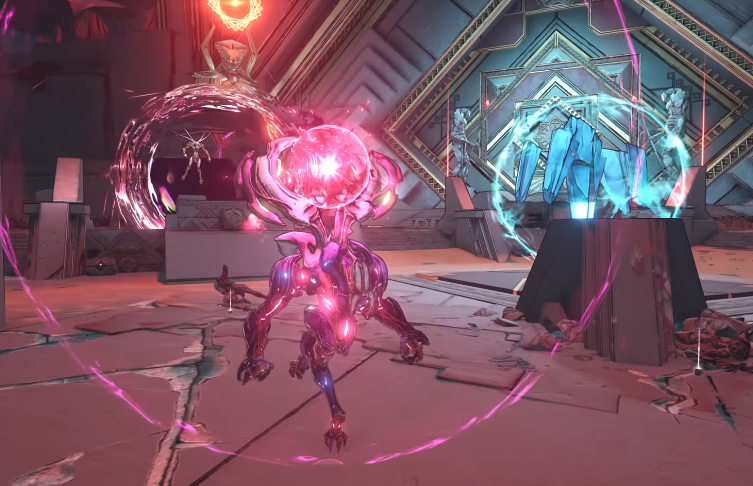
4. Once you kill the enemies, you will have to play a “stand on a crystal pad until they’re charged up” timed segment. Your party needs to coordinate and stay on the three crystal pads while killing all the enemies who appear. Do not move away from the pad. If you take too long at this section, the screen flashes and your entire team is wiped.
5. After that segment, you will proceed through the False Well. It’s a tight bridge with enemies spawning onto it. Just plow on through and don’t fall off.
6. Once you reach the end of the bridge, you’ll be in a giant hallway with a cube-shaped exit at the end. You need to jump on invisible platforms to reach to the cube and jump into it.
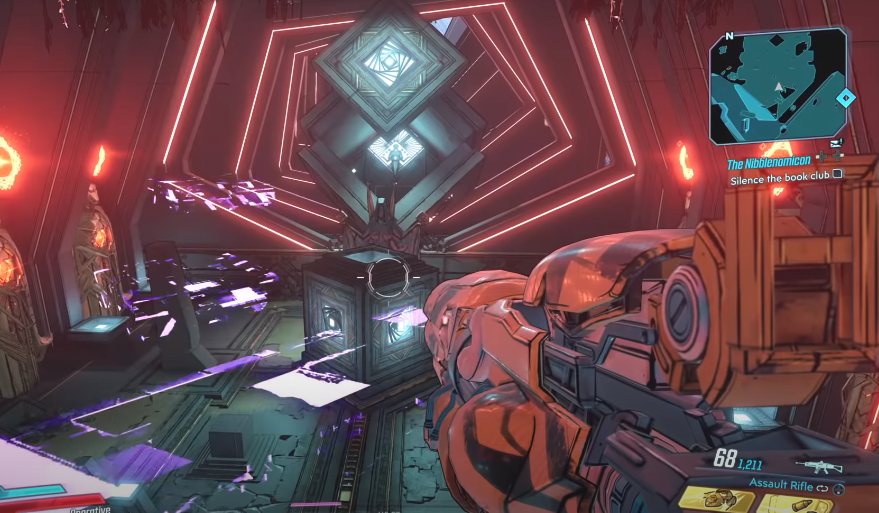
This is easier said than done because (a) the enemies that spawn can knock you off the platform and (b) if you fall to the ground, you have to kill all the enemies in the room before you can get back up again. Also (c) the platforms are sorta invisible; they temporarily flash before they go back to being invisible while they’re moving.
Our advice? Just kill all enemies when you can to make your platforming all the more easier. Just snipe them from a distance before doing the jumping.
7. You will then reach Coward’s Binding, and your first mid-boss: Anathema the Relentless. This Guardian is a handful to beat.
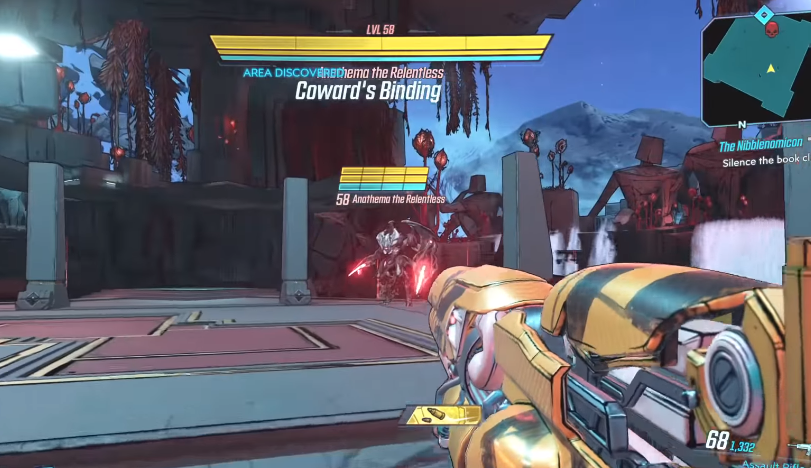
The boss will chase you around and attack you on the platform you’re on. Once you damage part of its life, it will do an AoE explosion that insta-kills you, meaning you have to take the boost pad to jump to the next platform.
As its life gets lower and lower, Anathema will spawn a clone that will do the AoE on two platforms, different from the ones you are on. In this portion, you need to pay attention to the dome AoE telegraphs before taking the boost pad so that you land on a safe platform. Make sure to look left and right before you leap; the biggest cause of death here is landing on the spot Anathema will do her AoE attacks on.
When Anathema is on its last life bar, it will spawn more clones to occupy all but one platform for its AoE attack. So basically, pay attention before you use the boost pad.
8. After that segment, you’ll be at the halfway point. Kill the enemies in the next room, then proceed to the invisible platform segments. These bits are tricky, so take your time and coax your teammates to time their jumps too.
9. Once you reach Oath and Roar, you will need to climb platforms and go to another 3-crystal pad segment again like in Bellowed Chorus. This time, the pads are far apart, so you need to split your team apart further than usual.
10. You will now proceed to Her Blind Eyes. This is a segment featuring enemies to kill and, you guessed it, more invisible platforms. The safe platforms here are smaller than usual, which means you are susceptible to getting knocked off balance by Guardian enemies.
11. Now you will reach the Court of Offerings, where you will face off against the big boss of the Takedown: Scourge the Invincible Martyr. He comes with different boss segments.
First segment: he shoots electric around him, attacks you with regular attacks, and summons enemies. Just shoot him down as you would with every Borderlands 3 boss.
Once you whittle down his life bar, you will be teleported to a bright new section with narrow bridges. Kill all enemies here, then head out the stage using the blue teleporter exit.
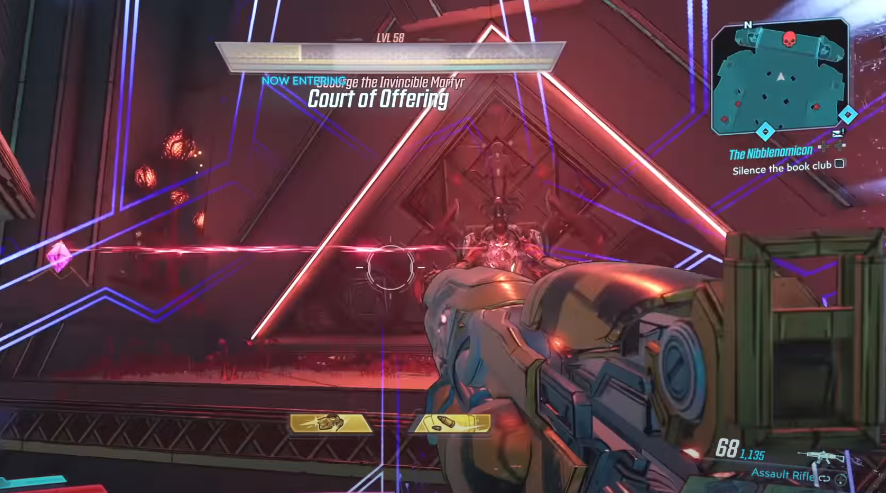
Once you’re back, you have to quickly take a boost pad to get to Scourge, then melee the crystal that’s keeping him invincible. Scourge will then resume his boss role; just attack him and watch out for other spawning enemies and diodes.
When a good chunk of its lifebar is taken out, it will be temporarily invincible and shoot out lightning in the majority of the arena. The Transformer shield is very useful here since these attacks are Shock elemental.
When Scourge is down to its final life bar, you’ll be teleported to the same white-ish sky area. Kill enemies, take the teleporter back once you’re done. When you’re back, use the boost pad to get to Scourge’s area and melee the crystal.
In this final segment, Scourge will pull off an AoE attack that will kill everything in a large radius. Stay the hell away from it and hide behind one of the many pillars in this stage to avoid it. Keep in mind that the pillars will be destroyed in this phase, so coordinate with your team and damage Scourge as fast as possible.
Once you beat Scourge, it’s pretty much over. Congratulations! Now go take your hard-earned loot.
Leave a Comment