Windjammers 2 Guide: How To Toss Your Flying Power Disc Like A Pro
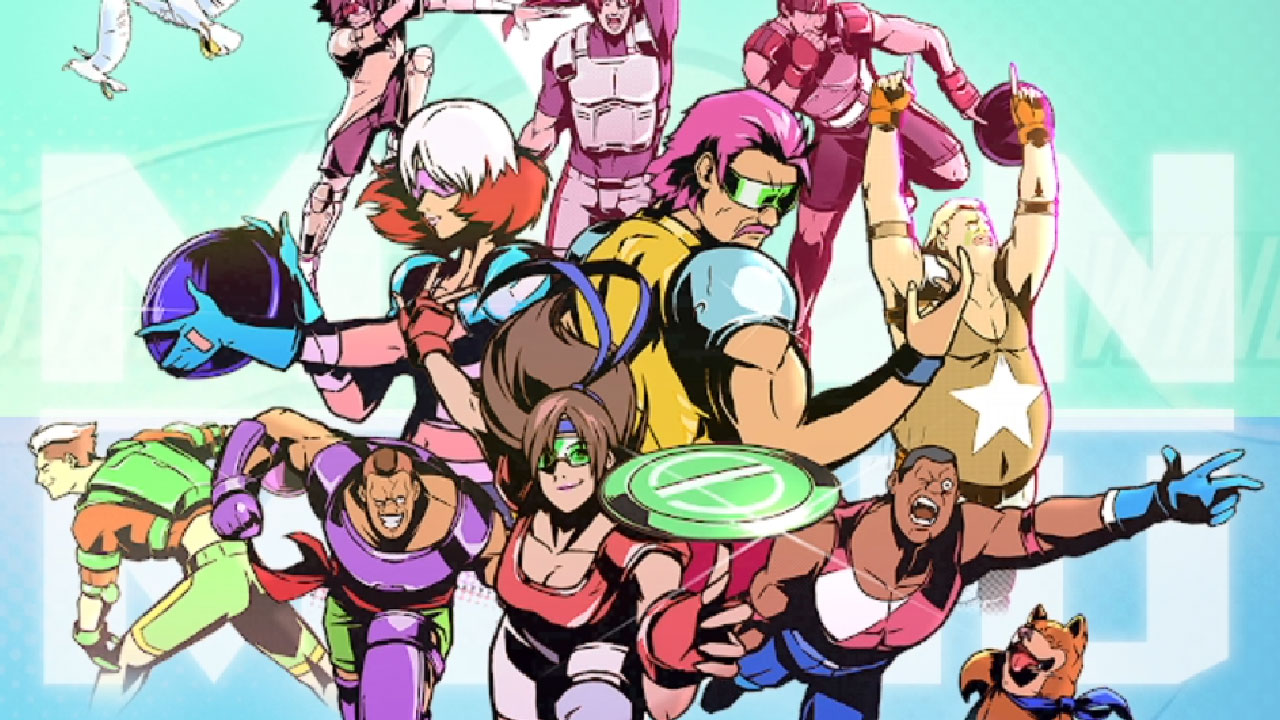
Windjammers 2 is out right now, and it’s clearly the future of 2022 sports games that only costs US$20 to play.
Truth be told, it’s technically a fighting game, but you still score points and play on a court just like most legitimate sports featuring goalposts and the art of catching and receiving. As such, you’ll need to learn some tricks of the trade when playing competitively online be it on Ranked or Quick Play.
Here are some lifehacks to get you ahead of this game’s futuristic frisbee, we mean, Flying Power Disc sport of champions. All inputs are based on the Xbox controller and numpad notations (236 for Hadouken motion).
Walk, Don’t Slide
Whether you’re using a Heavy or Light character (especially Light characters), use your walk speed to get into position for better shots. For Heavy characters that need to Slide like W.Kessell, walk before you slide if you can.
A Windjammer beginner’s first mistake is to slide/dash all across the screen. Slide only if you’re confident with your catch. Also, if you slide into a wall, you get extra recovery frames meaning you’ll be slowed down a tad.
Practice with Arcade Mode And Versus On Higher Difficulties
If you want the true Windjammers 2 casual experience, play through the game’s Arcade mode on Normal. If you want to play competitively and stand a chance online, however, you need to play the game on higher difficulty levels.
Play it on Hard or on “level 8” on the Versus Computer option. It sucks that there’s no practice or training mode at the moment, but for now, your only shot at training by yourself is beating Arcade Mode on Hard, while also playing some of the more reflex-based minigames on tap.
Know Your Shots & Options
Here’s a breakdown of each shot in the game:
Straight Shot – Press A to shoot while aiming using the Left Stick/D-Pad. Standard fast shot; if you’re receiving these, you must press A and X just as you catch it to either throw your own faster version of the shot or do a Slap Shot that whip super faster shots back to your opponent. Pressing B instead will make you do a Drop Shot that lands close to the front net; perfect for catching opponents off-guard when they’re camping at the back.
Lob Shot – Press B to throw a lob shot in a direction determined by the Left Stick/D-pad. Use this if you’ve conditioned your opponent to expect fast and faster shots to throw them off.
Curve Shot – Move the Left Stick/D-Pad in a circular fashion and press the A button to curve your shot. 789A for shots that curve south, and 123A for shots that curve north.
Jump – A good score-making option. If your opponent lobs a shot, you can catch it by pressing Y to jump, then immediately press A and any direction to throw the disc onto the ground. If your opponent doesn’t catch it in time, you score points.
Slide – Press A if you’re not holding the disc to cover further ground to catch oncoming discs on your side of the court. Different characters have different slide distances; keep that in mind. Like we said above, use this only to catch discs out of your reach and if you absolutely cannot walk to it. There’s a short recovery period too, so you can’t abuse it.
Toss – Pressing A and having your Left Stick at neutral when you’re catching a shot will make you do a Toss. The flying power disc flies up in the air with a crosshair underneath. The longer you’re under the crosshairs, the more charged up you get. This lets you do a…
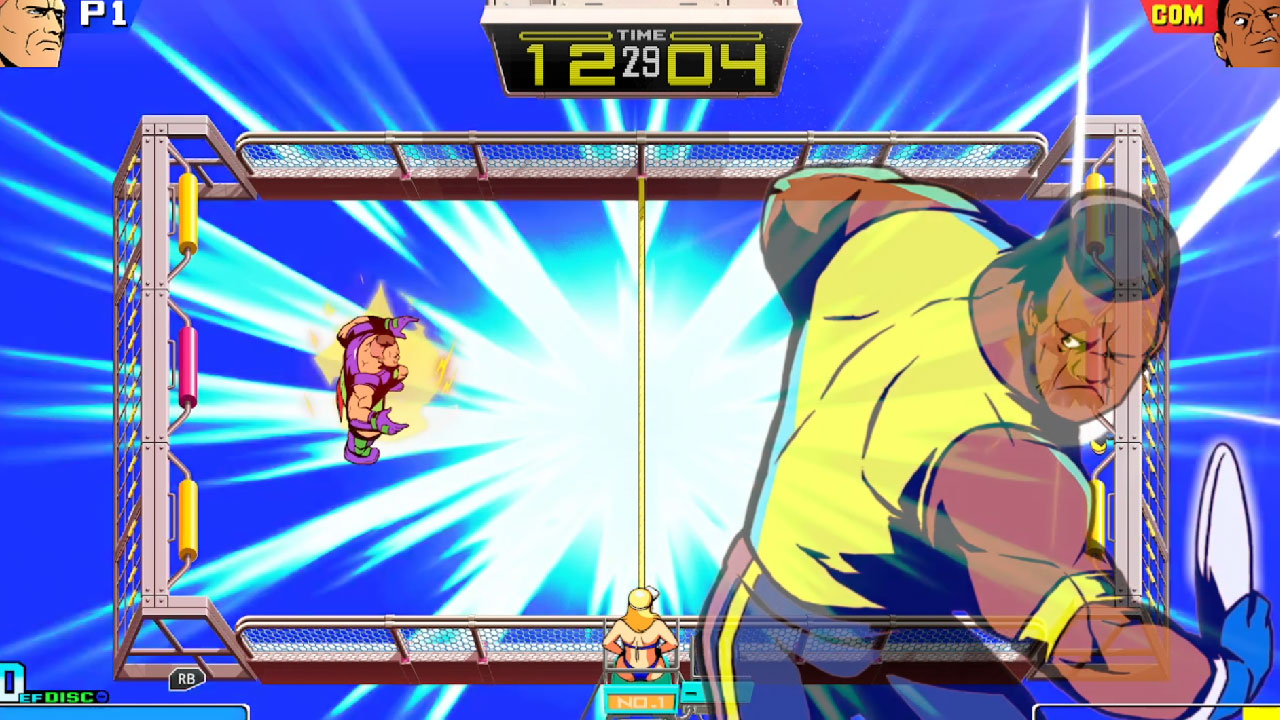
Super Shot – Once charged up, press 8 or 2 + A to do a character’s special Super Shot. These range from curvy shots that push opponents back to even confusing zig zag shots. Different characters have different kinds of Super Shots.
Super Spin – Once charged up, do the circular motion + the A button to do a Super Spin curve shot that hits hard and also bounces off the walls in a confusing fashion. 789A for shots that curve south, and 123A for shots that curve north.
Super Lob – Once charged up, press B and any direction to do a Super Lob that lands and spins forward like a fast buzzsaw.
Deflects & Slap Shots – Yes, you can deflect and slap shot both regular and Super Shots/Spins/Lobs, but only if you time your A, X, and B button presses right along with the appropriate inputs. For instance, 789A when you’re about to catch a Super Shot will let you throw your own Super Spin in retaliation. Get the timing wrong, and you’ll get pushed back and throw a regular shot.
On The Super Meter
The Super Meter is pretty important in Windjammers 2. Here’s a breakdown:
Super Meter – If your Super Meter is full from all the throwing and receiving, you can press A+B (or RB) to do your own Super Shot without any charging up needed.
Super Defense – If you see a fast shot coming your way and are too late to catch it, or if it’s on the ground, press A+B (or RB) to automatically Toss the disc up in the air, making you able to charge up and do other counter shots.
This only works if you’re close to the disc. This is very important to use when playing competitively; a Super Defense can mean life or death in Windjammers 2.
Windjammers 2’s Many Courts
Just like any sports game worth their salt, Windjammers 2 has tons of courts for players to try out. Here’s a breakdown.
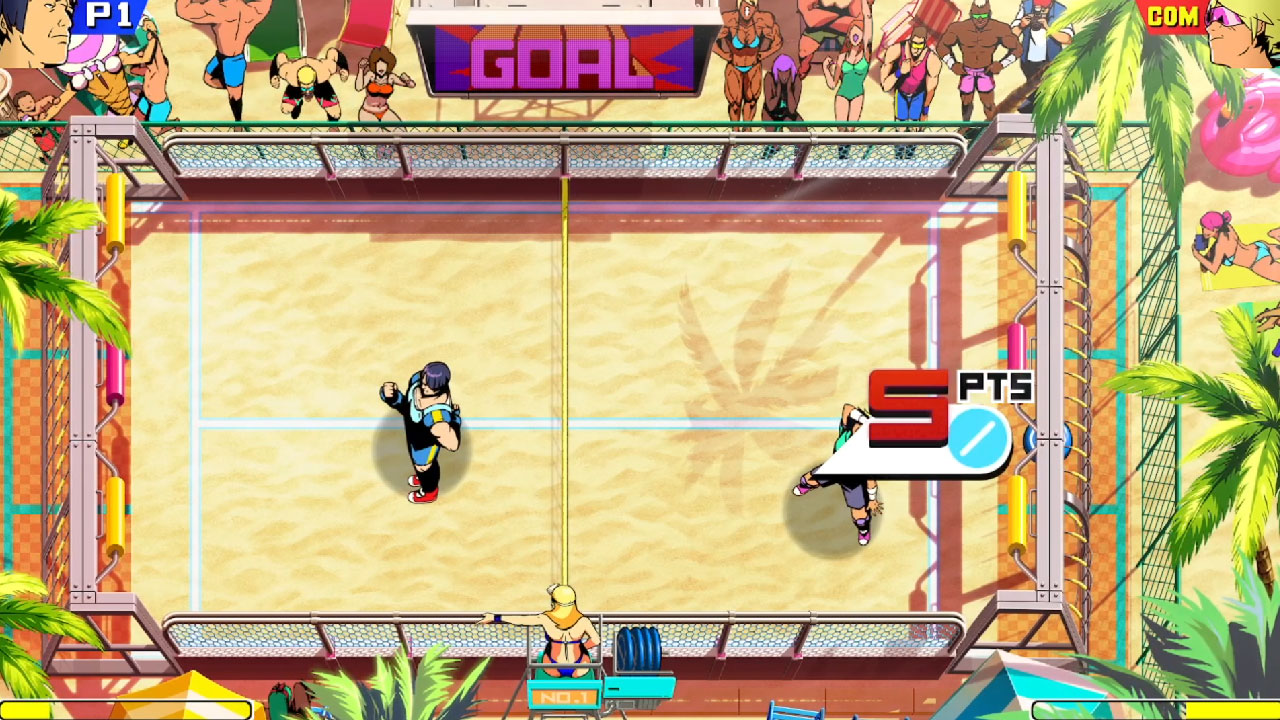
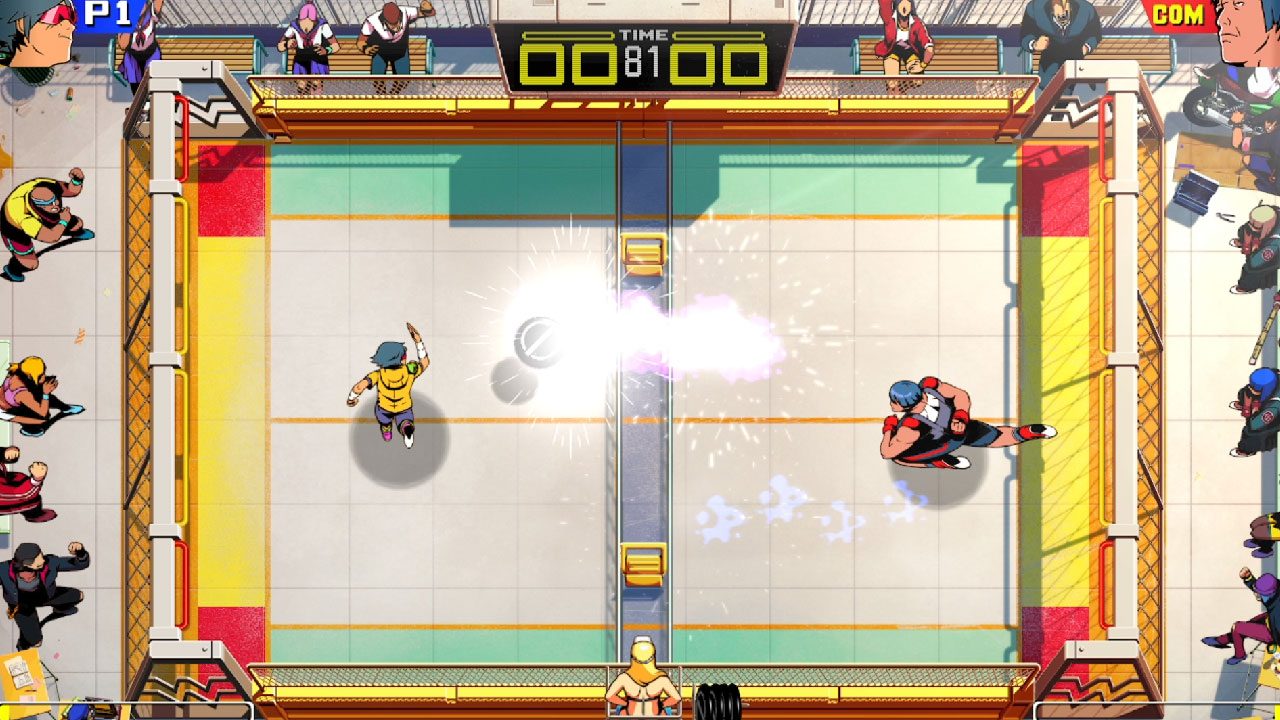
Beach – Default level everyone gravitates onto. Narrow, with goalposts evenly divided. Top and bottom goalposts are worth 3 points, while centre post is 5 points. Discs that land on the beach are worth 2 points if not caught.
Rooftop – Wide court with tiny top and bottom goalposts, as well as two obstacles on the top and bottom left of the centre net. The obstacles do not move from disc ricochets. Top and bottom goalposts are worth 5 points while the big centre goalpost is worth 3 points. Discs that land on the court are worth 4 points if not caught.
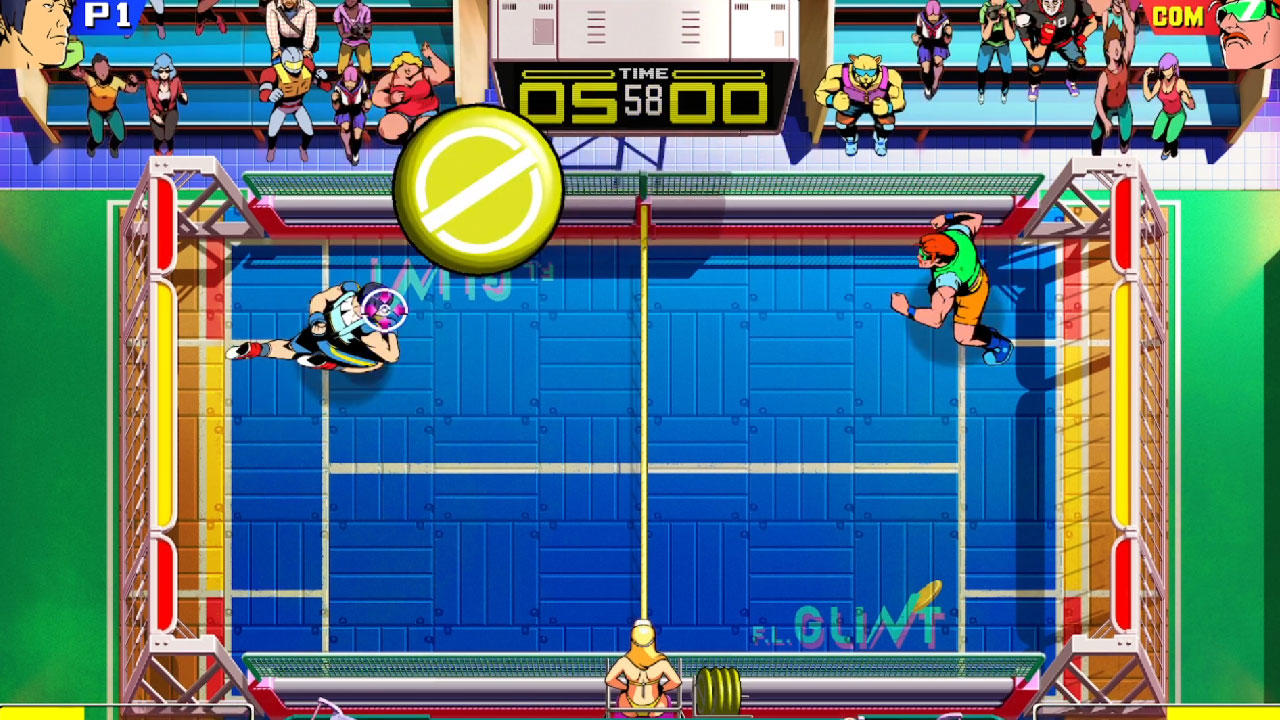
Tiled – Narrow court, with the centre goalpost being bigger than the corner posts. Top and bottom goalposts are worth 5 points, while the centre post is worth 3 points. Discs that land on the court are worth 4 points if not caught.
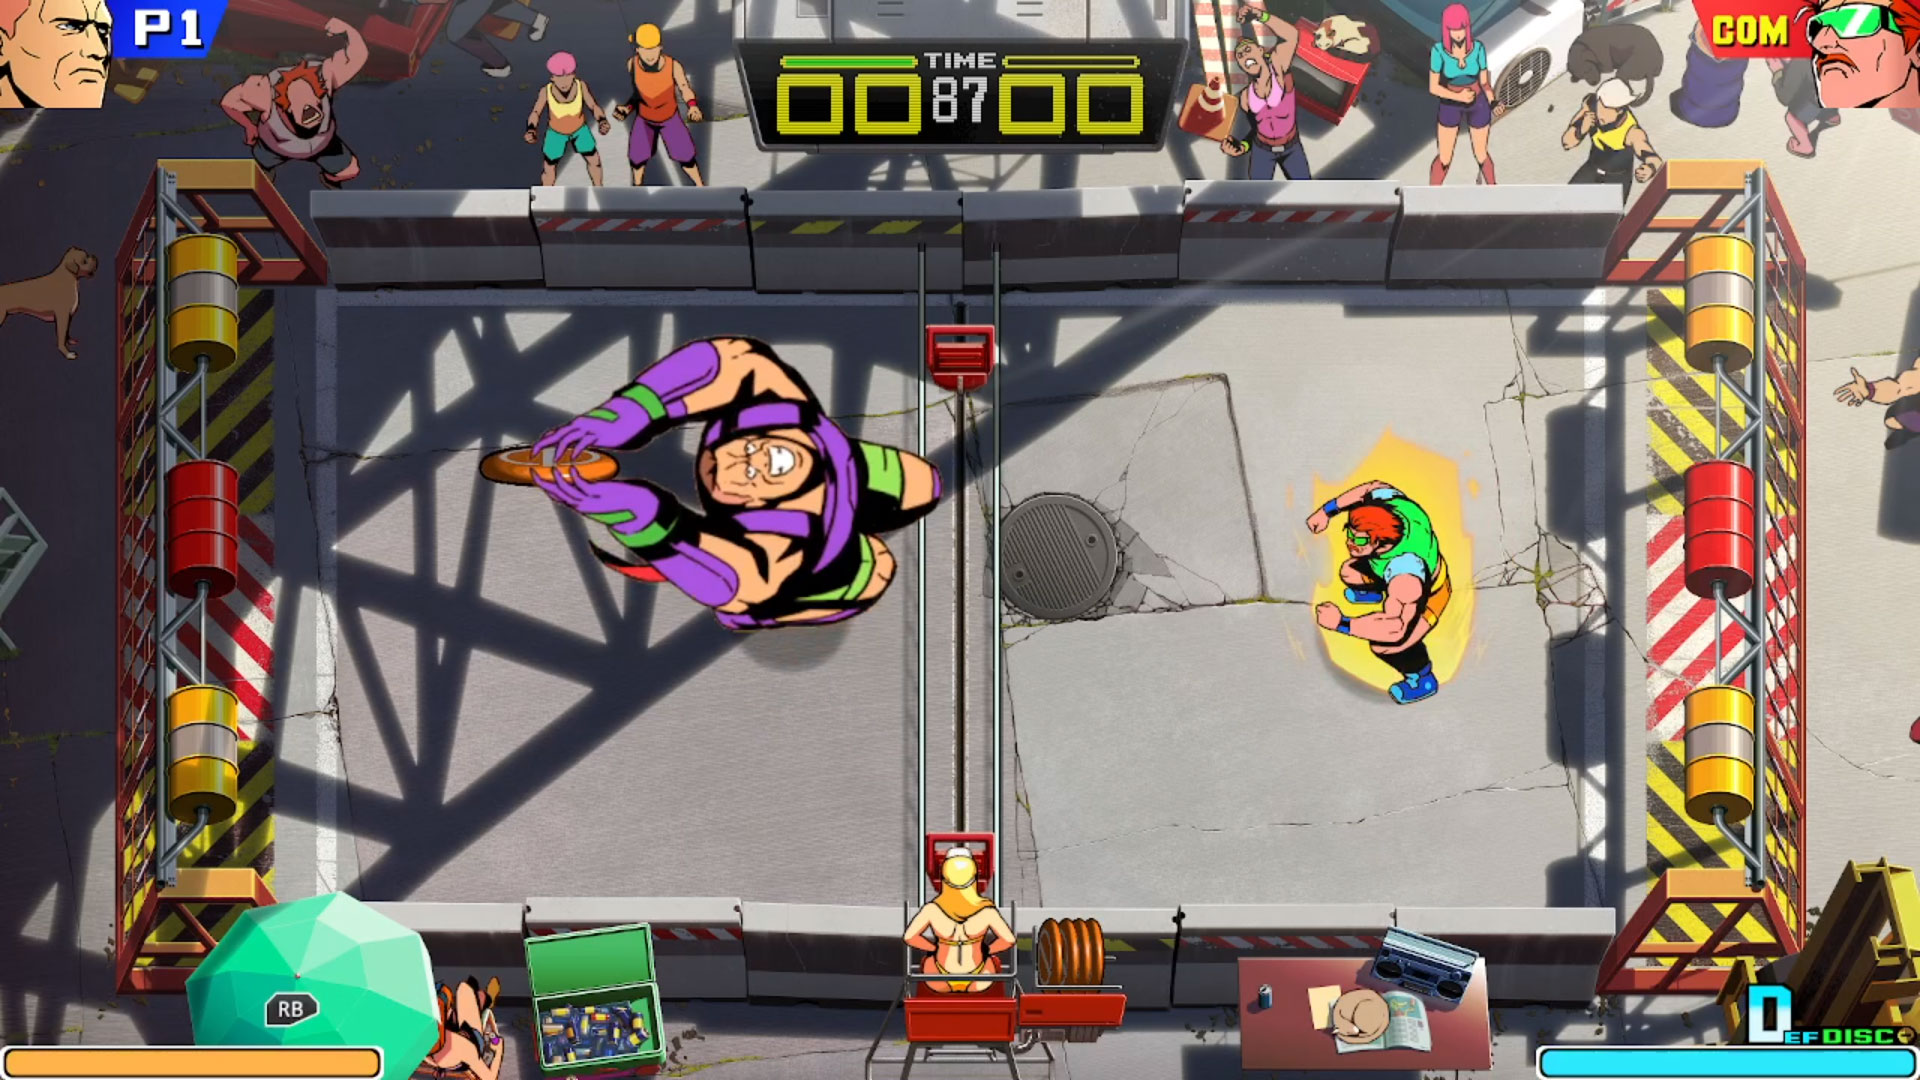
Junkyard – Narrow court with two obstacles at the center that can be moved via disc ricochets. Top and bottom goalposts are worth 3 points while the centre goalpost is worth 5 points. The three posts are even-sized.
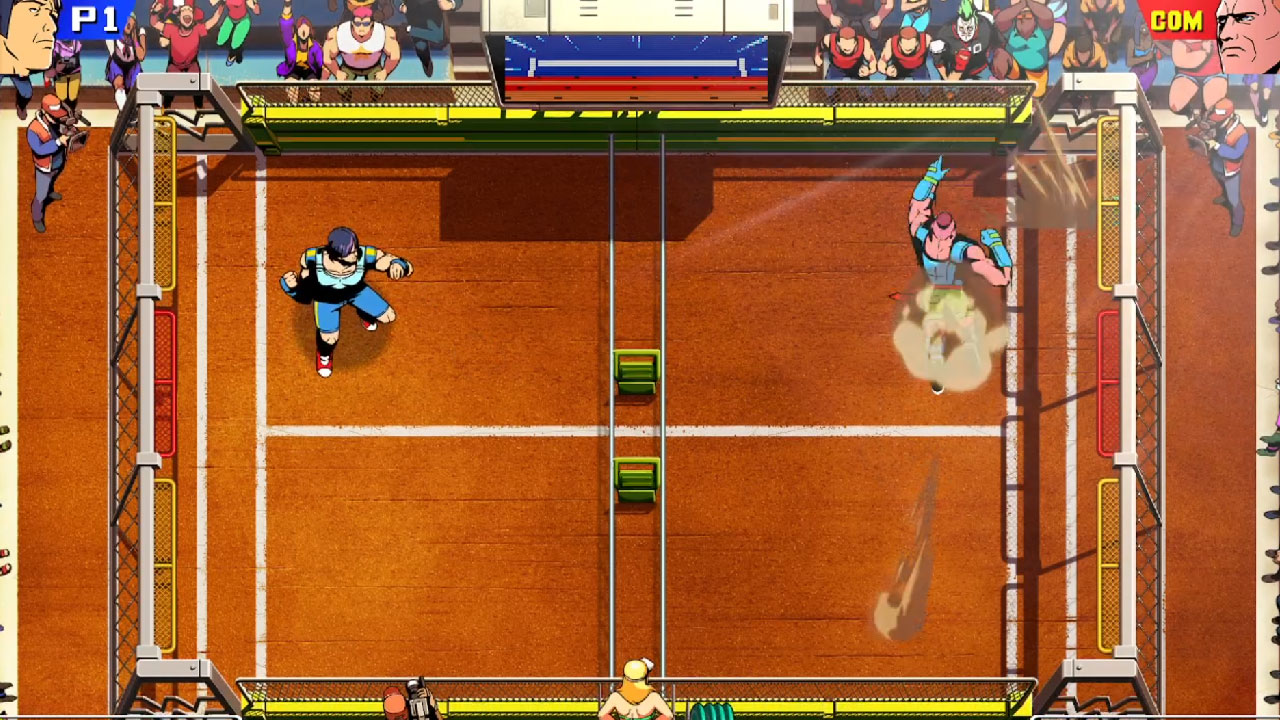
Clay – Wide court with two obstacles at the center of the front net; they cannot be moved via disc ricochets. Top and bottom goalposts are worth 3 points and are slightly bigger than the centre post. Center goalpost is worth 5 points. Discs that land on the court are worth 4 points if not caught.
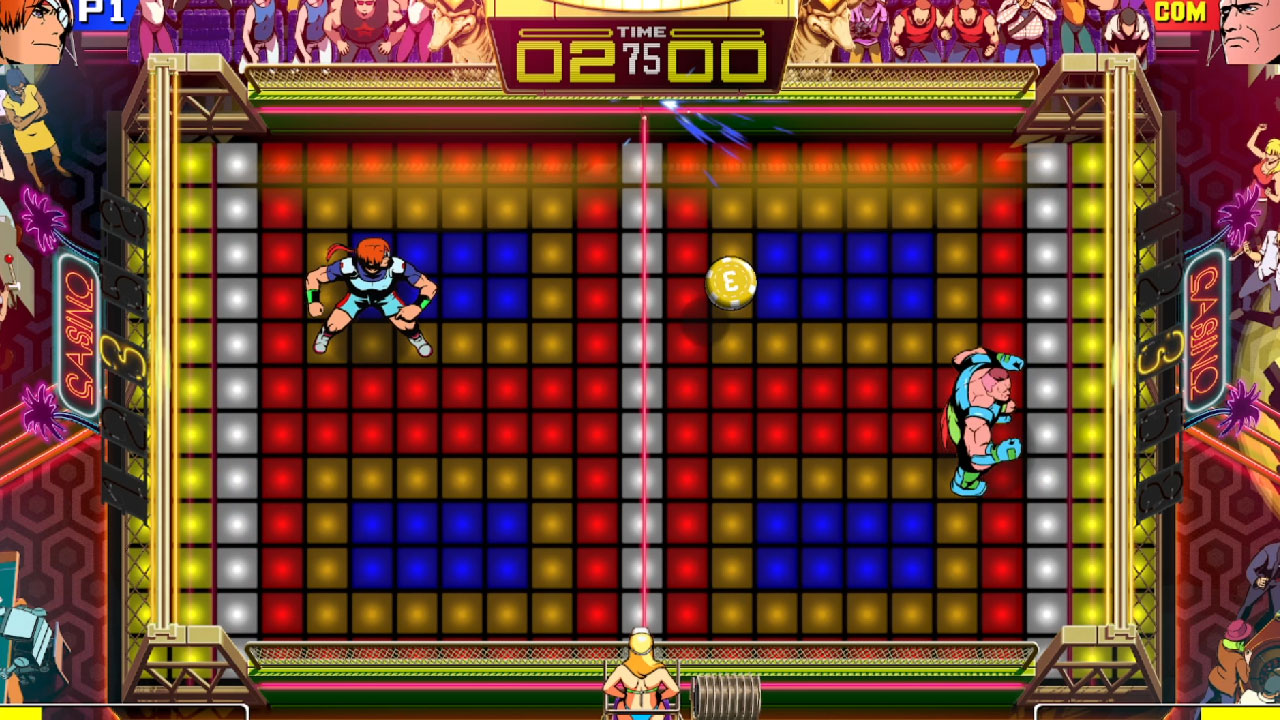
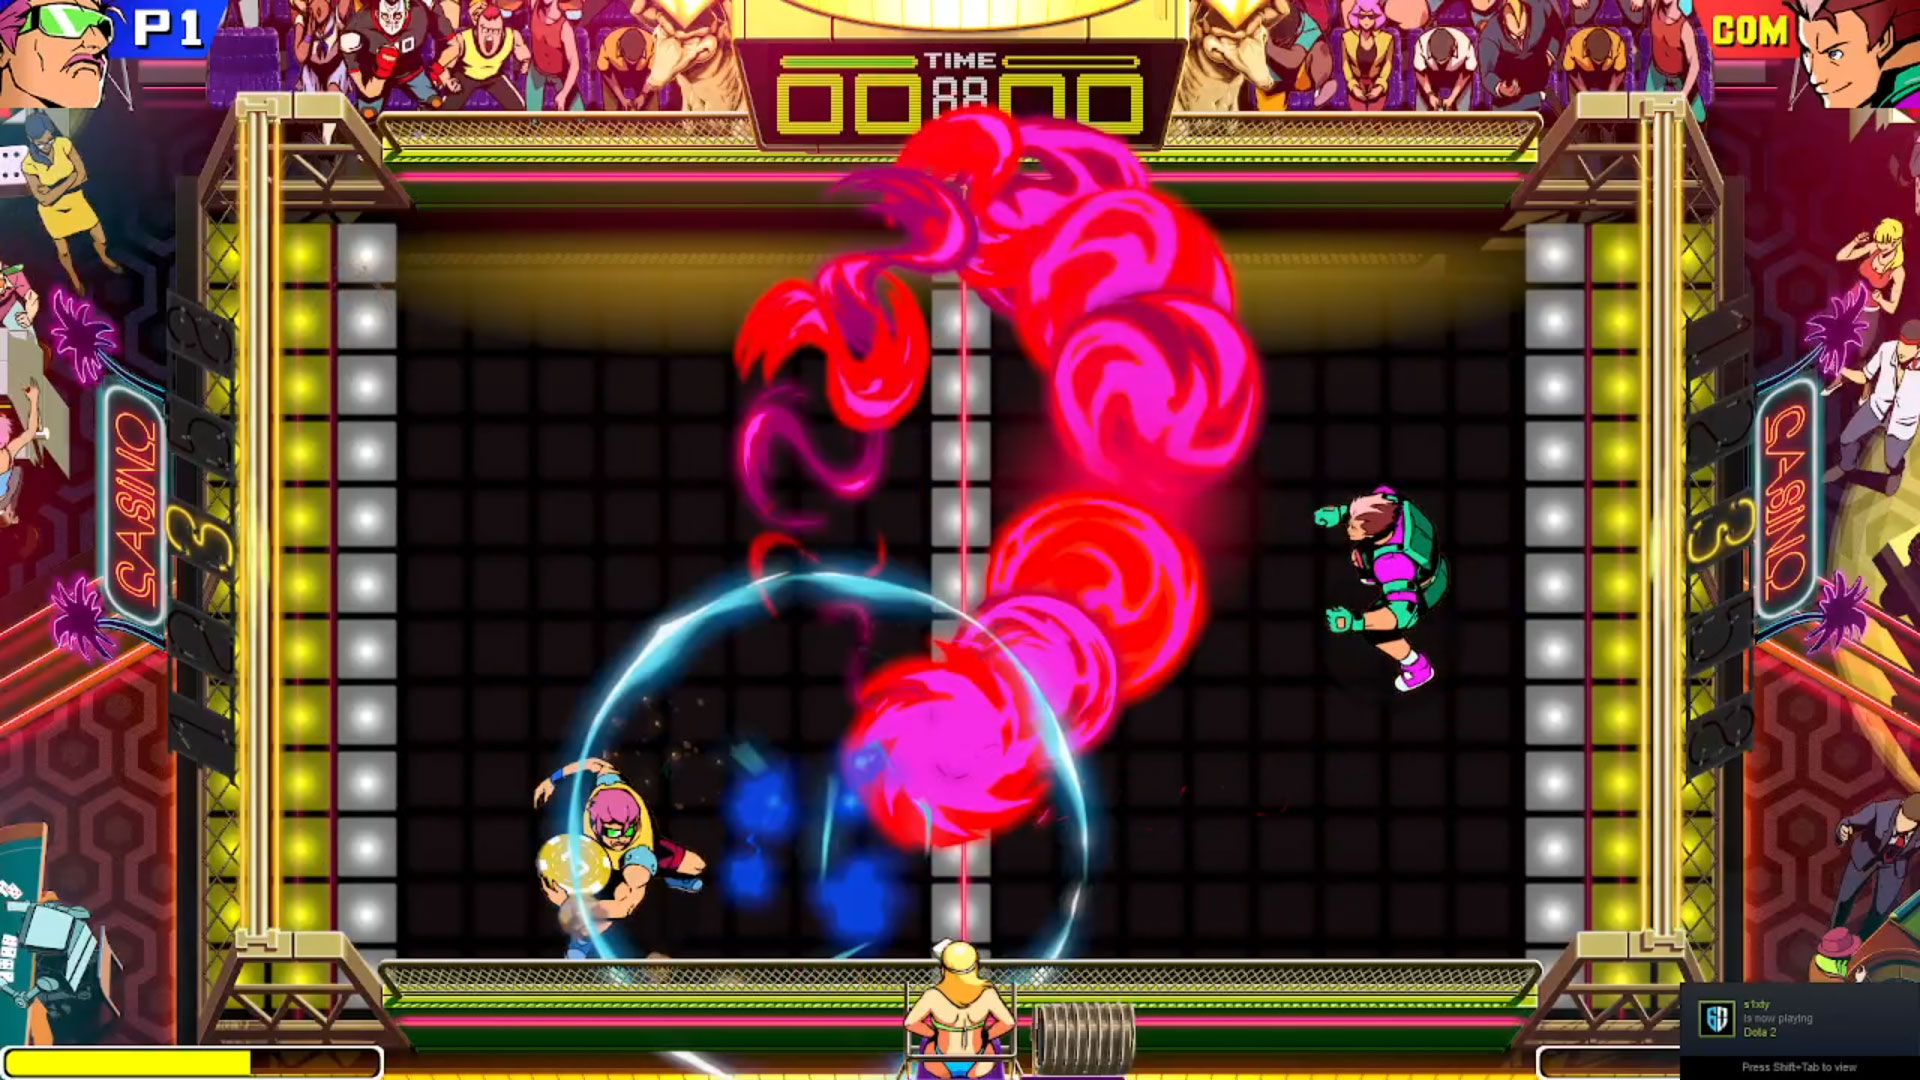
Casino – Wide court with a unique scoring mechanic: at the start of the fight, the court determines how much the goal score is: 1,2,3,5, and 8. If the disc you’re holding is worth 3 points, you score 3 points for that goal. The numbers are determined randomly. Will most likely be the least-picked stage in esports and competitive play.
Ring – Narrow court with top and bottom goalposts that are wider than the middle one. Top and bottom goalposts are worth 5 points while the centre post is 3 points.
Arena – Narrow court with evenly-sized goalposts. Top and bottom posts are worth 3 points, while the center posts are 5 points.
Stadium – Wide court with the top and bottom goalposts being extremely wide. Top and bottom goalposts are worth 3 points. The centre goalpost is worth 5 points and will change width depending on how well you score. If you’re doing well and are leading, the red goalpost gets wider and wider until your opponent scores a goal. Discs that land on the floor are worth 2 points if not caught.
Best Courts To Pick
Beach – Narrow and standard for most matches.
Tiled – If you love doing curved and corner shots, this court is great for you.
Arena – A great court for comebacks.
Character Tier List (To Be Determined)
This bit will be updated in the future; the game just came out and needs about 3 months to make educated predictions on this.
Having said that, L.Biaggi and J.Costa are great beginner characters to start with. They have average speed and decent tricky power shots, as well as have decent run speed to cover the court.
Character Endings


Leave a Comment