Risk of Rain 2 Early Access: Tips & Tricks And Items Guide To Weather The Storm
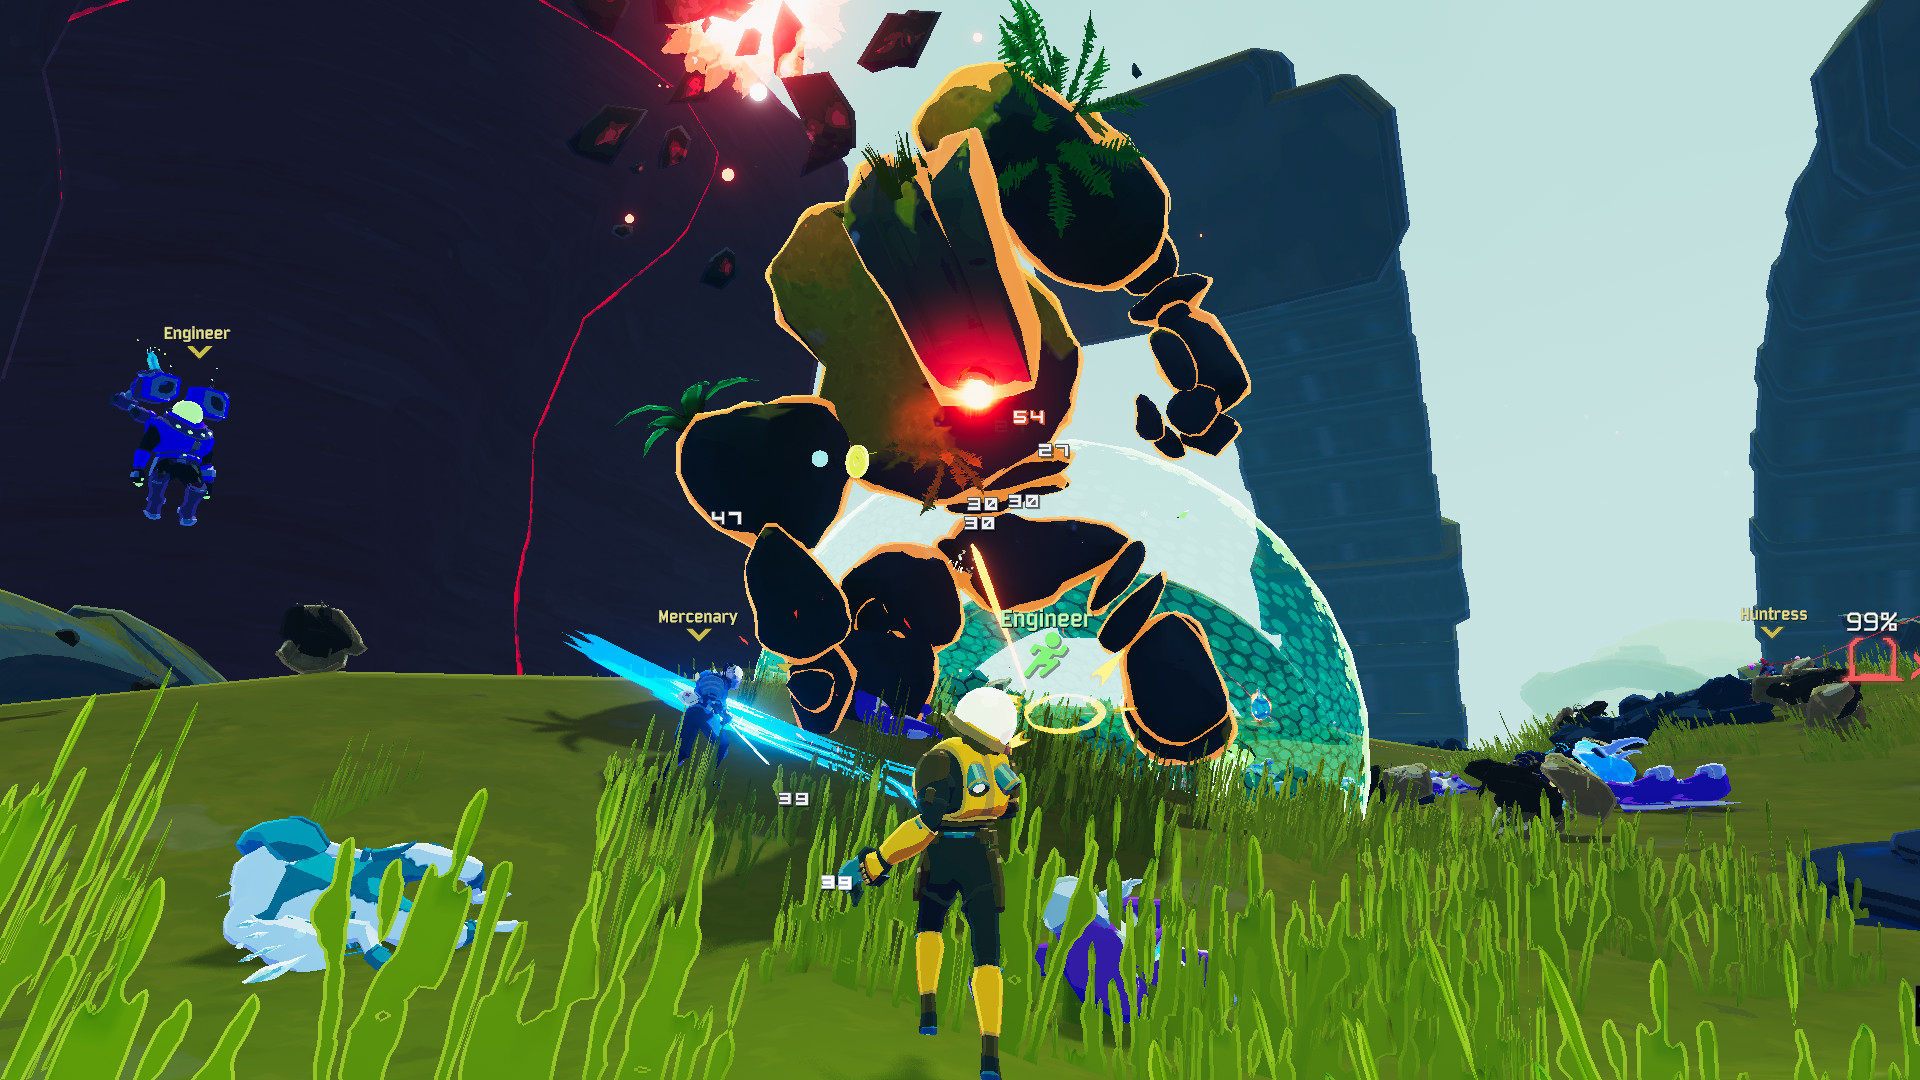
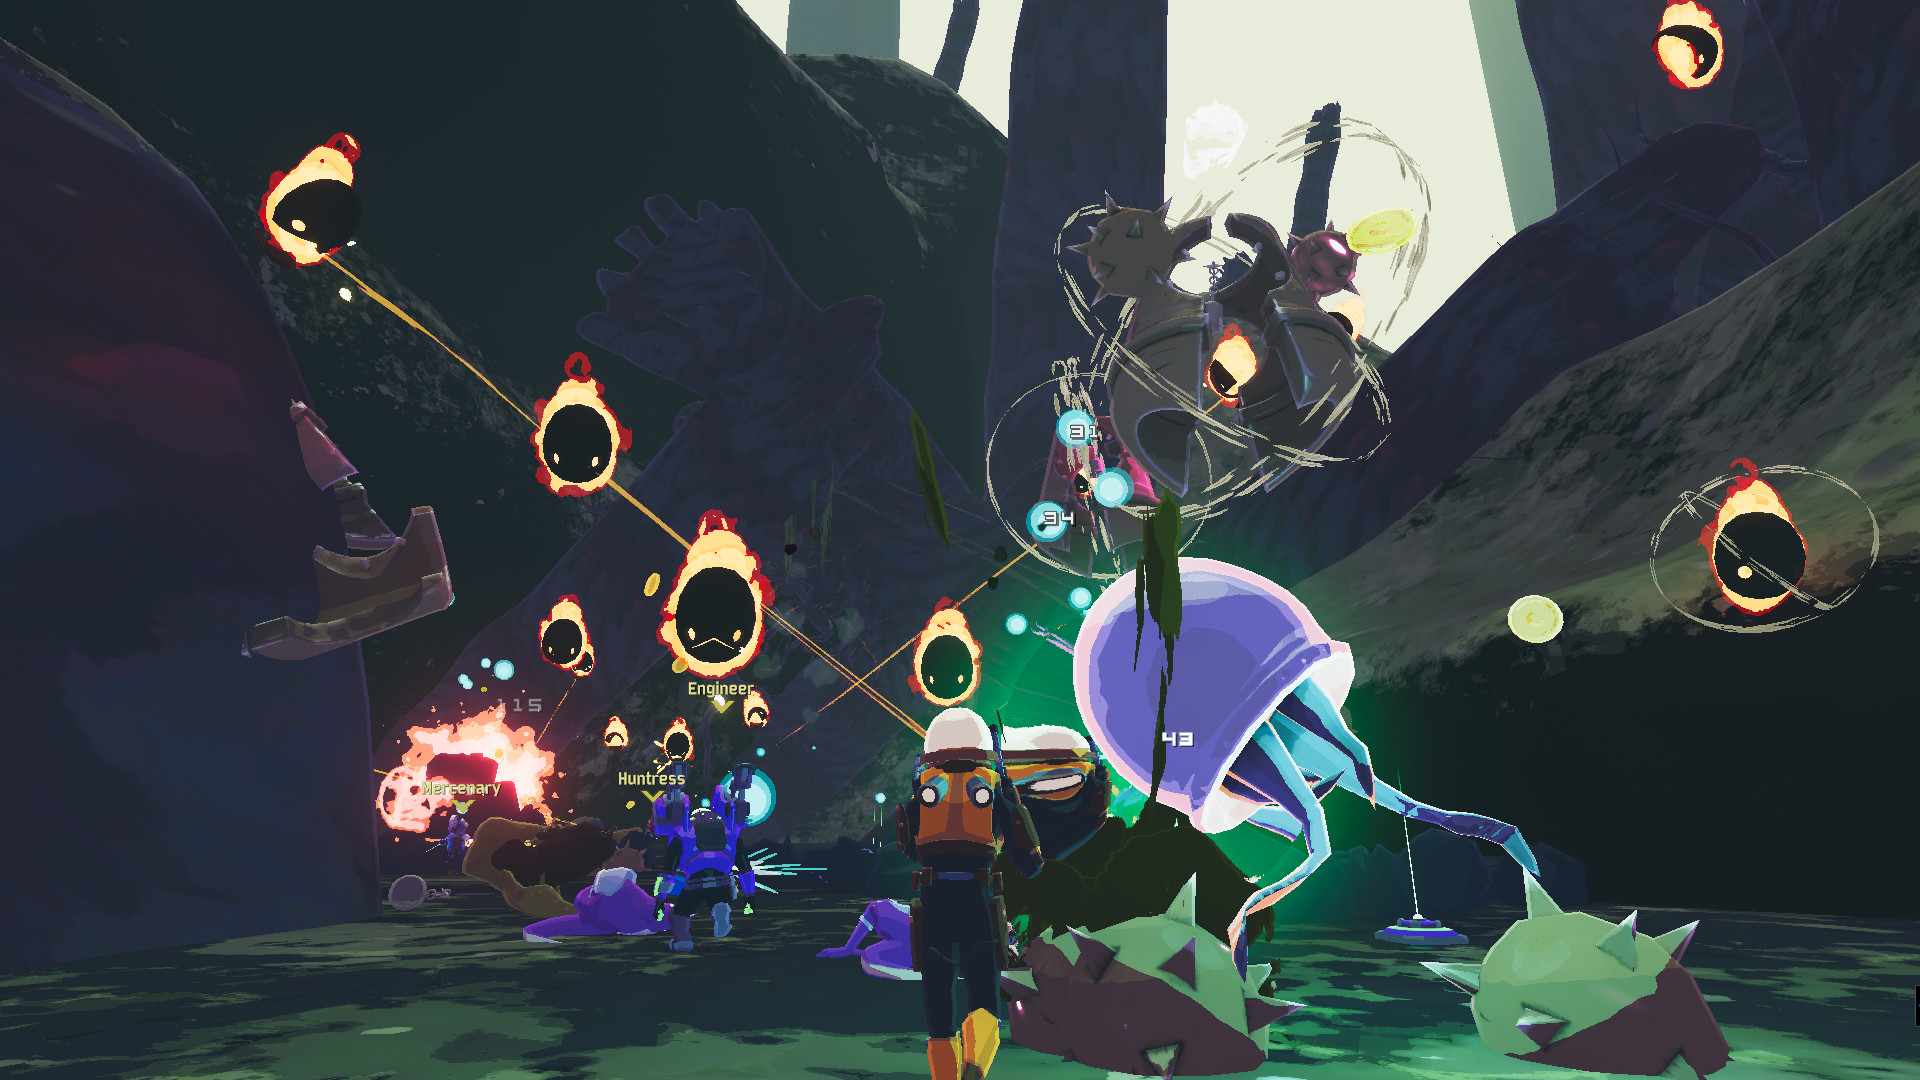
Risk of Rain 2 is an Early Access roguelike action game done right, barring a few glitches here and there. It also can get overwhelming and tough if you’re careless and can’t handle the oncoming swarm of aliens and floating fireball thingies.
Let us help. Here’s how you can survive this game.
Focus on the Portal After Some Searching & Leveling Up
As soon as you launch your first game, the timer is ticking down, and the game is progressively going to get more difficult as time passes. While it’s tempting to chill around and kill enemies, you’re not optimizing your time.
You need to run past them and find the portal. When you’re at the teleporter, the level’s boss will spawn, along with other enemy NPCs. Those enemy NPCs spawning throughout the entire game? They’re going to rush towards you at the portal. It’s fine to kill them if they’re in your way, but just keep in mind they’re going to bumrush you as soon as you activate the portal.
However, this changes if there’s too many. If you need to thin the herd, do so, but don’t spend too much time on this. At the very least, gain up to Level 4 and 5 before dealing with the portal boss.
If you can’t find the portal, just look for the red firefly effect when looking around. Red particles and fireflies signify a nearby portal.
Go Mobile
Not with your handphone. Just keep moving. Whether you’re in single player or multiplayer mode, just be moving and jumping and bunny-hopping; you’re less likely to get hit if you do.
Find springboards and devices that push you to the top and on high ground. There will be less enemies spawning there, though it depends on how wide the ledge and upper area gets. Protip: if you wish to jump down without taking fall damage, just do a roll just before you hit the ground. Or if you get the double jump item (Hopoo Feather), just do the jump before you land.
Use Money for Chests, not Experience Points
When you finish off the level’s boss, you can leap through the teleport immediately. All of your money converts to experience points for your character. The experience points are not what you want to use your money. Instead of jumping through, spend some time running through the level and discover any chests you haven’t already opened.
You’re going to want as many items as possible, and the best way to acquire those is to open up chests and to use shrines. After you’ve defeated the boss, spend some time going through the level and grabbing what you can. Try to hurry it up though; the game gets more and more difficult the longer you wait around.
Increase Mouse Look Sensitivity
Because you’re consistently moving around a 3D world, the speed of your mouse is going to determine how quickly you can react to enemies shooting at you. You can do this by jumping into the options menu from the main screen.
When you’re there, hop on over to the “Keyboard + Mouse” tab, or the “Controller” tab, if you’re using that. You can find it as the first option, under “Look Sensitivity.”
Actively Complete Challenges
Do your best to complete Risk of Rain 2’s plethora of challenges; they carry over even after death. This means you can unlock the items you want that will appear in the next playthrough, and the one after that.
For a full list of items and the challenges you need to complete to get them, scroll to our Items section of this guide.
Playing with Friends? Use The Ping If You’re Playing With Friends
You have the option to highlight objects and notify your teammates off it. To do so, on Keyboard and Mouse, hit your middle mouse button. On the controller, you can do this by hitting the right stick down.
You can change these preset keys if you want, but just make sure you have a button handy to ping your pals for additional chests or if you found the portal.
Lonely? Join the Game’s Official Discord
For those who missed out on the buy one Risk of Rain 2 copy, get a second for free deal, you may feel like you won’t have the chance to play with friends who don’t want to buy the game.
You’re in luck, though. The Risk of Rain 2 developers created an official Discord channel for you to join. You can jump in, meet other passionate community members, and find some willing to join you on your next run. You can join the Discord channel here.
Prioritize These Items
We saved the best for last. Risk of Rain 2 features a ton of items to power up your character. But which ones should you look out for? Here are a few suggestions:
- Backup Magazine: Having extra secondary shots help, especially if they can stun enemies. To unlock this item, complete the Flawless challenge (fully charge a portal without getting hit).
- Med Kit: Heals 10HP 1.1 seconds after taking damage. Adds an additional 10 HP restoration per stack. Very useful when you’re fighting. Unlock this by completing the Elite Slayer challenge (kill elite enemies).
- Infusion: Getting more health is usually a boon especially in the late game. Infusion lets you increase health permanently by 1 point. Unlock this item by completing the Slaughter challenge.
- Fuel Cell: Adds an additional equipment charge and reduces equipment cooldown. Unlock it by completing the Experimenting challenge (pick up 5 different types of equipment).
- Unstable Tesla Coil: This item dishes out AoE lighting attacks on a continuous basis. Good for crowd control. Unlock this item by completing the Macho challenge (deal 5,000 damage in one shot).
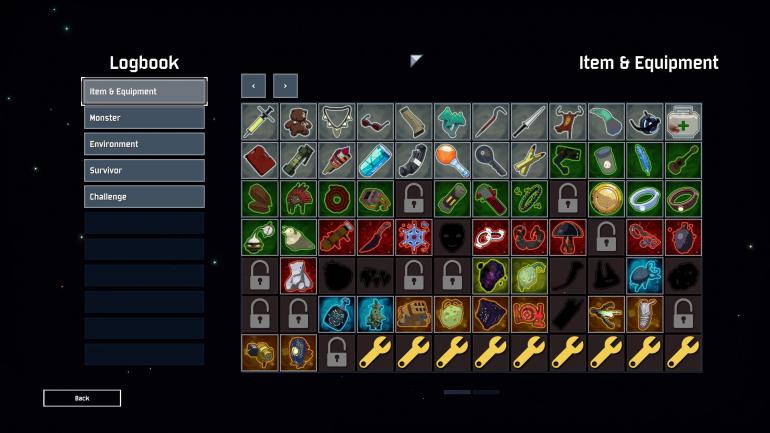
Items List (via Gamepur)
Common (Grey)
- Armor-Piercing Rounds:Â You deal an additional 20 percent of damage (per stack) against bosses — Requirement: Complete a teleporter event
- Backup Magazine:Â Add one more charge to your secondary skill. Stacking this item increases the charge by one. — Requirement: Fully charge a teleporter without receiving damage.
- Bundle of Fireworks:Â When you open a chest, eight fireworks explode out and deal 300 percent base damage to enemies. You gain four fireworks per stack. — Requirement: You must duplicate the same item at a 3D printer seven times in a row.
- Bustling Fungus:Â You stand still for two seconds, creating an area of healing for
- Cautious Slug:Â Your health regeneration increases by 250 percent when you’re outside of combat, and this effect stacks by 150 percent per stack.
- Crowbar: You deal 150 percent damage to enemies above 90 percent health. This ability’s damage percentage increases by 30 for each stack — — Requirements: Discover 10 unique Common items.
- Energy Drink:Â Your sprint speed increases by 30 percent and each stack adds another 20 percent.
- Gasoline:Â When you kill an enemy, they ignite all nearby enemies within 12 meters. Enemies burn for 150 percent base damage. You gain 75 percent damage and four meters per stack.
- Lens-Maker’s Glasses:Â You have a 10 percent chance to strike your opponent and deal double damage critically. This stacks at 10 percent.
- Medkit:Â You gain a heal 1.1 seconds after you take damage. The heal starts at 10 and increases by 10 per stack. — Requirement: You must defeat an Elite-type enemy
- Monster Tooth:Â When you kill an enemy, the foe drops a healing orb that heals for 10 health, and each stack increases the heal by five.
- Paul’s Goat Hoof:Â Your movement increases by 14 percent per stack. — Requirement: You must fail the Shrine of Chance 3 times in a row.
- Personal Shield Generator:Â You gain an additional 25 health shield, and recharges when you’re not taking damage. You can increase the protection by 25 per stack.
- Rusted Key:Â With it, you can find a hidden cache in each level. Stacking this item means you increase the item rarity in the create — Requirement: Defeat the boss that spawns at the teleporter in under 15 seconds.
- Soldier’s Syringe:Â Increases attack speed by 15 percent per stack
- Sticky Bomb:Â You have a five percent chance of hitting an enemy with a bomb. When it explodes, it does 250 percent base damage. Each stack adds 125 percent.
- Stun Grenade:Â You have a five percent chance to stun an enemy for two seconds. This effect increase by five percent per stack.
- Tougher Times:Â Increases 15 percent per stack chance to block incoming damage, and this is not affected by luck. — Requirement: You must die five times.
- Tri-tip Dagger:Â You have a 15 percent chance to cause an enemy to bleed for 240 percent base damage. This effect stacks for 15 percent per item.
- Warbanner:Â When you level up, a banner drops increasing the attack and movement speed of you and your allies within the aura. The aura starts at 16 meters and increases by eight per stack.
Uncommon (Green).These show up in larger chests, elites, bosses, and shrines.
- AtG Missile Mk 1:Â You have a 10 percent chance to fire a missile, which does 300 percent damage. Each stack adds another 300 percent.
- Bandolier:Â You have an 18 percent chance of having an ammo pack drop after killing an enemy, which resets all of your cooldowns.
- Berzerker’s Pauldron:Â When you kill three enemies within a second of each other, you go into a frenzy for six seconds, which increases your movement speed by 50 percent and your attack speed by 100. Stacking this item raises the time by four seconds. — Requirements: Charge the teleporter with less than 10 percent of your maximum health.
- Chronobauble:Â When hitting enemies you slow their movement speed down by 60 percent for one second. Stacking this item increases the slow time by one second, for each stack.
- Fuel Cell:Â Your equipment gains an additional charge and reduces the cooldown by 15 percent. Stacking this item increases the charge by one, and you gain 15 percent cooldown each time. — Requirements: Pick up five different types of Equipment.
- Harvester’s Scythe:Â Your critical chance increases by five percent. When you land a critical strike, you heal for eight health. Stacking this item increases healing by four. — Requirements: Complete a Prismatic Trial
- Hopoo Feather:Â You can perform an additional jump, and stacking this item adds one each time.
- Infusion:Â When you kill an enemy, your health permanently increases by one, to a maximum of 100. Stacking this item increases the maximum by 100. — Requirements: Kill 3,000 enemies.
- Kjaro’s Band: You have an eight percent chance when hitting an enemy to have a runic flame tornado, dealing 500 percent damage. Stacking this item increases the damage by 250 percent, per stack. — Requirements: Discover the hidden chamber in the Abandoned Aqueduct.
- Leeching Seed:Â When you deal damage, you heal one health. This amount increases by one for every stack.
- Old War Stealth kit:Â When you take damage, you have a chance of increasing your movement speed by 40 percent and gain invisibility for three seconds. You can improve the invisibility length by 1.5 seconds for each stack. The more damage you take, the higher chance you have of this effect happening.
- Predatory Instincts:Â Landing a critical strike increases your attack speed by 10 percent. You can reach a maximum cap of 30 percent. — Requirement: You must achieve 200 percent attack speed.
- Red Whip:Â When you leave combat, your movement speed increases by 30 percent. Stacking this item increases the effect by 30 percent, each time.
- Rose Buckler:Â Your armor increases by 25 while sprinting. Stacking this item increases the armor by 25.
- Runald’s Band: You have an eight percent chance when hitting an enemy to have runic ice hit them, which slows them down by 80 percent and deals 250 percent damage. Stacking this item increases the damage by 125 percent. — Requirements: Discover the hidden chamber in the Abandoned Aqueduct.
- Ukulele:Â You have a 25 percent chance to fire chain lightning for 80 percent damage, damaging three targets that are within 20 meters of you. Stacking this item increases the number of enemies you can attack and the range by two.
- Wax Quail:Â When you jump as you sprint, you receive a boost forward by 10 meters. Stacking this item increases the lift forward by 10 meters. — Requirements: Reach 300 percent movement speed, and this includes when you’re sprinting.
- Will-o’-the-wisp:Â When you kill an enemy, you spawn a lava pillar in a 12-meter radius that deals 350 percent base damage. Stacking this item increases the range by 2.4 meters and the damage by 280 percent.
Lunar (Blue). Get these items via spending Lunar Coins.
- Brittle Crown:Â You have a 30 percent chance to hit your enemy and gain three gold. However, you lose gold equal to the amount you get hit for, or you lose the percent of gold equal to the percent of maximum health you lose based on the hit; the game choices whichever is larger. When stacking, the amount of gold you receive increases by three.
- Corpsebloom:Â Your healing increases by 100 percent more. However, all of your healing gets applied over time. You can heal for a maximum of 10 percent of your health per second. When stacking the maximum percentage is reduced by 50 percent.
- Effigy of Grief:Â All characters get slowed by 50 percent, and their armor is reduced by 20.
- Glowing Meteorite:Â Summon meteors from above and have them damage everyone for 600 percent damage per hit. The effect lasts for 20 seconds. — Requirements: You must carry five lunar items in a single run.
- Hellfire Tincture:Â Have all characters within eight meters catch fire. The effect’s damage goes off of your maximum health, which occurs every second. The burn hurts allies for 0.5 times the base strength, and enemies are hurt 24 times the base strength.
- Shaped Glass:Â Increase your base damage by 100 percent, but your maximum health is reduced by 50 percent. Stacking this item increases the base damage by 100 percent, and further reduces your health by 50 percent.
- Transcendence:Â All of your health gets converted into a regenerating shield. You gain 50 percent maximum health. Stacking this item increases the maximum health gain by 25 percent.
Boss (Yellow). Get them by killing portal bosses.
- Queen’s Gland:Â Every 30 seconds, you’re summoning a Beetle Guard who deals 300 percent damage and has 100 percent health. You can only have one guard up at a time. Stacking this item increases the number of guards you can have alive at once. — Requirements: The Beetle Queen Boss drops this item. This item is not guaranteed to drop.
- Titantic Knuri: Holding this item increases your maximum health by 40 and your health regeneration by 1.6 health per second. Stacking this item increases your maximum health by 40, and your health regeneration by 1.6. — Requirements: You must kill the Titanic Guardian boss. This item is not guaranteed to drop.
Legendary (Red). Rare drops, but worth the hassle.
- Alien Head:Â Your skill cooldowns are now reduced by 25 percent. Stacking this item increases the cooldown by 25 percent.
- Brainstalks:Â When you kill an elite enemy, you enter a frenzy for three seconds, and none of your skills have cooldowns. Stacking this item increases the frenzy timer by two seconds. — Requirements: You must defeat an elite boss while on Monsoon difficulty.
- Brilliant Behemoth:Â All attacks from now on explode in a four-meter radius, dealing 60 percent additional damage.
- Ceremonial Dagger:Â When you kill an enemy, you release homing daggers to other targets.
- Dio’s Best Friend:Â When you die, this item goes in your sted, and you return to life. You are invulnerable for three seconds. — Requirements: You must stay alive for 30 consecutive minutes.
- Frost Relic:Â When you kill an enemy, three icicles surround you and deal 3×33 percent damage.
- Happiest Mask:Â When you kill an enemy, there’s a 10 percent chance to spawn a ghost of that fallen foe that deals 500 percent damage. The ghost lasts for 30 seconds. Stacking this item increases how long the spirit stays generated by 30 seconds.
- Hardlight Afterburner:Â Increases your utility skill charges by two, and reduces its cooldown by 33 percent. Stacking this item increases the charges by two, per stack.
- H3AD-ST v2:Â Your jump height gets increased. When you hit the ground, you deal a kinetic explosion and deal 2300 percent base damage that scales up with speed. The ground explosion recharges every 10 seconds. Stacking this item decreases the explosion’s cooldown by 50 percent.
- N’Kuhana’s Opinion:Â You now store 100 percent of your healing as Soul Energy. When your soul energy reaches 10 percent of your maximum health, you fire a skull that deals 250 percent damage. — Requirements: Find the Altar of N’Kuhana.
- Rejuvenation Rack:Â Any healing you receive is increased by 100 percent. Stacking this item raises the healing increase by 100 percent. — Requirements: Reach the third teleporter event without needing to heal.
- Sentient Meat Hook: You have a 20 percent chance to hit an enemy and have homing hooks that attack up to 10 enemies, and deal 100 percent damage. Stacking this item increases the number of enemies hit by five — — Requirements: Loop back to the first stage of the game.
- Soulbound Catalyst:Â Kill enemies reduces your equipment’s cooldown by four seconds. Stacking this item increases the cooldown time by two seconds, per stack. — Requirements: Discover and activate eight unique Newt Altars.
- Unstable Tesla Coil: You now fire out lightning that hits three enemies for 200 percent base damage every 0.5 seconds. This ability turns off every 10 seconds. When stacking this item, you increase the number of enemies you hit by three per stack — — Requirements: Deal 5,000 damage in a single attack.
- Wake of Vultures:Â You gain the power of any killed elite enemy for eight seconds. Stacking this item increases the amount of time by five seconds.
- 57 Leaf Clover:Â Any random effect you have happen to you gets rolled a second time, with a more likely positive outcome, on your behalf. Stacking this item increases the number of rolls by one. — Requirements: Complete 20 stages in a single run.
Equipment (Orange). These active items are useful but they have large cooldowns.
- Disposable Missile Launcher:Â Fire out 12 missiles, each dealing 300 percent damage.
- Foreign Fruit:Â Heal for 50 percent of your maximum health.
- Gnarled Woodsprite: Summon a Woodsprite who heals you for 1.5 percent of your maximum health per second. You can also send the Woodsprite to assist an ally, who receives heals for 10 percent of their maximum health. — Requirements: Fully upgrade a Shrine of the Woods.
- Milky Chrysalis:Â You gain wings, granting you the ability to fly for 15 seconds. Your movement speed also increases by 20 percent while this is activated.
- Ocular HUD:Â You gain 100 percent Critical Strike Chance for eight seconds.
- Preon Accumulator:Â Fire out preon tendrils, hitting enemies within 30 meters for 600 percent damage per second. Hitting an enemy causes a 20-meter explosion, dealing 4,000 percent damage. — Requirements: Open the Timed Security Chest on Rallypoint Delta
- Primordial Cube:Â Fire out a black hole that pulls any enemy within 30 meters to it. The black hole lasts for 10 seconds.
- Radar Scanner: You reveal all of the interactables for 10 seconds, but they must be within 500 meters of you. — Requirements: You need to collect 10 monster or environment logs.
- Royal Capacitor: Aim at a particular enemy, and hitting this item summons a massive lightning bolt to hit them; the attack deals 3000 percent damage and stuns enemies near your target. — Requirements: You must defeat the teleporter bosses once you have activated the two shrines of the Mountain.
- The Back-Up: You summon strike drones to assist you, and they last for 25 seconds — — Requirements: Repair 30 drones or turrets.
- The Crowdfunder: You rapidly fire out at your enemies, dealing 100 percent damage for each shot. However, each shot costs $1, and the cost increases the longer the item gets used.


Leave a Comment