Destiny 2: Lightfall – Root Of Nightmares Raid Guide
Destiny 2’s latest Raid from its new expansion, Lightfall, is out right now. With the Raid’s Contest Mode already taken down 48 hours since its debut on 11th March GMT+8, players can use their preferred loadouts and whatever Power levels they’re at.
In any case, the Root of Nightmares Raid features a ton of new mechanics and ample amounts of teamwork from a 6-person party of Guardians
Destiny 2 Root Of Nightmares Walkthrough
Here’s a breakdown of the raid encounters & sections (via Datto).
- Cataclysm: Survive the onslaught
- Sission: Enter the root
- Traversal Platforming
- Macrocosm: Kill Zo’aurc
- Final encounter: Kill Nezarec
Intro Area
You begin this part by traversing the entrance, walking forward until you can go no further. Then, follow the path to the left around the exterior of the ship. Go continue around the curve, then after fighting enemies, you’ll come across a large statue. Keep going forward.
Once you pass the statue, head through the corridors to the right; follow the curved pathway to reach the first encounter…
Cataclysm: Survive the Onslaught
The first section of the Raid requires you to kill things; have a few of your squad carry machine guns or high-rate-of-fire weapons.

This is the part where you’re introduced to the Raid’s main mechanics: the Field of Light buff (see above). The goal is to transfer the orb to the other side of the arena by passing it through nodes (the spiral-helix-thingy on the map with the blue-pink water orbs; see picture below).
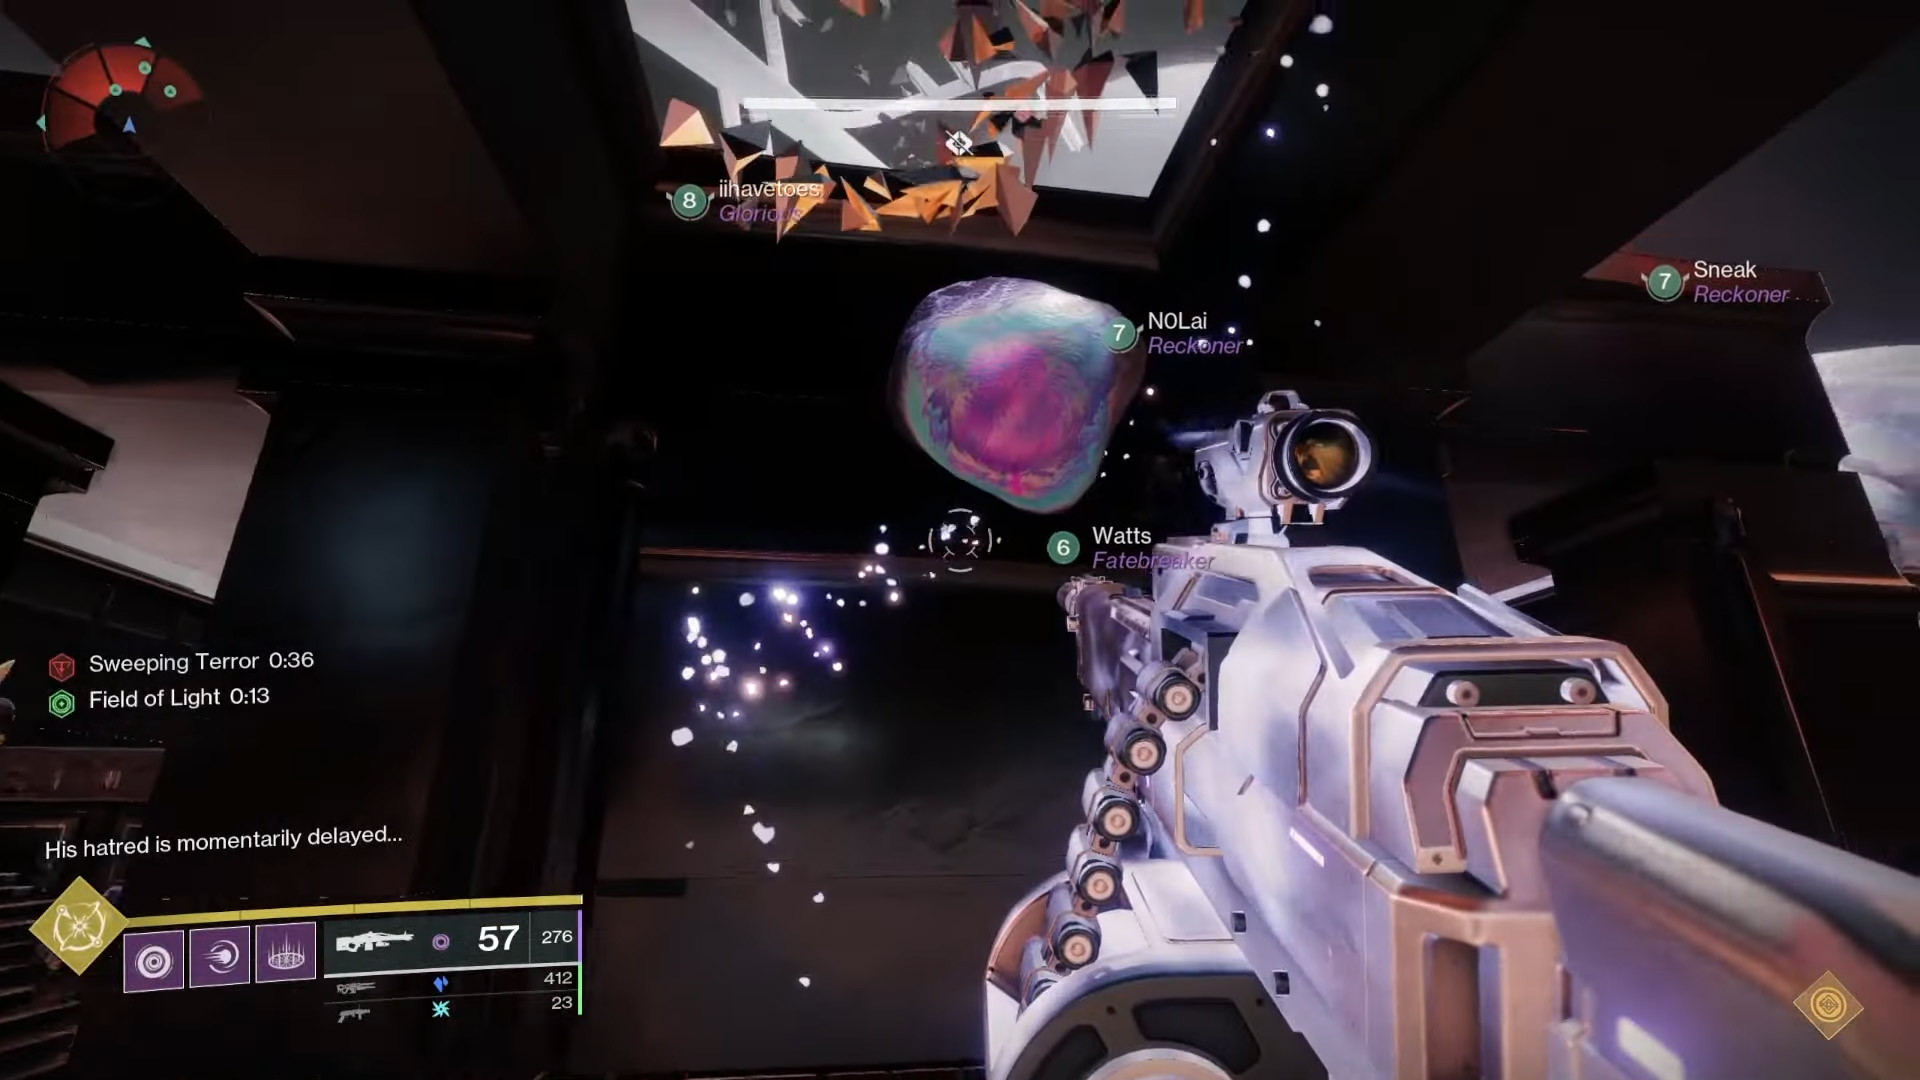
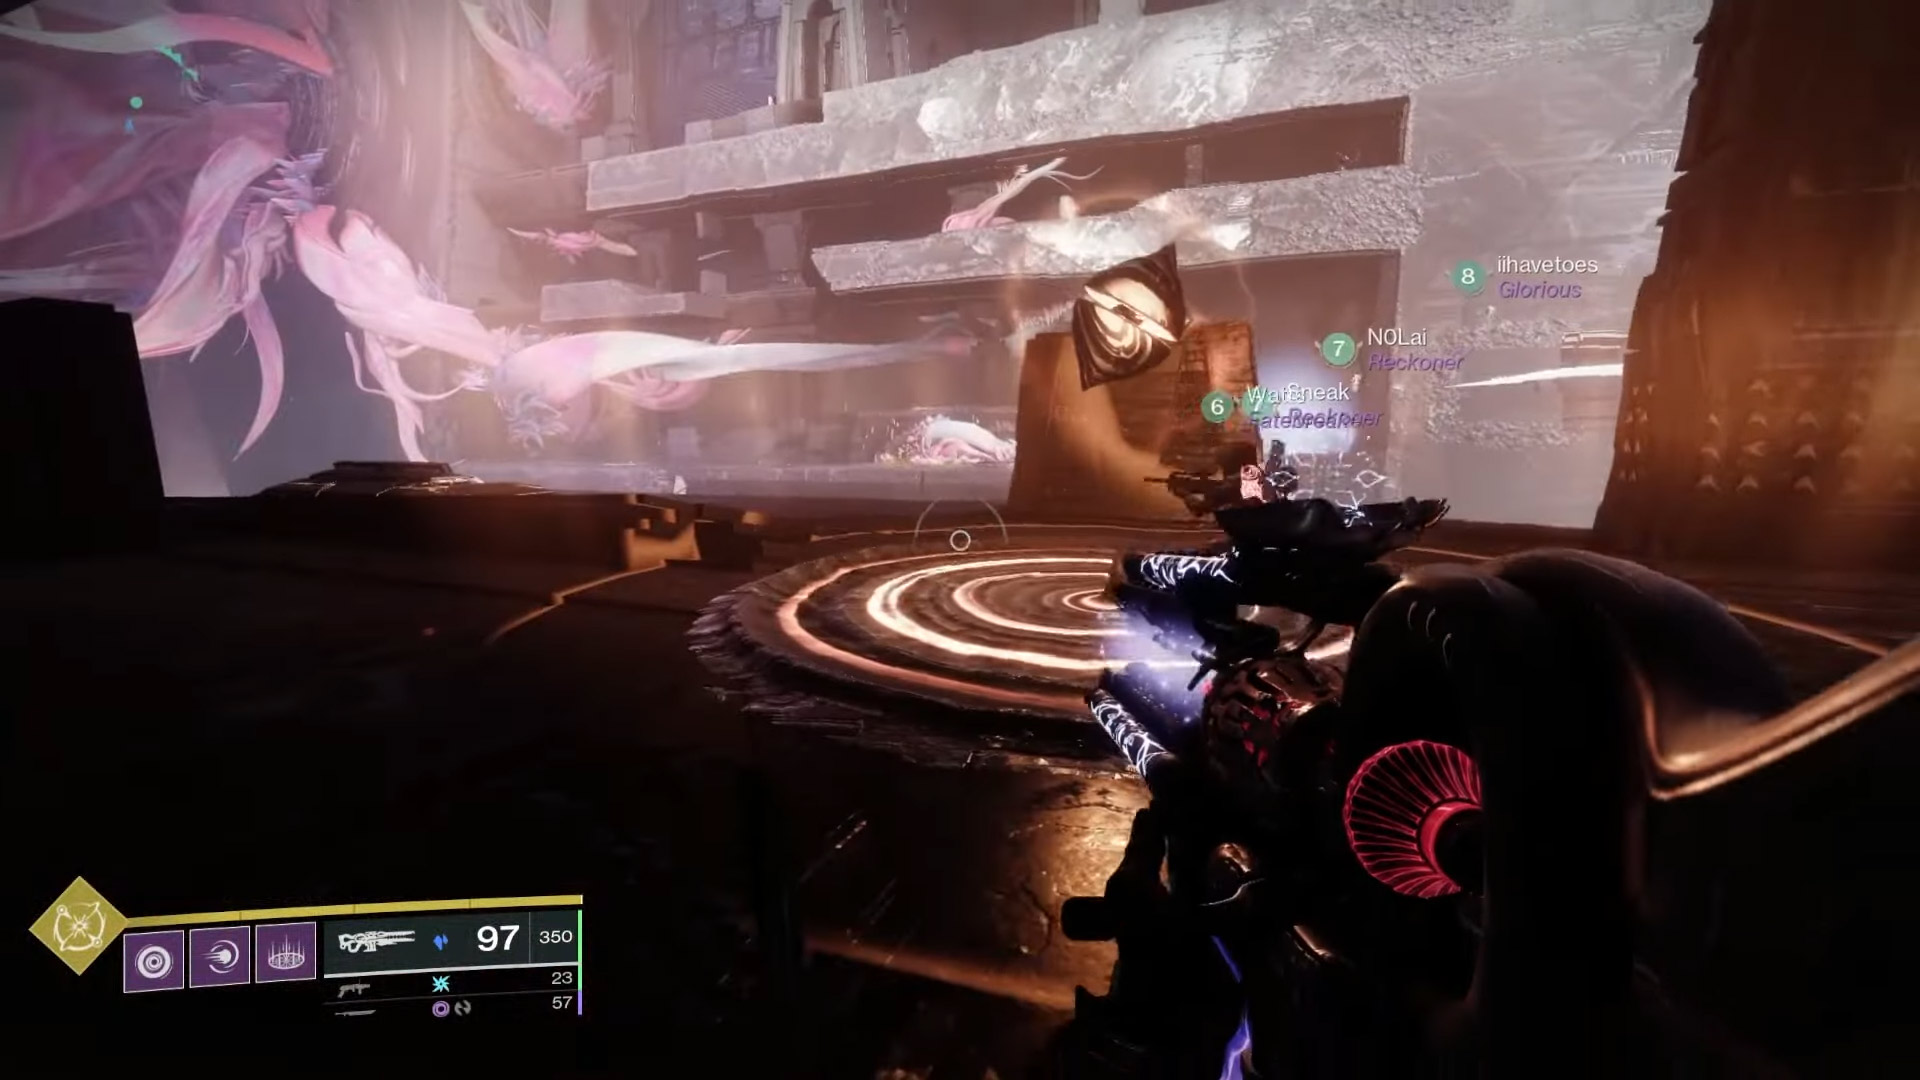
Note that shooting the nodes does nothing if the player does not have the Field of Light buff, and that they will lose the buff each time they shoot a node. Also, if one player grabs the buff while other players already have it, it will disrupt the current buff-holder’s buff. However, the buff can also be granted to multiple players at once. Shooting the Traveler orb will activate a spiral node on a different plate, which the Light Orb will direct you to in the form of a ray of light.
Once you shoot that spiral node, it will transform into a Light Orb and will have a light beam directing you to the next plate. However, the Guardian who activated the plate will no longer have the Field of Light buff and will have to rebuff by shooting the Light Orb again; make sure the Traveler orb is fully grown before you shoot it for the buff, otherwise it will despawn and your team will have to wait a while for it to grow again.
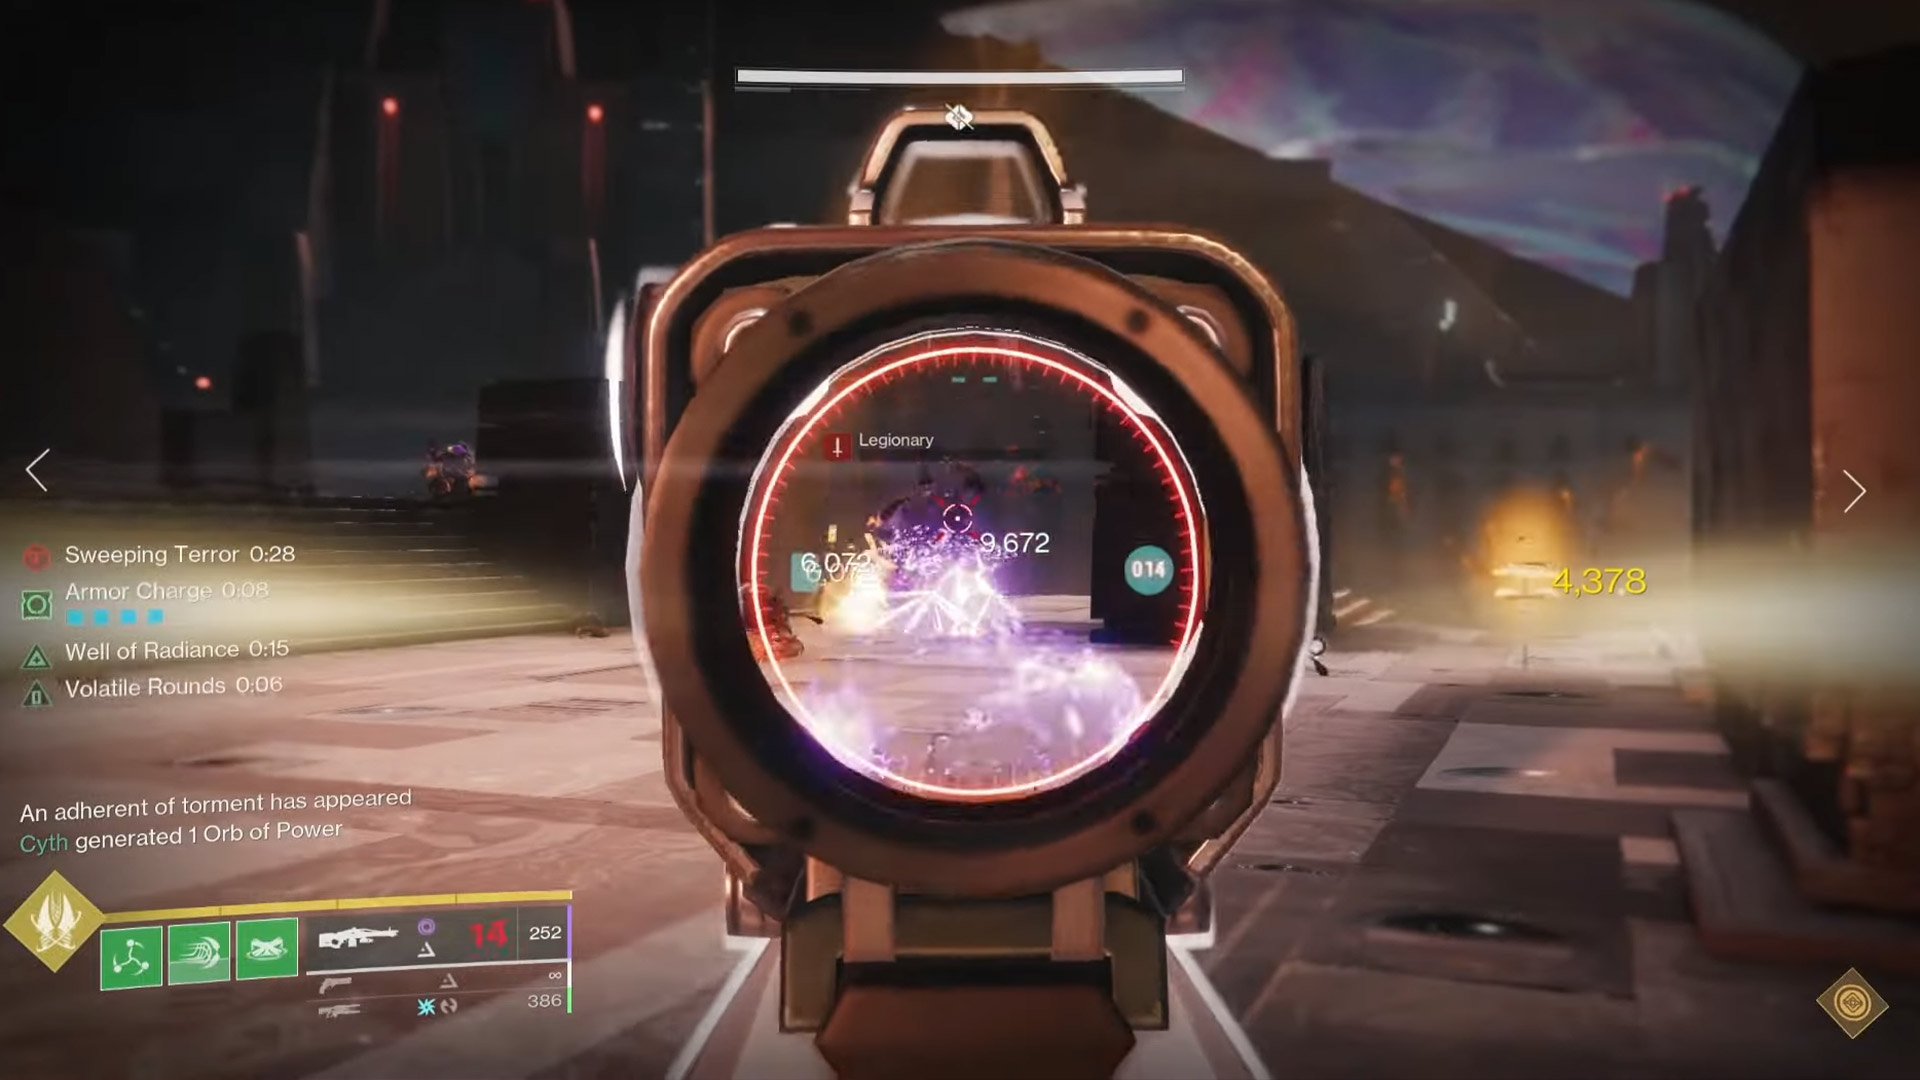
From the time you start the encounter, keep an eye on the Sweeping Terror debuff. Your fireteam will wipe if the number reaches zero. To fill up the Sweeping Terror clock, you have to kill Tormentors in encounters. Tormentors spawn (either left or right side of the arena) every time you kill two Psions from the bubbles in the area. To kill Psions, use melee on them.
Our protip here is to have just two people as designated Field of Light orb handlers, while your other teammates kill everything in sight. They will be in charge of activating the orbs with the four others clearing enemies throughout the encounter. One Guardian shoots at the Traveler orb while another Guardian stands outside it, granting the player who shot the orb the Field of Light buff. The Guardian with the buff should head toward the first spiral node plate.
After that player activates it, the person still near the initial plate can immediately shoot the Light Orb and get their own Field of Light buff, though note that this will eventually change locations around the arena.
Shooting this will grant that second player the buff, so they can head to the next spiral node as called out by the first player who saw which direction the orb they just shot pointed. In the meantime, the first player should seek out the Light Orb plate so they’re ready to get their Field of Light buff just after their fellow Guardian activates the second node. These players should alternate and do this several times while the four other teammates continue to defeat enemies, until the Sweeping Terror debuff goes away and the team can move up to progress the activity.
There will be four phases of this Field of Light buff and orb activation segments; the fourth phase will have Tormenters spawning at nodes, which can make the fight harder. Once these four phases are done, your team can move on to the next encounter…
Sission: Enter The Root
This is the second encounter. This is the part where you’re introduced to the Raid’s other main mechanic: the Flux of Darkness buff.
These will point to nodes you must shoot to progress the activity. Again, only players who have the correct buffs -Field of Light or Flux of Darkness- can activate these nodes. The respective orbs are across a chasm, which means the runners will have to shoot a black diamond/Dark orb to trigger a launcher. However, they must be positioned correctly against the launcher to make it across each time without dying.
Also, you will need your fireteam to be close to you when activating the Field of Light/Flux of Darkness buffs because there will be shielded enemies that can only be damaged by the correct buff. Also, you only have 2 minutes to complete each floor, and you have three floors of these to complete. If the Immediate Expulsion timer reaches zero, it’s a team wipe.
To tackle this mode effectively, split into teams of three: team Light and team Dark (cute team names include Team Ellen for the former and Team Wesley Snipes for the latter). Designate one person from each group to be the orb runner. Each side’s single runner follows the orb indicators and shoots the orbs. This player then returns to the orb that grants the buff.
The enemy killers can also return to the orb, where shooting the orb will refresh all players’ buffs. With the buff refreshed, the runner will then continue and the players on both sides will hold the buffs required to defeat the enemies that require the buff to defeat them. Players must clear the Centurions to be able to ascend to the next level. Once all three floors are cleared, you can move on to the next section…
Traversal
This platforming section introduces the Darkness’ Refuge mechanic. Basically, get the Field of Light buffs from each Light Orb to get the Darkness’ Refuge buff. This buff will protect you from the shockwaves that emanate from the tower in the distance. If you get hit by the shockwave, you die.
There will be enemies to kill, but this isn’t a Darkness Zone so you can die as many times as you like and you’ll respawn quick. For this traversal bit, just get together as a group and push forward while getting Field of Light buffs.
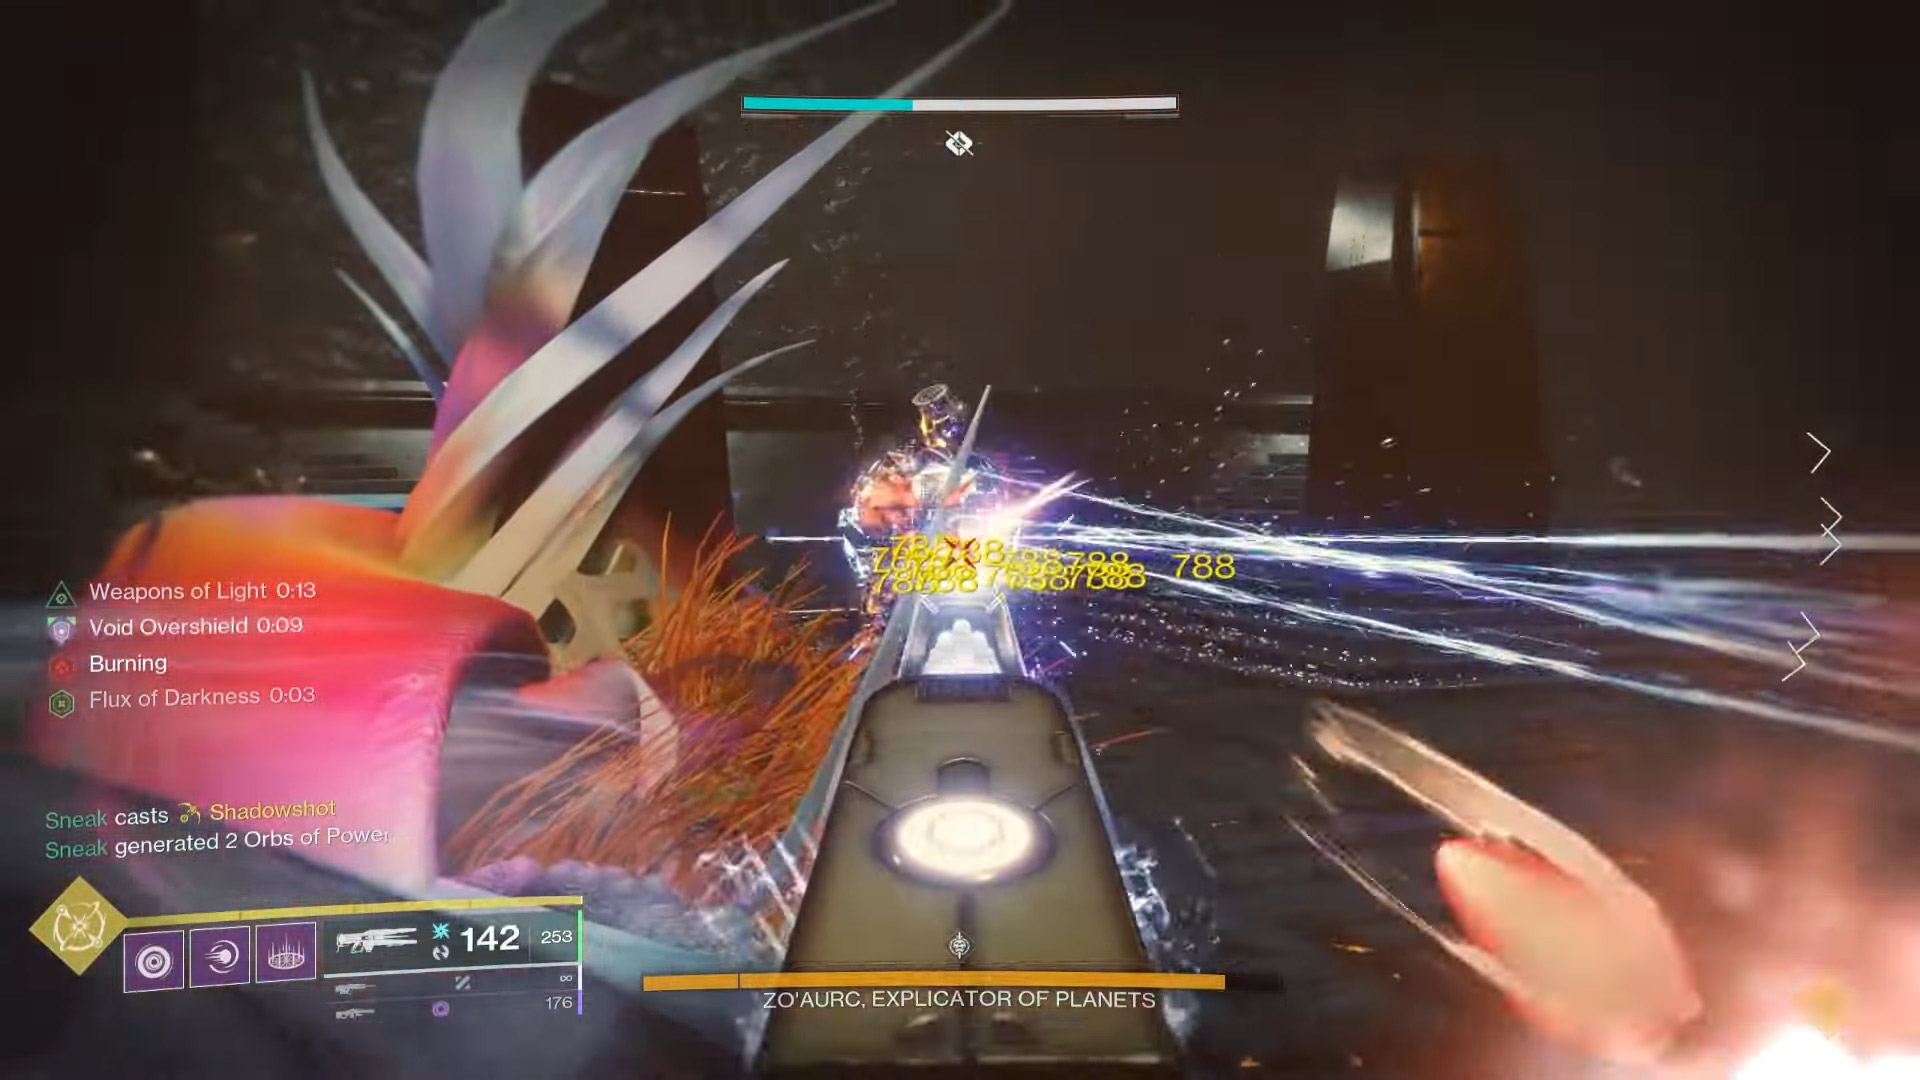
Macrocosm: Zo’aurc
In this encounter, you need to line up planets to the correct spots to allow for a damage phase against the boss of this encounter. It’s pretty tough, but at least you’re learning fresh new mechanics here. You may want to get your boss-killing weapons ready here like Thunderlord and Divinity.
The room will be split into three areas (left, center, right). The planets are at the tips of triangles and, to start, the side on the left will be four Light and two Dark, and the right will be four Dark and two Light, though you won’t see this at first (we’ll explain why in a later paragraph).
Clear adds until the centurions spawn, and you’ll see colossi spawn on each triangle. Shift all Darks to one side and all Lights to left. Once the colossus is killed, one player must walk under the triangle and pick up the buff. Take the buff of the planets on the wrong side and carry them to the correct sides.
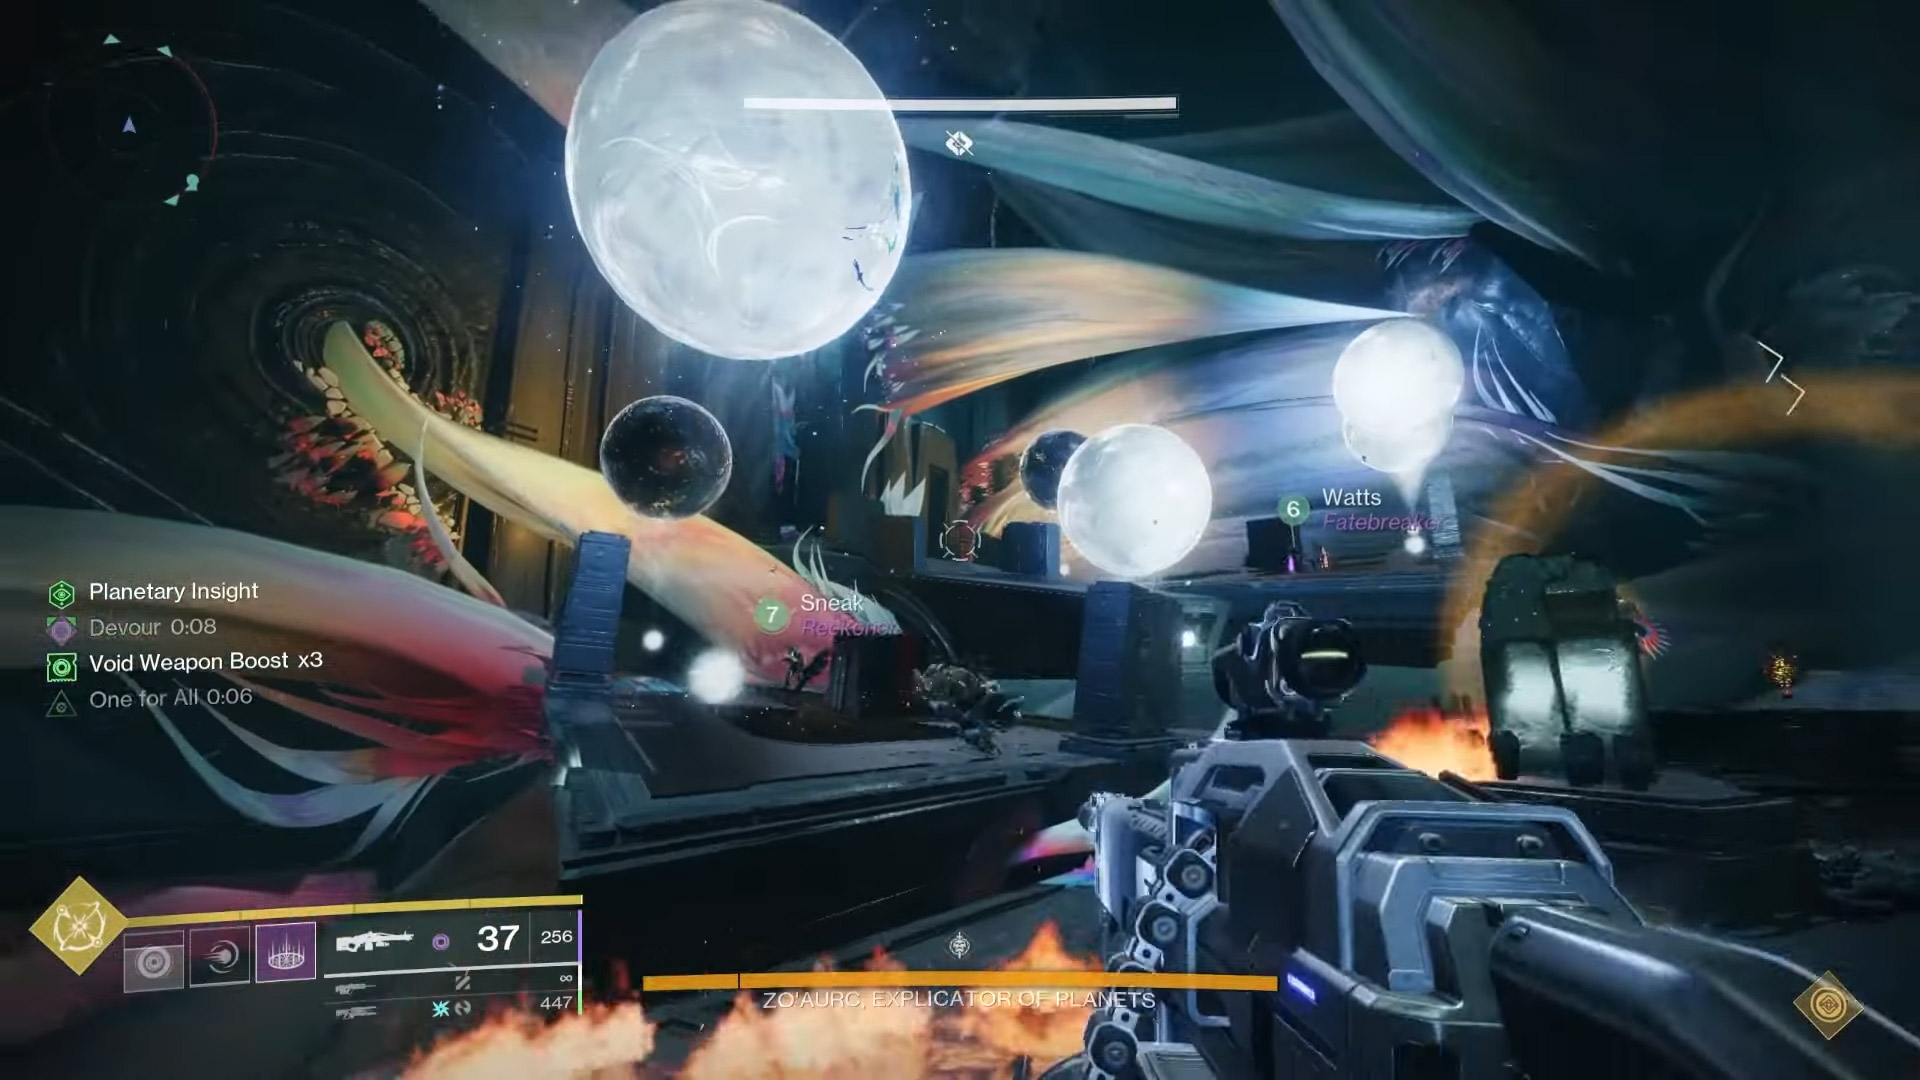
Only the person who kills the colossus gets the Planetary Insight, a buff that allows the player to see whether a planet is Light or Dark, can only see the ones on their side, and can only move the ones on their side. So communicate with your team on which planets to move and where. Only players with Planetary Shift buffs get to move the planets to the correct spot.
After the players from both sides insert the buffs, the planets will shift positions. You’ll do this with three rounds of centurions, at which point the damage phase begins. Another centurion and colossus will spawn, and killing this colossus will show you whether the centre planets are light or dark. To damage the boss, you need to see what colour he’s glowing. If he’s white, stand on the white/Light plates and attack. If he’s orange, stand on the orange/dark plates and attack. There will be a final stand with this boss, so go on the correct plate and unload on him before your team wipes.
Oh, and be sure to watch out for Psions who can sneak up on you and possibly overwhelm you and your team during the planet-moving phases.
Raid Boss Nezarec
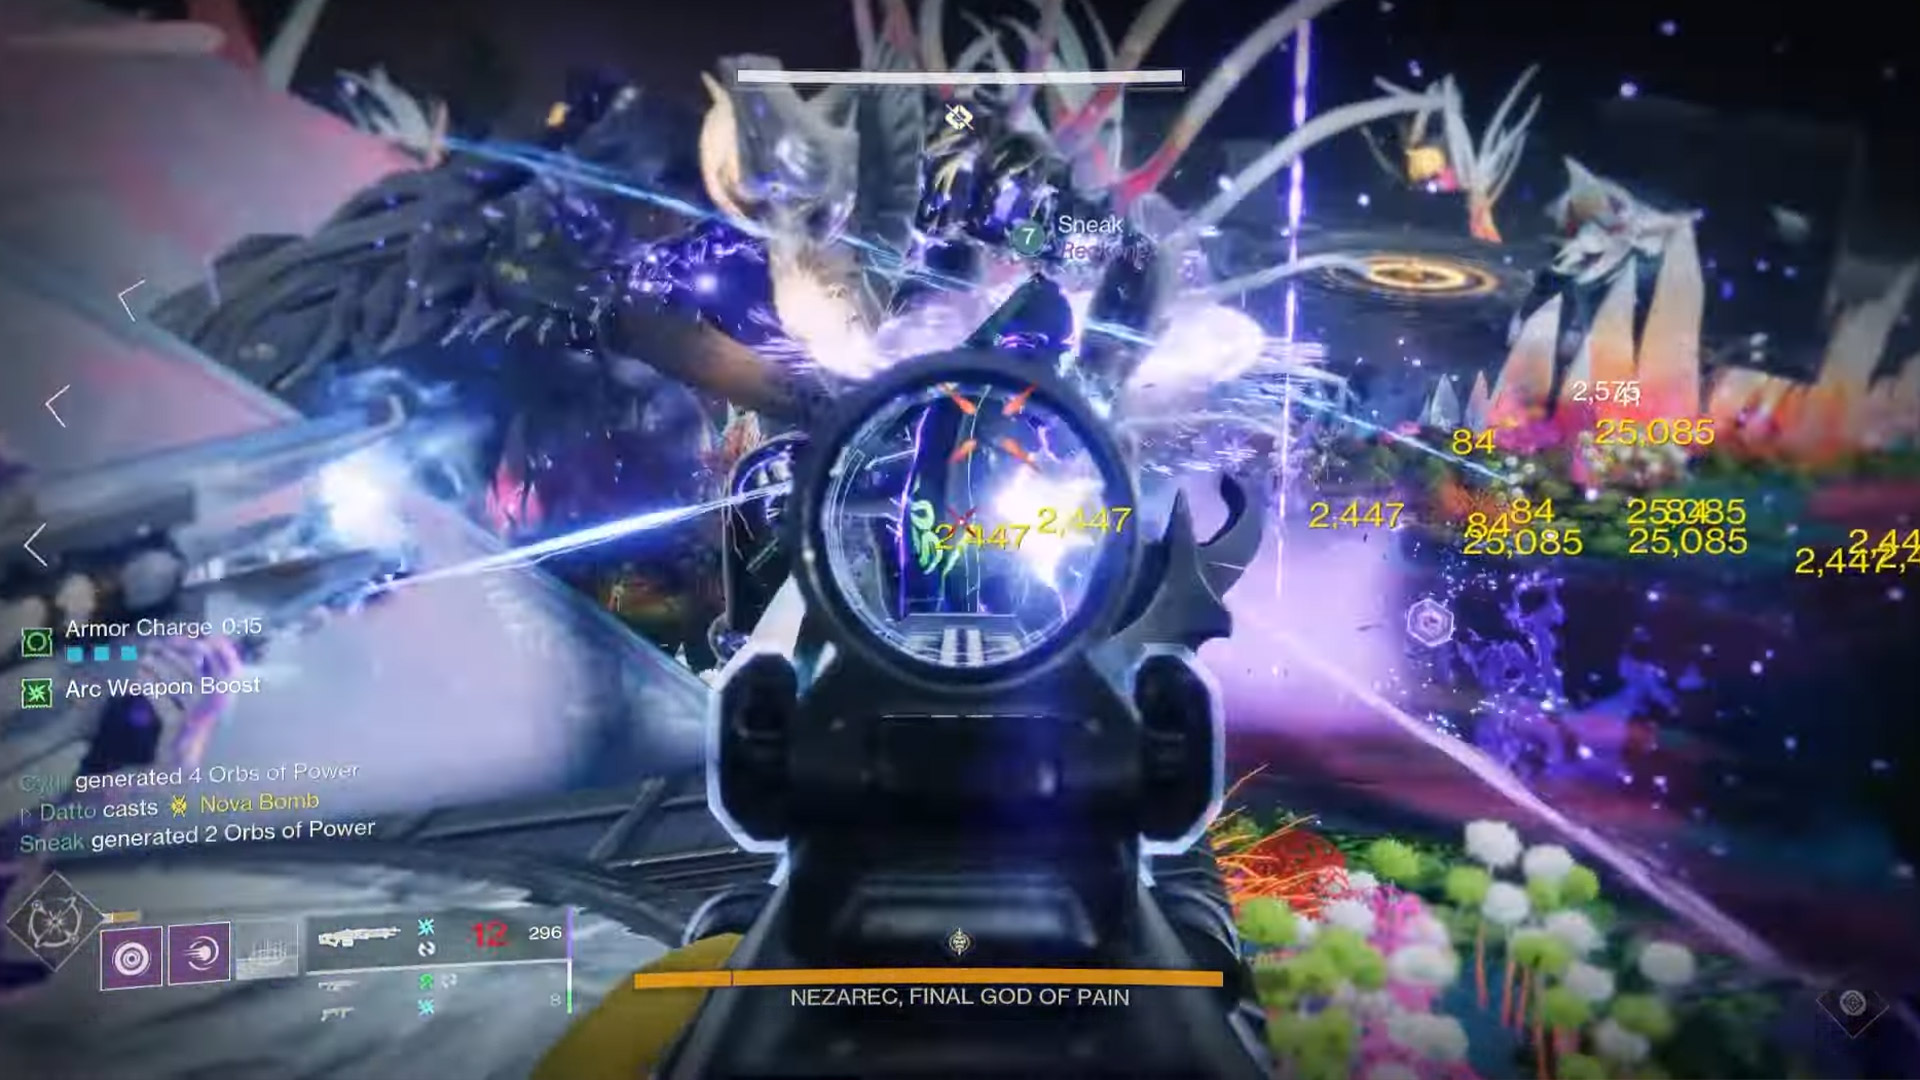
To defeat, the boss of the Raid, you need to coordinate with your team once more to activate all the plates to make the boss vulnerable.
One team member needs to be the Field of Light activator, while the other is the Flux of Darkness activator; everyone else handles the enemies and Nezarec’s aggro. The fight’s damage phase begins with players chaining both sides from the beginning to the end. The remaining team members should be firing at Nezarec’s critical hit spots; have one extra person assigned to be the boss handler, preferably to track what colour he’s glowing.
After you shoot his head and shoulders, he glows either orange/Dark or white/Light. You must then quickly seek the buff matching his energy type or else you get wiped by Nezarec’s screen-clearing wave. If he is Light, you must grab a Darkness aura/Flux of Darkness buff and shoot a Light orb. If he’s Dark, then you must grab a Light node/Field of Light buff and shoot a Dark orb. Just like before, shooting the node will grant immunity to players within the aura, so stand on the plates to get protected from Nezarec’s wave. However, you need to shoot an orb that doesn’t have a glowing aura surrounding it.
For the final damage phase, stand on the final Light/Dark plate and fire at him or else you get wiped.
Root Of Nightmare Secret Chests
Secret chest #1: Moving toward the second encounter, you’ll find a psion shooting at you from high above. Kill the Tormenter that spawns in and head toward the psion to find the chest.
Secret chest #2: During the second jumping puzzle, turn at the stairs and find the darkness switch to open a door. Opening this brings you to chest, which you can find by jumping around the outside area before entering the room.
Root of Nightmares Loot & Rewards
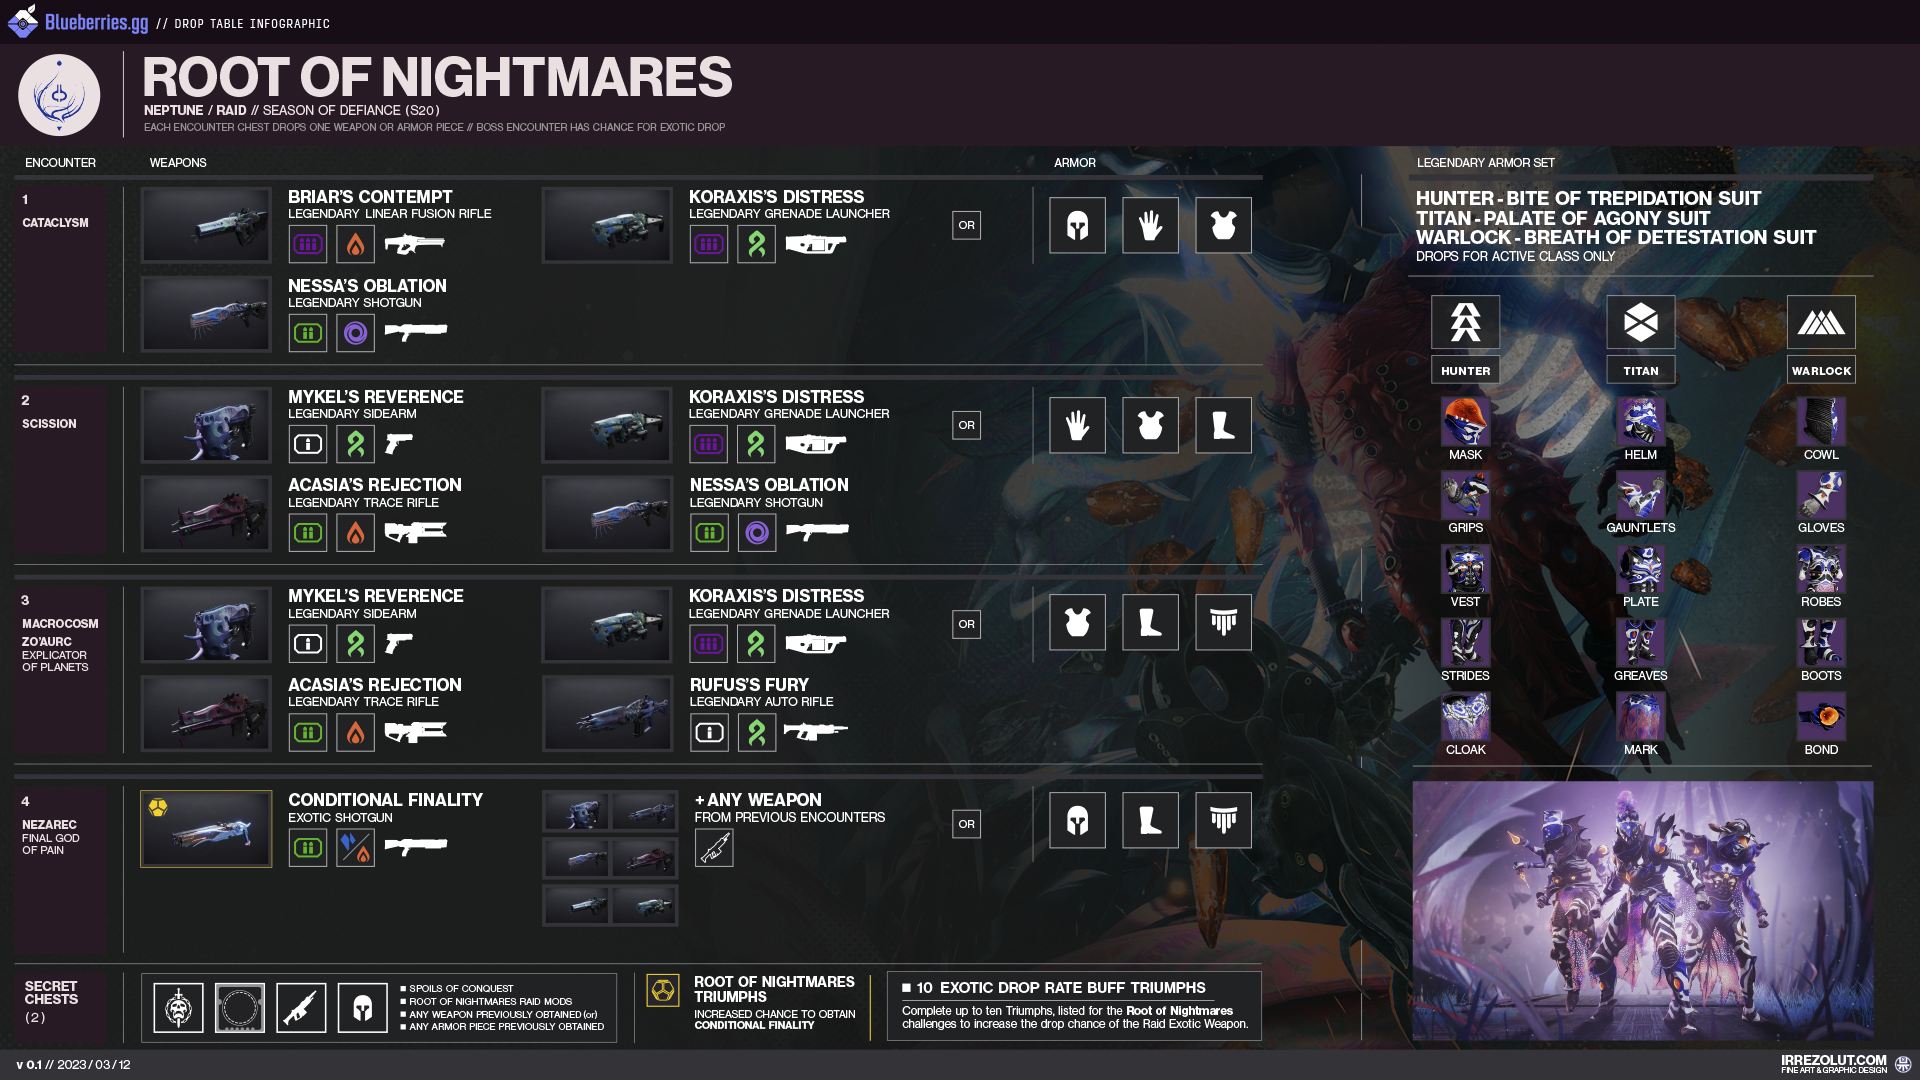
Exotic Loot: Conditional Finality Shotgun
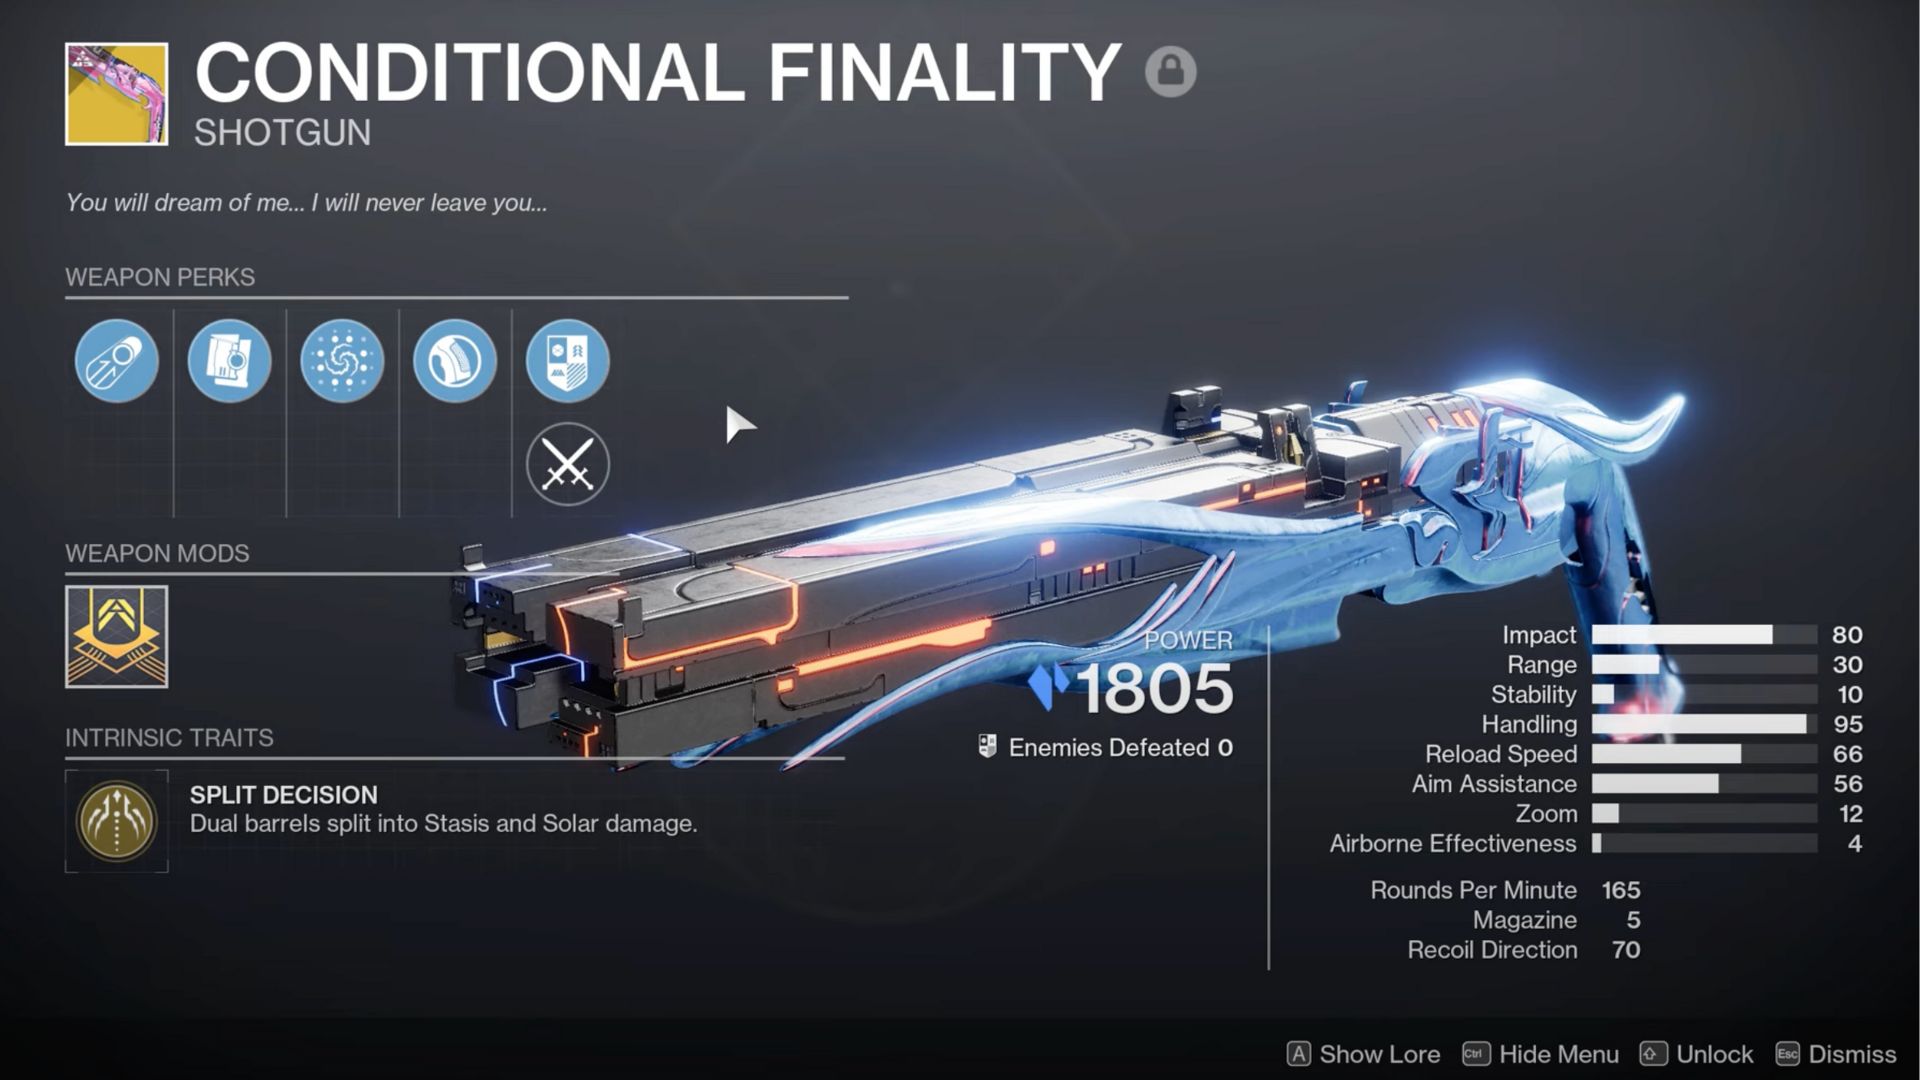
A dual-barrel shotgun that splits damage between Stasis and Solar. Stasis pellets will freeze targets, and all Solar pellets will ignite pellets. Players who complete various triumphs will have an increased chance of earning the Exotic as its drop rate is very low. However, you can only get the Exotic after killing Nezarec.
Legendary Loot
- Briar’s Contempt Solar linear fusion rifle (first encounter, final encounter)
- Koraxis’s Distress Strand grenade launcher (first encounter, second encounter, final encounter)
- Nessa’s Oblation Void shotgun (first encounter, second encounter, final encounter)
- Mykel’s Reverence Strand sidearm (second encounter, third encounter, final encounter)
- Acasia’s Rejection Solar trace rifle (second encounter, third encounter, final encounter)
- Rufus’s Fury Strand auto rifle (third encounter, final encounter)
Loot Table (via Blueberries.gg)
Mod Rewards
- Chill Out: Defeating a combatant with a Stasis weapon spawns a Stasis crystal. Must have a Stasis subclass equipped.
- Precise Jolts: Rapid precision hits with Arc weapons jolt target. Must have an Arc subclass equipped.
- Volatile Volleys: Defeating powerful combatants with a Void weapon gives your Void weapons Volatile Rounds. Must have a Void subclass equipped.
- Radiant Heat: Powerful combatant final blows with Solar weapons grants Radianr. Must have a Solar subclass equipped.
- Tangled Up: Defeating a combatant with a Strand weapon spawns a Tangle. Must have a Strand subclass equipped.
- Cabal Extinguisher: When an ally grains Flux of Darkness or Field of Light, deal increased weapon damage to Cabal combatants for a short time.
- Release Recover: When you lose Flux of Darkness or Field of Light, begin recovering health.
- Focused Darkness: When you have Flux of Darkness, gain increased ability damage or mobility.
- Focused Light: When you have Field of Light, gain increased weapon damage and resilience.


Leave a Comment