Shadow of the Tomb Raider Guide To Help You With Graverobbing

Challenge Tombs (via Rock Paper Shotgun)

Challenge Tomb 1 – Peruvian Jungle – Judge’s Gaze
Head around the wall to your right from the Plane Wreckage base camp and climb up for the first optional tomb. You’ll need to do some light platforming, wall climbing, and tree swinging in order to access the main part of the tomb. There is a statue blocking your path at one point, so jump to the counterweight to raise it up and climb the wall to the side. The theme of counterweights will be important for the main puzzle just ahead.
Puzzle – Raising the ladder
The shrine is on top of the temple, but in order to access it, you need to raise the ladder. Head to the left hand side and push the trolley towards the ladder to make the first stone raise upwards. You’ll then also be able to move the second trolley that’s nearby into the position where the teeth will fan out. Go to the side of the ladder now and fire an arrow into the stone above to attach the rope. Then go back and climb the wall to the side, trigger the rope trap and crawl underneath. You’ll then see a counterweight you can grab onto, so jump onto it. This will send it down to the trolley which will grip it, allowing the ladder to stick in its raised position.
Now that the ladder is halfway up, push the trolley that you placed near it forward until the teeth fan out. Attach the rope to the right hand side of the ladder to the opposite stone, clamber up the right hand side and find the counterweight you can jump at. This will raise the ladder the rest of the way. Climb up and collect your reward, which is the Caiman’s Heart perk.
Challenge Tomb 2 – Peruvian Jungle – Underworld Gate
This is very nearby the Jungle Ruins camp, so look for the yellow markings to find the entrance. There will be some platforming involved, mostly climbing and rappelling to swing across. Eventually you’ll encounter a large crane, which is the main puzzle of this tomb.
Puzzle – Climbing the crane
The objective is to use the crane to navigate the area. Operate the lever to rotate the platform with the rope arrow beam so you can fire a rope arrow from it to the other side across the massive pit below. Climb to the other side and use the lever there to move the hanging box into position. Jump onto it and back to the first rotating lever to turn it back around. Attach a rope to the box from the rotating platform at this point. Jump back to the big lever and use it. You’ll need to quickly time a jump onto the box before it moves away, before jumping off said box to the other side. Once done, it’s a short climb away to the reward. Collect the Eagle’s Perch perk along the way, then use the branches nearby to swing towards the exit, along with a rope bridge you’ll need to create.
Challenge Tomb 3 – Kuwaq Yaku – Howling Caves
The closest base camp is Kuwaq Yaku Ruins, with the cave entrance that contains the yellow skulls located nearby. Don’t worry about the Rope Ascender message as this is just to destroy a barricade with some ore and has no real importance to the tomb itself. After climbing the subsequent sections, you’ll be attacked by animals. Once they’re killed and presumably skinned, you can then tether rope arrows between the wooden beams to bring you to the challenge room.
Puzzle – Extinguish the fires
Your goal for this room is to open the shutters to blow wind to put out the fires. Pull the lever as you walk into the room and the right shutter opens. This will make the pendulum swing, so climb aboard, jumping over to the left ledge when it swings. Pull the second lever to make the spike covered pendulum swing. Jump over to the other side where the fire was, standing on the far right hand side, then onto the platform furthest ahead. Shooting a rope arrow at the thorny pendulum at its highest point to make it rotate mid-swing. This will hit the rubble blocking your path.
From there, close the second set of shutters you opened and follow the path that opened up when the rubble was demolished. There will be a third lever you can’t pull yet, so jump to the wall to the right of it and climb over to the pendulum that’s stuck. Shoot an arrow into the third spiked pendulum to attach it to the nearby pendulum that’s free, climbing back. Open the second set of shutters once more to free the fourth pendulum you attached. Pull the third lever to put out the fire, collecting the Huracan’s Mantle.
watch out for a big cave entrance with yellow skulls near it. When you enter it tells you that you need a Rope Ascender but it’s not actually needed for the challenge tomb, just to destroy a wooden barricade that has some ore behind it but nothing important.
Challenge Tomb 4 – The Hidden City – Path of Battle
From the market place camp in The Hidden City, head north west until you see a cave with feathered decorations. Crawl through there to find the waterfall; the cave under the water is where the challenge tomb is located. Dive in, having a nice swim and a climb until you come to a lever. Pull it to activate some spinning spikes that need to be dodged. Stick to the left for the third trap. There will be a locked gate, that upon pulling the big lever on the right will open the door to the puzzle.
Puzzle – Spinning Platform
This puzzle requires some timing on your part, so you’ll need to act fast in order to make some of the jumps unscathed. Head to the centre of the platform, jumping over the spinning blades before leaping to the left side. Turn right and pull the lever to activate the trap. You’ll have a limited time to run around the outside perimeter to pull the second lever to make the centre column fall. Try to run through the mass of spinning spikes as they meet in the middle to get the most time to run through. Pulling the lever on the other side will make it collapse one floor. Do the same, but for the right hand side, to make the column stop. It will then be a short climb to the top to claim your prize – Sip’s Quiver.
Challenge Tomb 5 – The Hidden City – Temple of the Sun
In the southern part of Paititi, there’s a house with a well that you can dive into. This leads to a hidden base camp and a climbable section, that ends with a swan dive spot and a barricaded path. Remove the barricade to enter the puzzle room.
Puzzle – Hall of Mirrors
Your goal is to reach the fourth mirror on the top left-hand corner of the room. Shining it onto the middle column to reach the reward. To make this easier for you, Lara actually lists the mirrors as follows: Mirror 1 is bottom right, Mirror 2 is bottom left, Mirror 3 is top right, and Mirror 4 is top left. To solve the puzzle, align the mirrors in the following places:
- Mirror 1 needs to be pointed at the platform to the left of it, between Mirror 1 and Mirror 2.
- Jump over to Mirror 2 and align it on the platform between Mirror 1 and Mirror 3.
- Head back to Mirror 1 and shine it on the same platform, between Mirror 1 and Mirror 3.
- Jump to Mirror 3 and shine it on the platform between Mirror 1 and Mirror 3.
- Head back to Mirror 1 and shine it on the platform between Mirror 1 and Mirror 2.
- Jump to Mirror 2 and shine it on the platform between Mirror 1 and Mirror 2.
- Head back to Mirror 1 and shine it on the platform between Mirror 2 and Mirror 4.
- Jump to Mirror 2 and shine it on the platform between Mirror 2 and Mirror 4.
- Finally jump to Mirror 4 and shine its light on the middle platform.
Once you’ve obtained Hoatzin’s Hunger from the centre of the room, you can leave through an opening in the wall that’s on the left between Mirror 2 and Mirror 4.
Challenge Tomb 6 – The Hidden City – Ancient Aqueduct
The nearest base camp is the Temple of Kukulkan one, with the cave being towards the wall next to the river. Looking down over the edge, you’ll see the yellow skulls. Drop down here and enter through for an underwater and climbing section that ends with the entrance to the challenge room.
Puzzle – Flooding the rooms
This puzzle requires you to raise a raft with the water level to reach the top. It begins by kicking the raft towards the running water and using a rope to attach it to the floodgate. Head back up and pull the lever at the top to raise the water, opening the floodgate. Now swim through the tunnel underwater and remove the rubble at the end to reach the second room. There will be an underwater floodgate here, which upon using will drain the water. From here, kick the raft from the first to the second room, then pull the lever again to raise the water. Climb the raft in the second room and jump into the opening in the wall. You’ll then be attacked by a host of enemies, so kill them off.
Pull the nearby lever to fill the room with water and reveal a raft. Jump onto it and tether it to the water wheel. After this, it will drag you over to the wheel. Jump onto the platform and use a rope arrow to attack the wheel to the anchor above. This will spawn more enemies to kill, so do so. You’ll then need to time the next bit carefully. Have the raft be brought back to the water wheel with a rope arrow. Then attach the wheel to the anchor once more, before jumping onto the raft. From there, it’s a short climb along the central column and a leap across the weight to the reward, which is the Jaguar’s Paw perk.
Challenge Tomb 7 – Cenote – San Cordoba
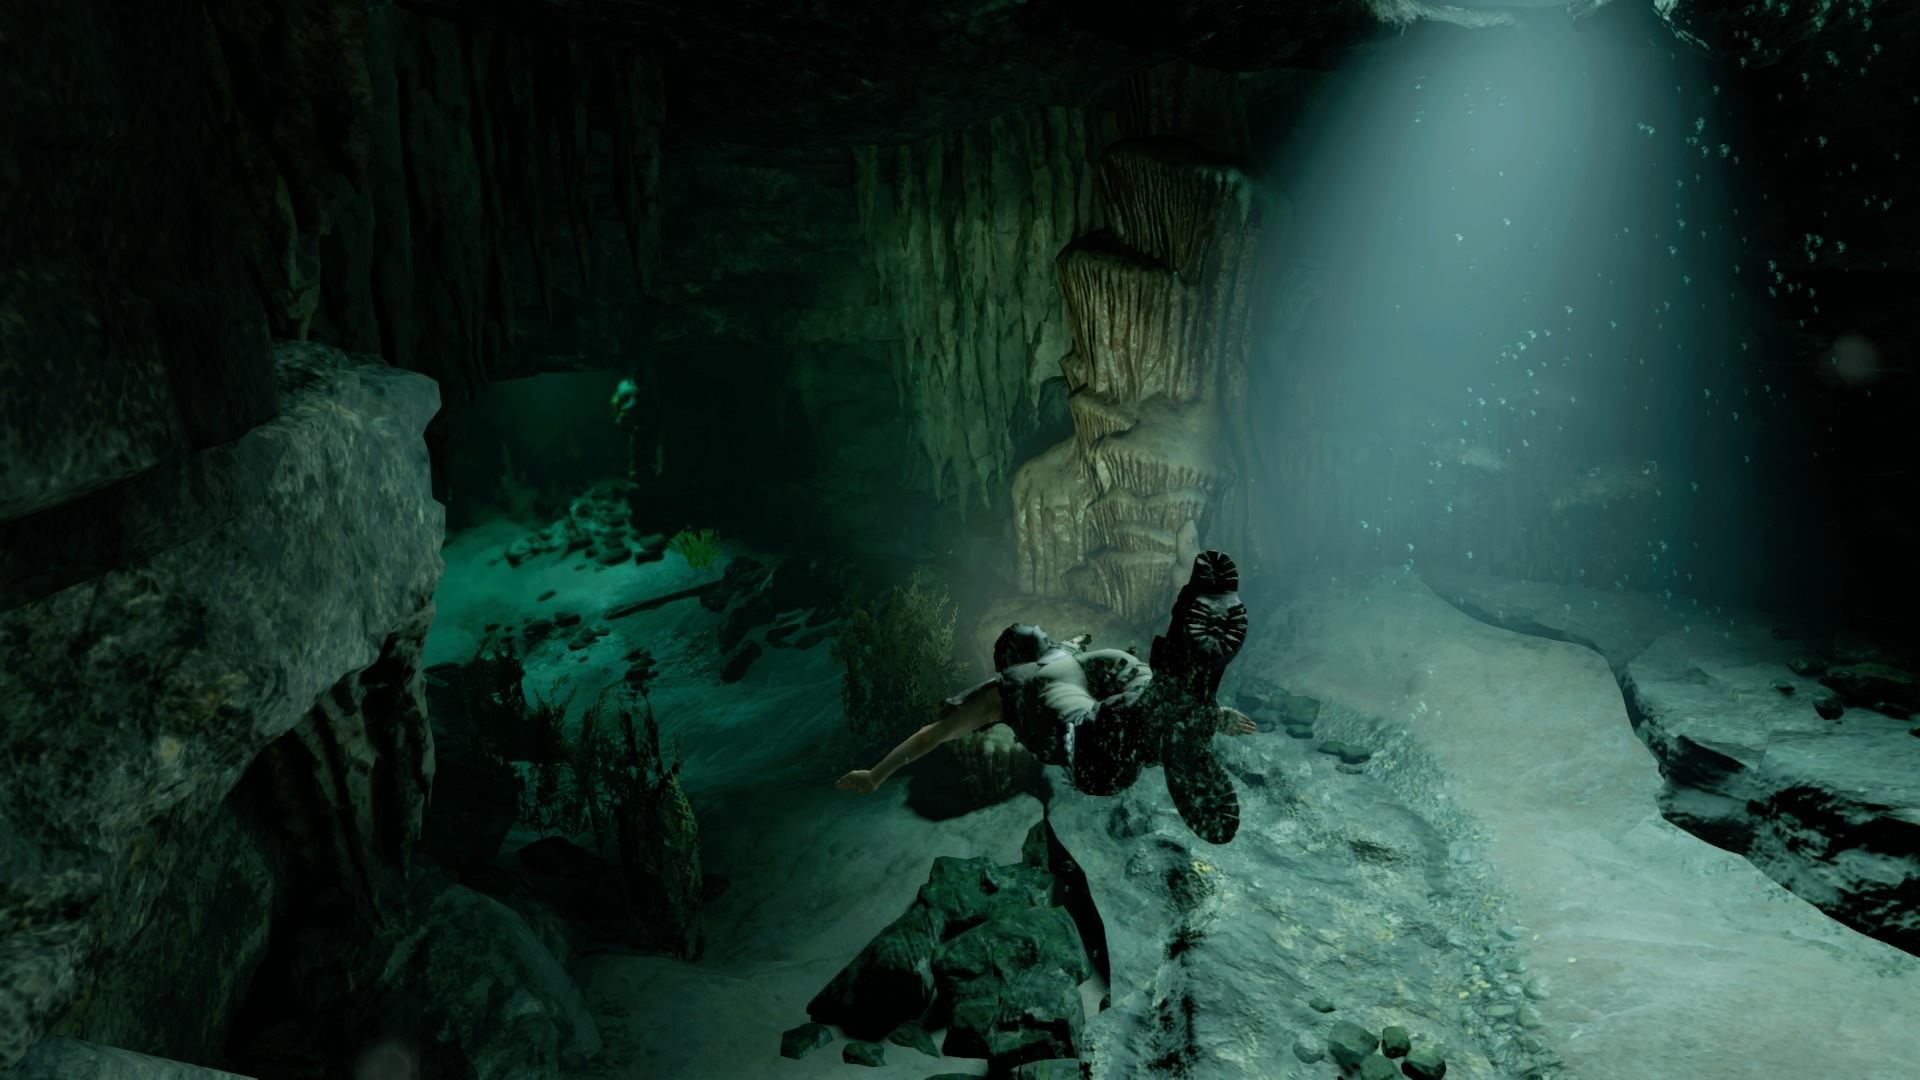
Head to the dark cave entrance a short jump away north-east from the Cenote Temple Ruins base camp. It can be somewhat tricky to see, but it’ll begin with an underwater section. Swim until you find two eels nearby, then swim through the cove on the left-hand side. You’ll get caught in the water flow, before a short climbing section reveals a rather grand, yet stranded ship.
Puzzle – Plunder the ship
Yes, you get to climb on board this wonderful if dilapidated vessel. Kick the raft and climb the starboard (right) side of the ship, before rotating a lever to move a cannon above a breakable floor. Jump in the water that’s in the broken middle section of the ship and dive through. Open a gate the swim through the ship. You should then be able to climb to the other side of the ship. Find the broken mast and walk on it, jumping to a cave wall on the side of the vessel. You should now be able to climb and jump to the fore-mast which has a winch on it.
Climb up the fore-mast one stage and jump back to the wall on the left. Jump back over to the ship, and onto the deck to rotate the lever. You’ll then be able to use the box around the corner, as well as the beams to make your way up to the top of the mast, where a second winch can be broken. This makes the cannon fall through the deck and into the captain’s quarters. Jump into the hole to claim your prize – the Caiman’s Breath II perk.
Challenge Tomb 8 – Mission of San Juan – Tree of Life
Make sure you have plenty of resources to make fire arrows for this challenge tomb, as you’ll need plenty of them to complete it. There are resources within, but not many, and there are enemies within too.
From the Ruined Tower base came, it’s in the jungle area close to where the Empress Jaguar was. Head through the gate littered with yellow skulls, and into the church, tearing down the rope wall as you go. Climbing down and rappelling, Lara will comment on the deathly sounds she hears as she goes through.
Puzzle – Make your way through the gauntlet
Fire arrows are needed to deal with the many holes pumping gas into the room. Fire one into the gas that’s blocking your path and climb up. You’ll then see some rubble blocking your way and a winch. Use it, then back away quickly as gas starts coming out of a hole above. Blow it up and make your way through the rubble. A while of platforming later and you’ll see the room open out. Look to the platform nearby and let loose a fire arrow to make the platform swing to you. Jump across it to reach the other side.
Head left and down the left hand-path, passing a gas jar along the way. You’ll see a winch nearby, which you can remove to expel more gas. Doing so will summon some enemies, so kill them before making your way back a small distance. Blowing up the gas will make a platform swing towards you, so use it to get to the other side. Across a balance beam, some more platforms and a climbable section, you’ll find a tied up platform. Cut away the rope and make your way across. Remove the winch on the other side to make gas flow, spawning more enemies to kill.
Head back as far as the platform that you cut the rope away from and fire a fire arrow into the gas. This will make the level above drop to a point where you can clamber up to the top. Kill some more enemies, then blow up the gas to make your way to the other side to cut away the rope holding the platform tight. A bit further along is yet another winch, so loosen that to make more gas flow. Jump over to the second platform that you can reach, before turning around and blowing up the gas. This will make both platforms drop down. Jump to the solid ground and kill the amassing foes. This is the final wave, so there are lots of them. Once they’re defeated, jump up the wall and follow the path, navigating the balance beam to make it to your reward – the Kinich Ahau’s Boon perk.
Challenge Tomb 9 – Mission of San Juan – Thirsty Gods
This is the challenge you need to complete in order to finish the Explore the local Mysteries quest. It can be found in the watery area just off the path east of the Ruined Tower base camp. Dive in and swim to the tomb entrance with the yellow skulls.
You’ll soon come across a skull head above you. Wade through the water and dive through, avoiding the moray eel as you swim through. The other side has a bronze head submerged in the water. Swim to the mural, and turn around to look at the rope blockade far above. Tear it down to make the water drain. Go through the head’s mouth to reach a pool that has a small gap at the end to the other side. Cut loose the raft that is underwater. It will eventually float to the top, allowing you to jump up the wall nearby. You’ll pass a new base camp here, but climb up the wall next to it to the main puzzle room.
Puzzle – Piranha infested waters
The constant danger here are the piranhas which will kill you if you get too close. You need to open the gate to the central building, using the anchor above. Cut away the ropes holding the two rafts underwater, then jump from the raft closest to the wall on the left of the main building. Turn the lever to full the bucket with water, but note that the water does drain eventually. Use a rope arrow to bind the water wheel to the anchor that’s above the main building’s floodgate, then turn the lever back to the water wheel. As soon as the anchor rises, turn it back away from the water wheel to prevent the rope from breaking. You should then be able to dive through and get the reward from the top of the main building, which is the Sip’s Strike perk.

Page 2/2
One thought on “Shadow of the Tomb Raider Guide To Help You With Graverobbing”
-
Pingback: Shadow Of The Tomb Raider Can’t Shake Up Its Formula Much, And That’s OK – KAKUCHOPUREI.COM


Leave a Comment