Minecraft Legends: The Best Improvements & Upgrades Guide

Starting off in the world of Minecraft Legends can be hard especially with those pesky piglins constantly coming after the villages. Several upgrades are available for you to improve your fight against the piglins. You can make these upgrades or improvements at the Well of Fate. Now these improvements vary from collecting more valuable resources, increasing your resource storage, as well as buffs for your battle against the oink hordes.
Do note though that this is our opinion on best improvements based off of our experience. Minecraft Legends is a strategy game and there is no right way to play it due to its open world nature. So feel free to do your own exploring and find what fits your own playstyle.
For more guides, check out our Minecraft Legends Best Mounts.
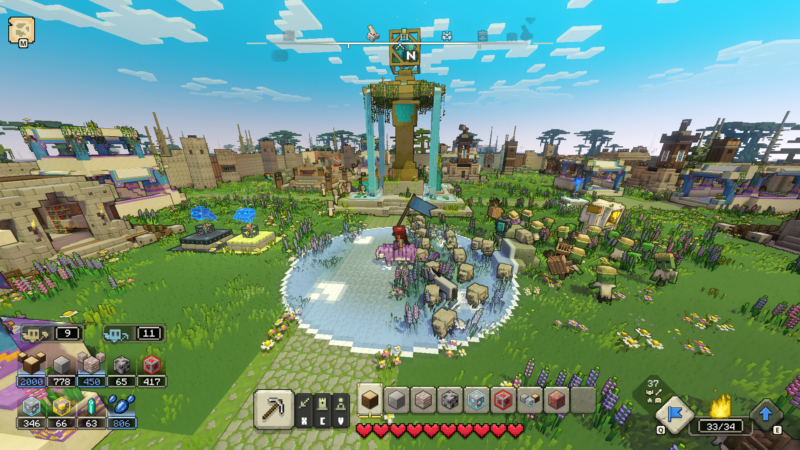
WALL OF FATE
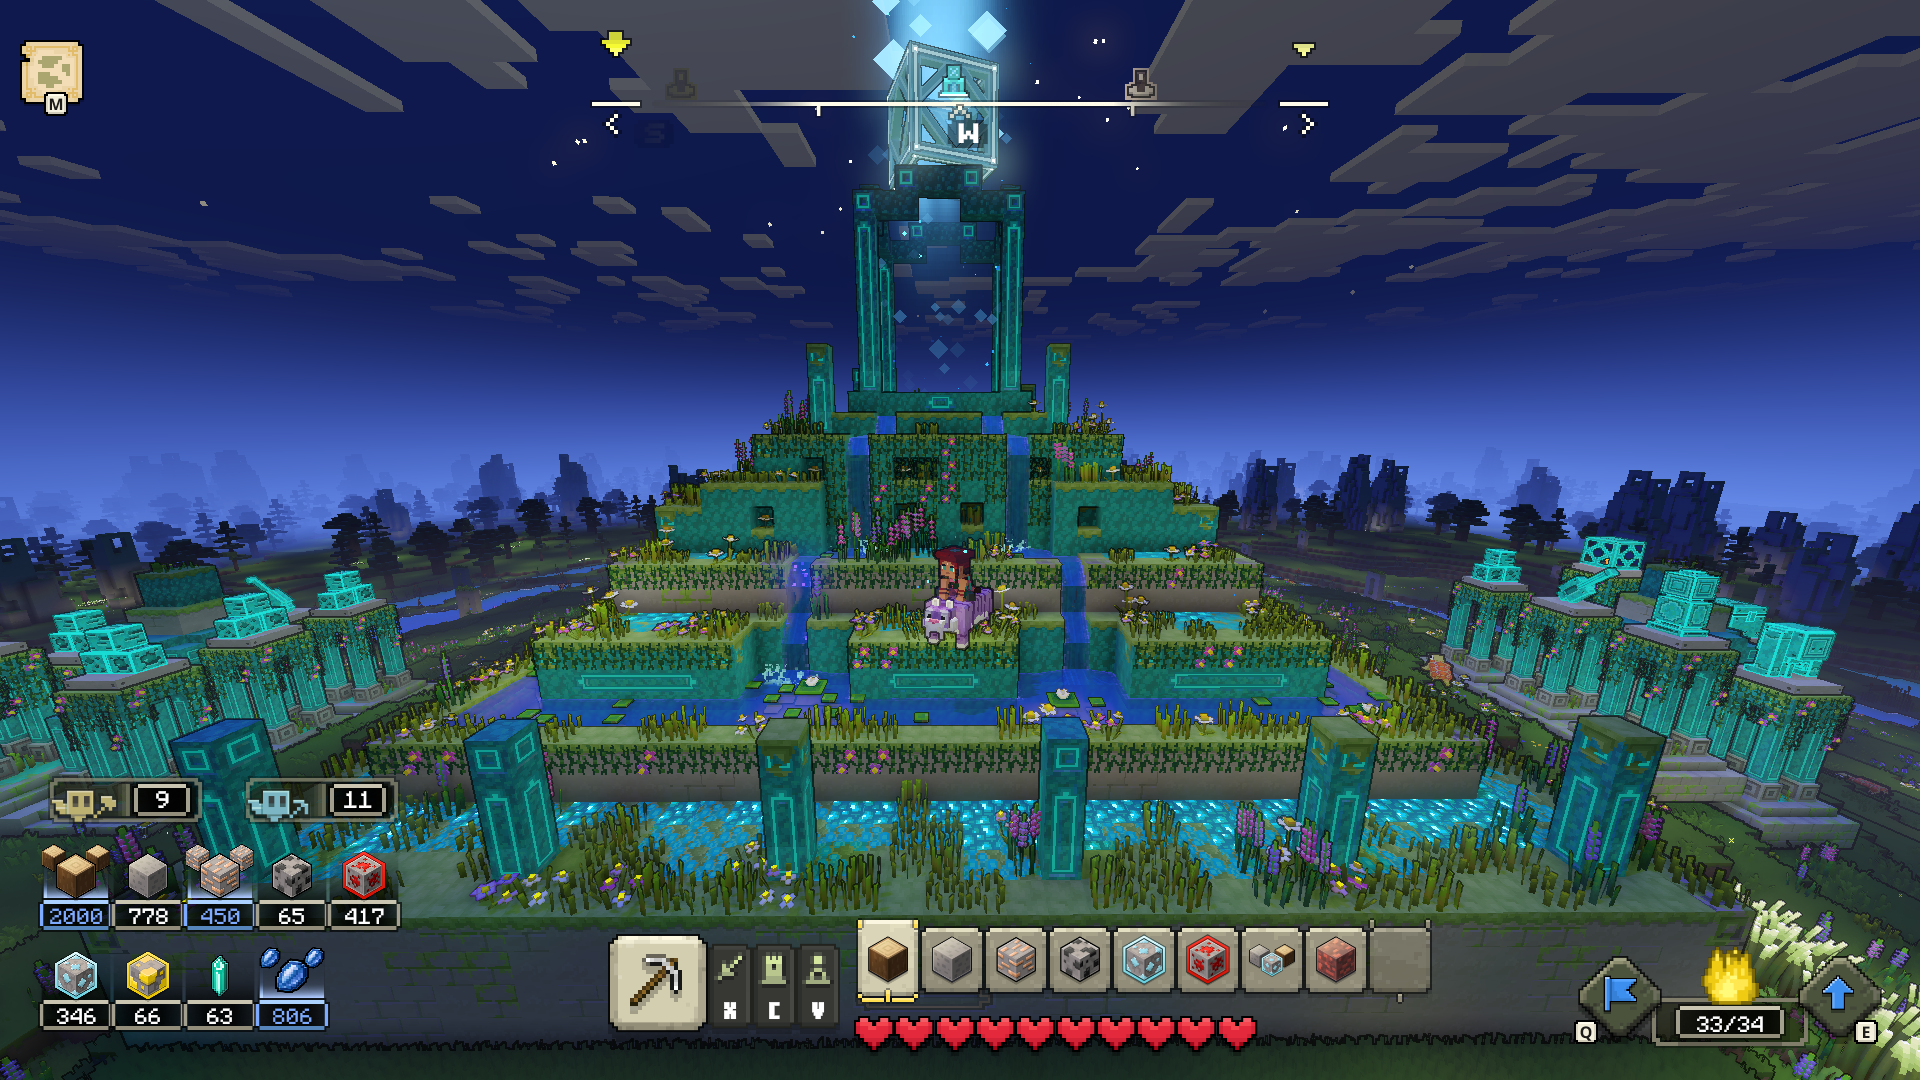
All your improvements will be done here at the Wall of Fate, which is your mother base. In Minecraft Legends, upgrades are referred to improvements. Each improvement will cost a certain amount of resources to build and you can check out how much they will cost on your hot bar or your guide book (R). Every improvement will cost a certain amount of Prismarine, a resource which is gained from destroying Piglin structures.
HOW TO BUY IMPROVEMENTS
Some improvements will only be available once you unlock more resources which you will get as you progress through the game. All the improvements will not just pop up on your hotbar. There is a submenu which you can access by hitting R on your keyboard or Right Click on an Xbox controller. Look for the tab showing the Well of Fate icon on your left and click on it to see all the improvements you have available to you.
To add these improvements to your hot bar, you can simply click on it with your mouse button or press A on the controller, then click again or hit A in the hot bar once you’ve found a spot for it. Once it’s on your hot bar, you can then exit the menu and get to placing these improvement down.
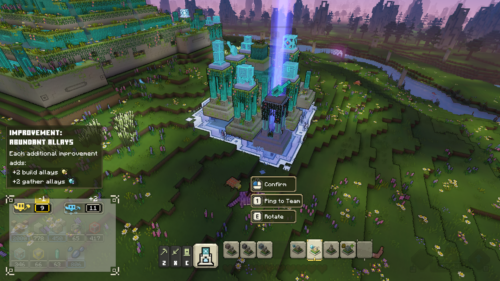
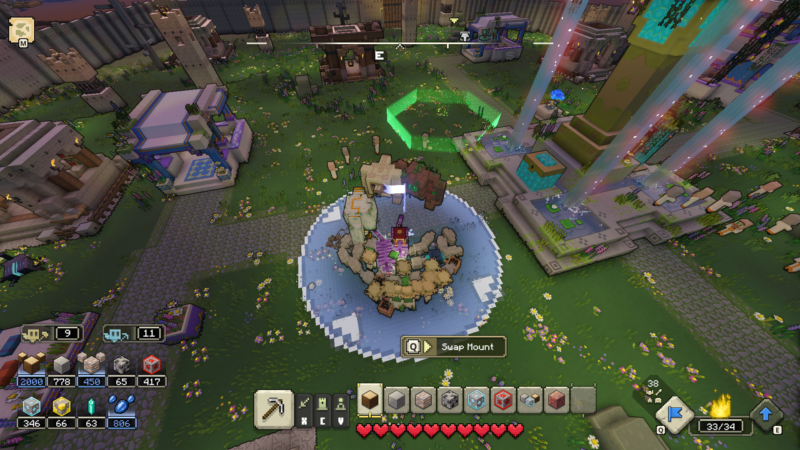
When placing an improvement down, there will be a blue border around the fountains. These are the only place you can put your improvements on. A big tip is to make sure you place these improvements close to each other so you don’t end up wasting space for more improvements you will build later on.
The best upgrades can definitely give you an advantage against the little oink hordes. But with so many options, there are some that you’ll need to prioritize as you will have limited prismarines at the start. Feel free to use this guide as baseline as you go forth and keep the villages safe from the piglins.
IMPROVEMENT : ALLAY STORAGE
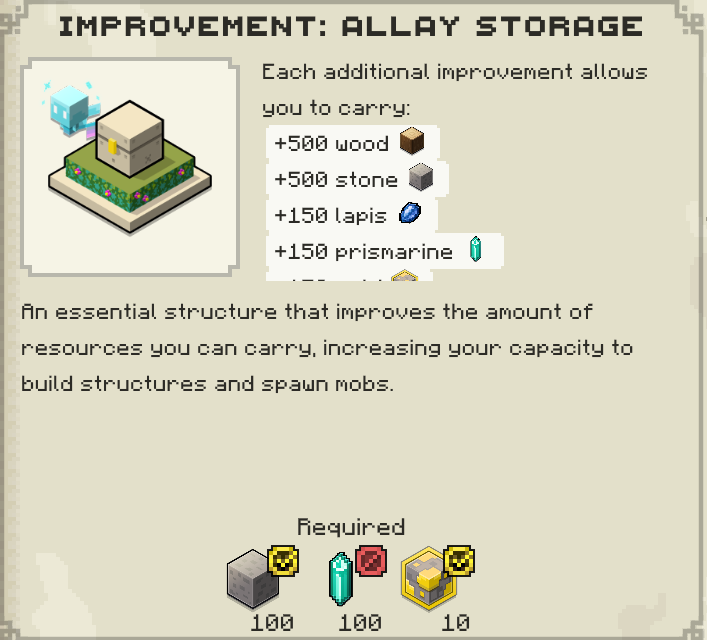
As you start building defenses for your villages, it can get really expensive and you’ll soon notice you run out of resources fairly quick. The Increased Allay Storage improvement is in my opinion, the most important upgrade to get as soon as possible.
The upgrade costs 100 Stone, 100 Prismarine, and 10 Gold. It will increase your cap for your wood, stone, lapis, prismarine and gold. Having this early makes building and spawning mobs more convenient for you. This is also the best to get early since it increases your prismarine capacity which means you can store more prismarines after fighting pesky piglins.
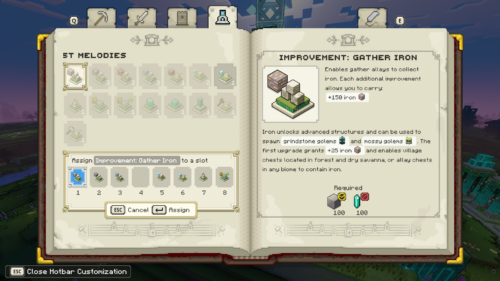
IMPROVEMENT : GATHER RESOURCE UPGRADES
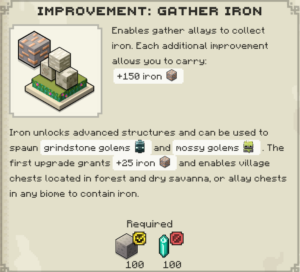
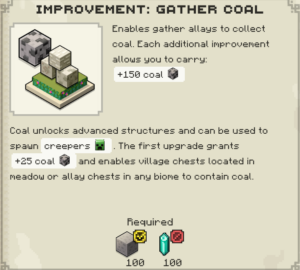
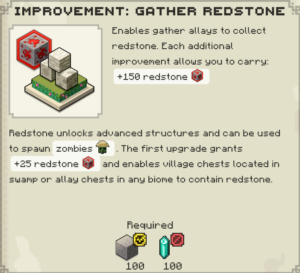
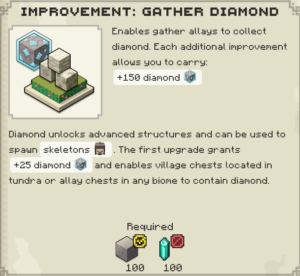
You know what’s great? Increasing the cap of resources you can store so you can just keep farming in peace. This will allow you to craft different upgraded structures. It’s important to get all of them as quickly as you can, as you’ll need them for just about everything else going forward.
Each improvement will cost 100 Stone and 100 Prismarine. Also, each additional Gather ‘Resource’ improvement will only increase that resource’s storage by 150.
IMPROVEMENT : (LARGE) FLAMES OF CREATION
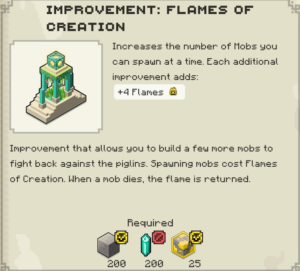
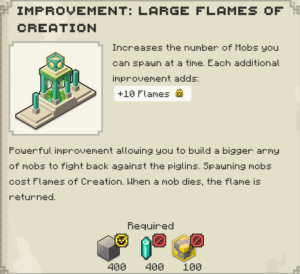
Now that you have all your resources set up, it’s time to start expanding your army. The Flames of Creation upgrade is an upgrade which decides how many mobs you can spawn at any given time. The small version of this upgrade is in my opinion a waste of resources and time. It only adds an additional 4 mobs you can spawn in. Instead, try to save up for the larger upgrade, which will allow you to spawn in 10 mobs. Extra troops = more manpower.
The small upgrade costs 200 Stone, 200 Prismarine and 25 Gold, and the large upgrade costs 400 Stone, 400 Prismarine and 100 Gold. It’s expensive but very well worth saving for. Trust me, this upgrade will make your life so much easier.
IMPROVEMENT : BANNER
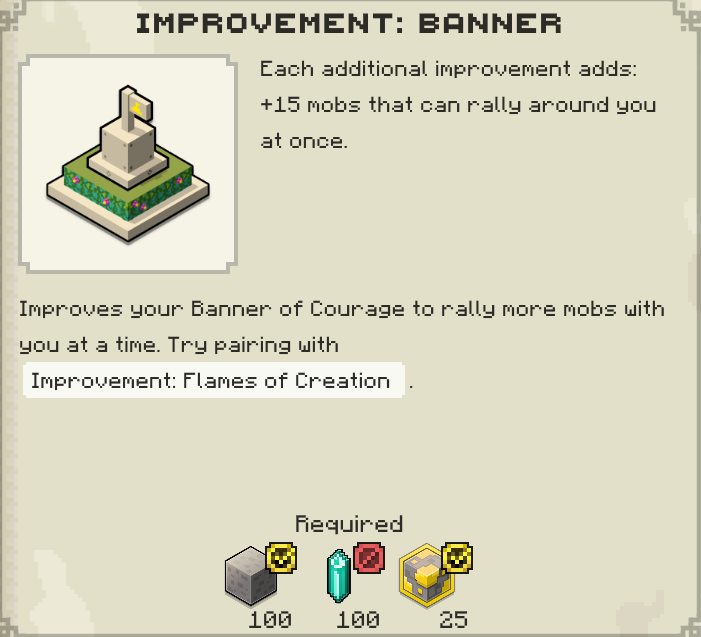
You rally and control your troops by using a banner that appears in an area surrounding your hero. However, there is a limited amount of troops you can rally at once. And this is where the banner improvement helps out. The Banner improvement increases your radius of control, thus letting you control an extra 15 mobs with each improvement. Now who wouldn’t want to control a bigger army?
This costs 100 Stone, 100 Prismarines, and 25 gold per improvement. You needn’t have to worry about having this improvement until you actually increase the size of your army. So just focus up on upgrading the Flames of Creation first.
IMPROVEMENT : SHARED VILLAGE CHESTS
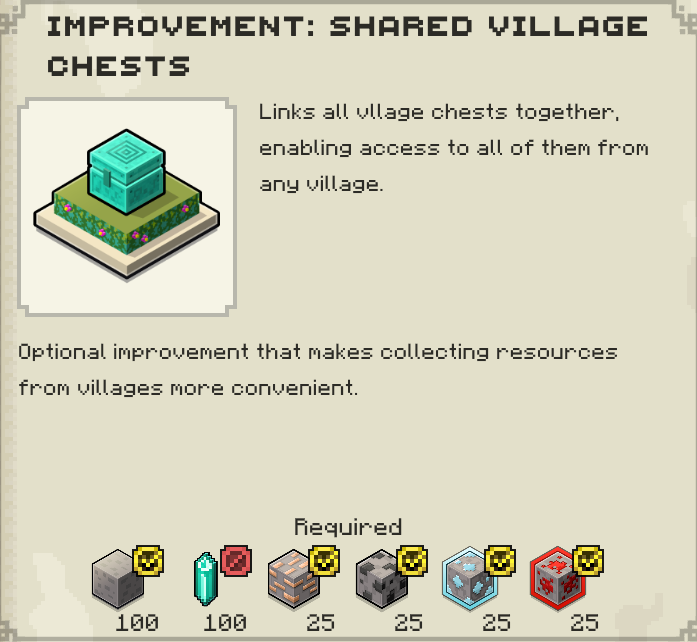
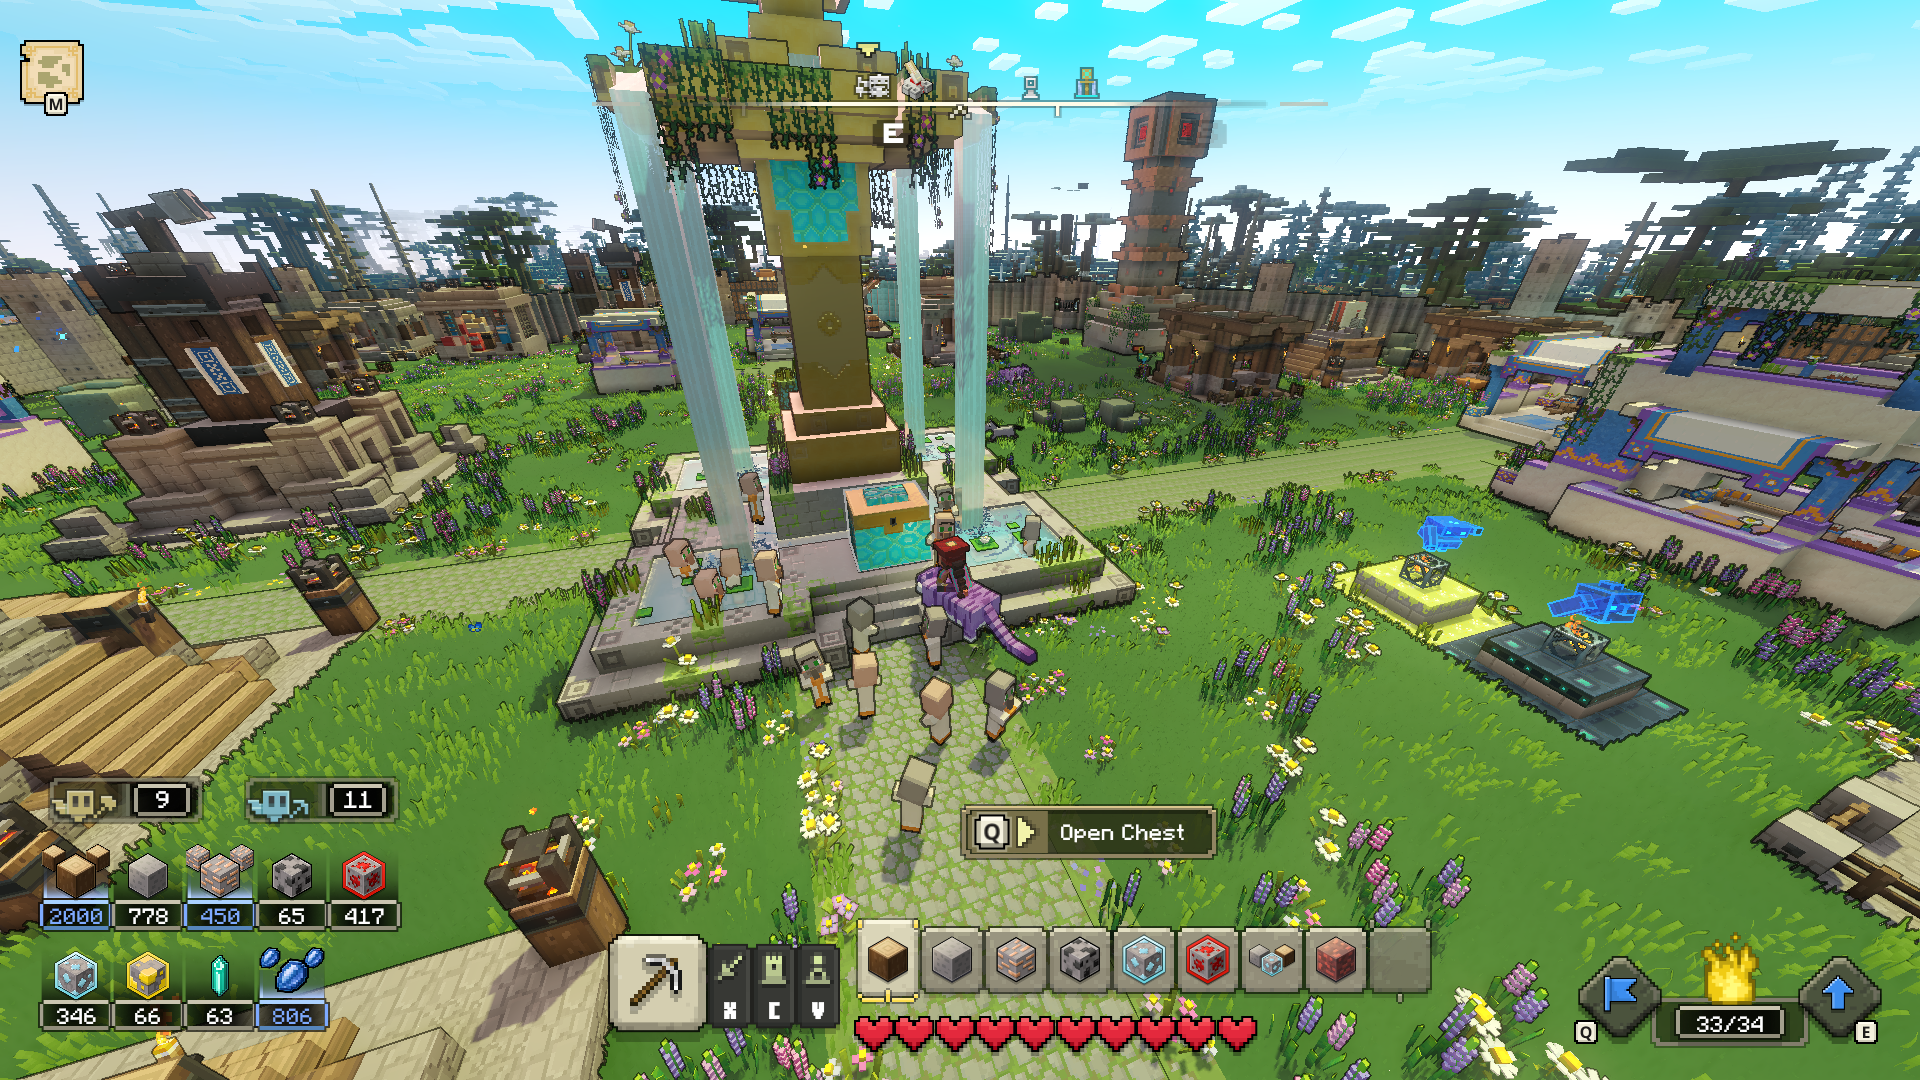
Now that you have tons of resource storage, it’s time to get this upgrade. Each village is equipped with a fountain at its center, and they will house a chest of goodies that will generate resources over a period of time. Every village will generate Wood, Stone and Lapis as well as another randomized resource. This improvement will make it so you don’t have to go to specific villages to collect the goodies from the chests. You will only have to visit one village to collect all the available resources.
This improvement does however come at a high cost of 100 Stone, 100 Prismarine, 25 Iron, 25 Coal, 25 Diamond and 25 Redstone. But don’t worry you’ll gather these resources back in no time!
And well, that is all we have for the best upgrades. Do remember that again, there are many other improvements you can choose for yourselves. However, these are the ones we found to be the most useful to us in our playthrough! So go forth, have fun and get rid of those pesky oink hordes.


Leave a Comment